There are a lot of free, high-quality resources on the internet to help grow your filmmaking savvy. Check out the Student Educational Video Awards (SEVA) Resource page and download their free curriculum. If you can’t attend their annual Student Media Day in person, you can view some of the sessions online.
Be sure to check out KQED Teach and take their Video Storytelling Essentials or How to Manage and Assess Media Projects. These free, self-paced courses are excellent opportunities to acquire the necessary skills and knowledge to begin filmmaking with students.
Tip #2: Deconstruct films before you build them.
You likely use strategies with students for analyzing texts that they read in class. So do I. For example, I’m a big fan of Kylene Beers and her Notice and Note Strategies for Close Reading to support readers as they interrogate text. What I like most about any good strategy is this: with practice, students use them independently so they don’t have to rely on a teacher.
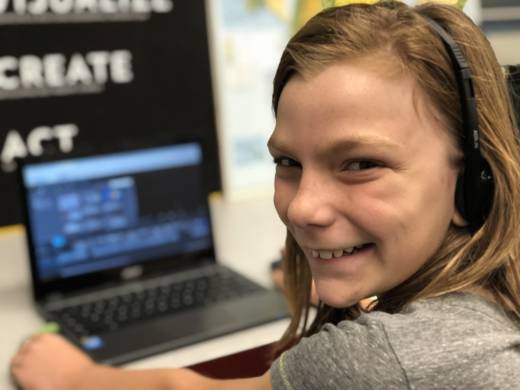
To develop students’ ability to think cinematically, I show short films or clips of longer films to deconstruct them from a director’s perspective. I built this Media Analysis Document: Deconstructing Films to help. I do this with the whole group the first time: We watch a film clip for 30 seconds to a minute, then, I pass out one analysis document to pairs of students and we rewatch the clip. I pause each time the camera changes, and we note the elapsed time to see how long the shot lasted. We discuss the angle, the type of shot, and what kind of camera movement was used if any. If these terms sound foreign, click the hyperlinks in the document for a written description and images.
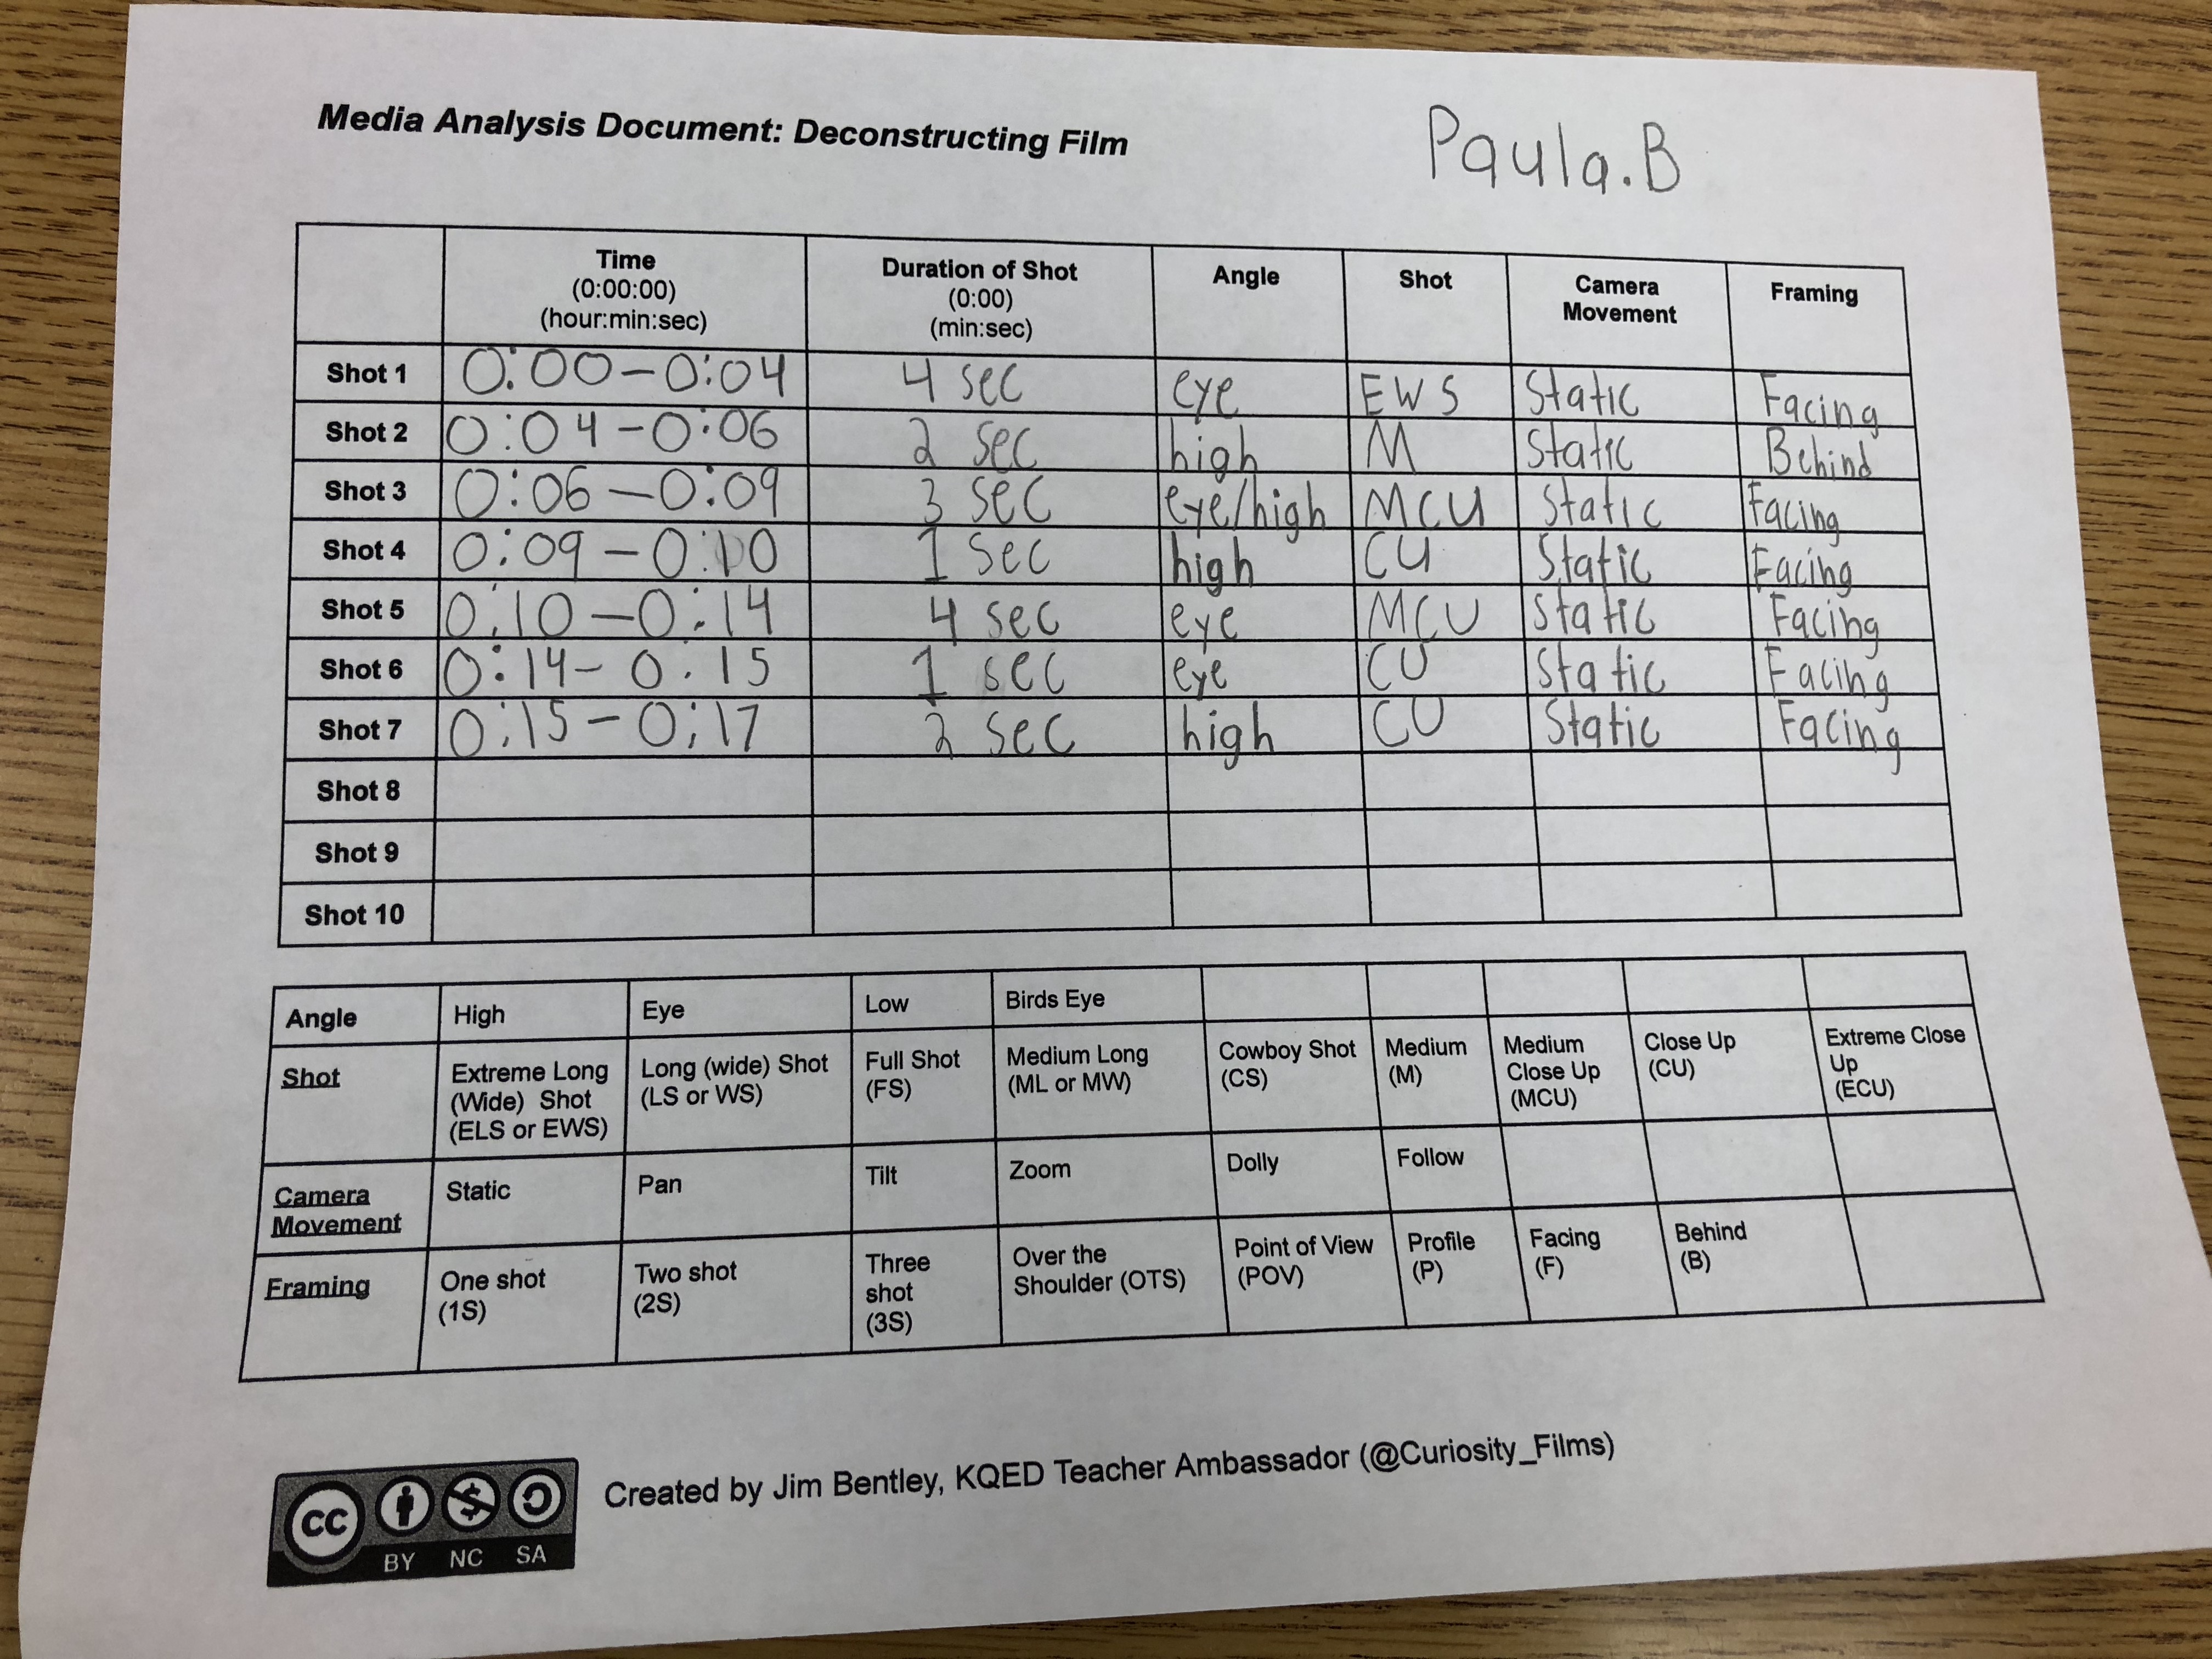
Students quickly realize that most camera shots are short: typically 3 to 6 seconds. Sometimes a shot might last longer, but there has got to be something visually appealing to hold the viewer’s attention.
Here’s an idea to build even more relevancy for your students as they learn how to become filmmakers: share student-created films that won awards at the SEVA or PBS SoCal’s California Student Media Festival, our nation’s oldest student film festival.
Tip #3: Skip the tutorial and jump right in!
But then there’s editing.
Reframing familiar tasks associated with literacy and storytelling through a filmmaking lens may seem doable, but adding in the thought of learning new technology at the same time can feel overwhelming for any teacher! For some teachers, that feeling might be enough to discourage them from pivoting from media consumption to media production.
You can do this. Here’s how: Separate the tech from the traditional teaching.
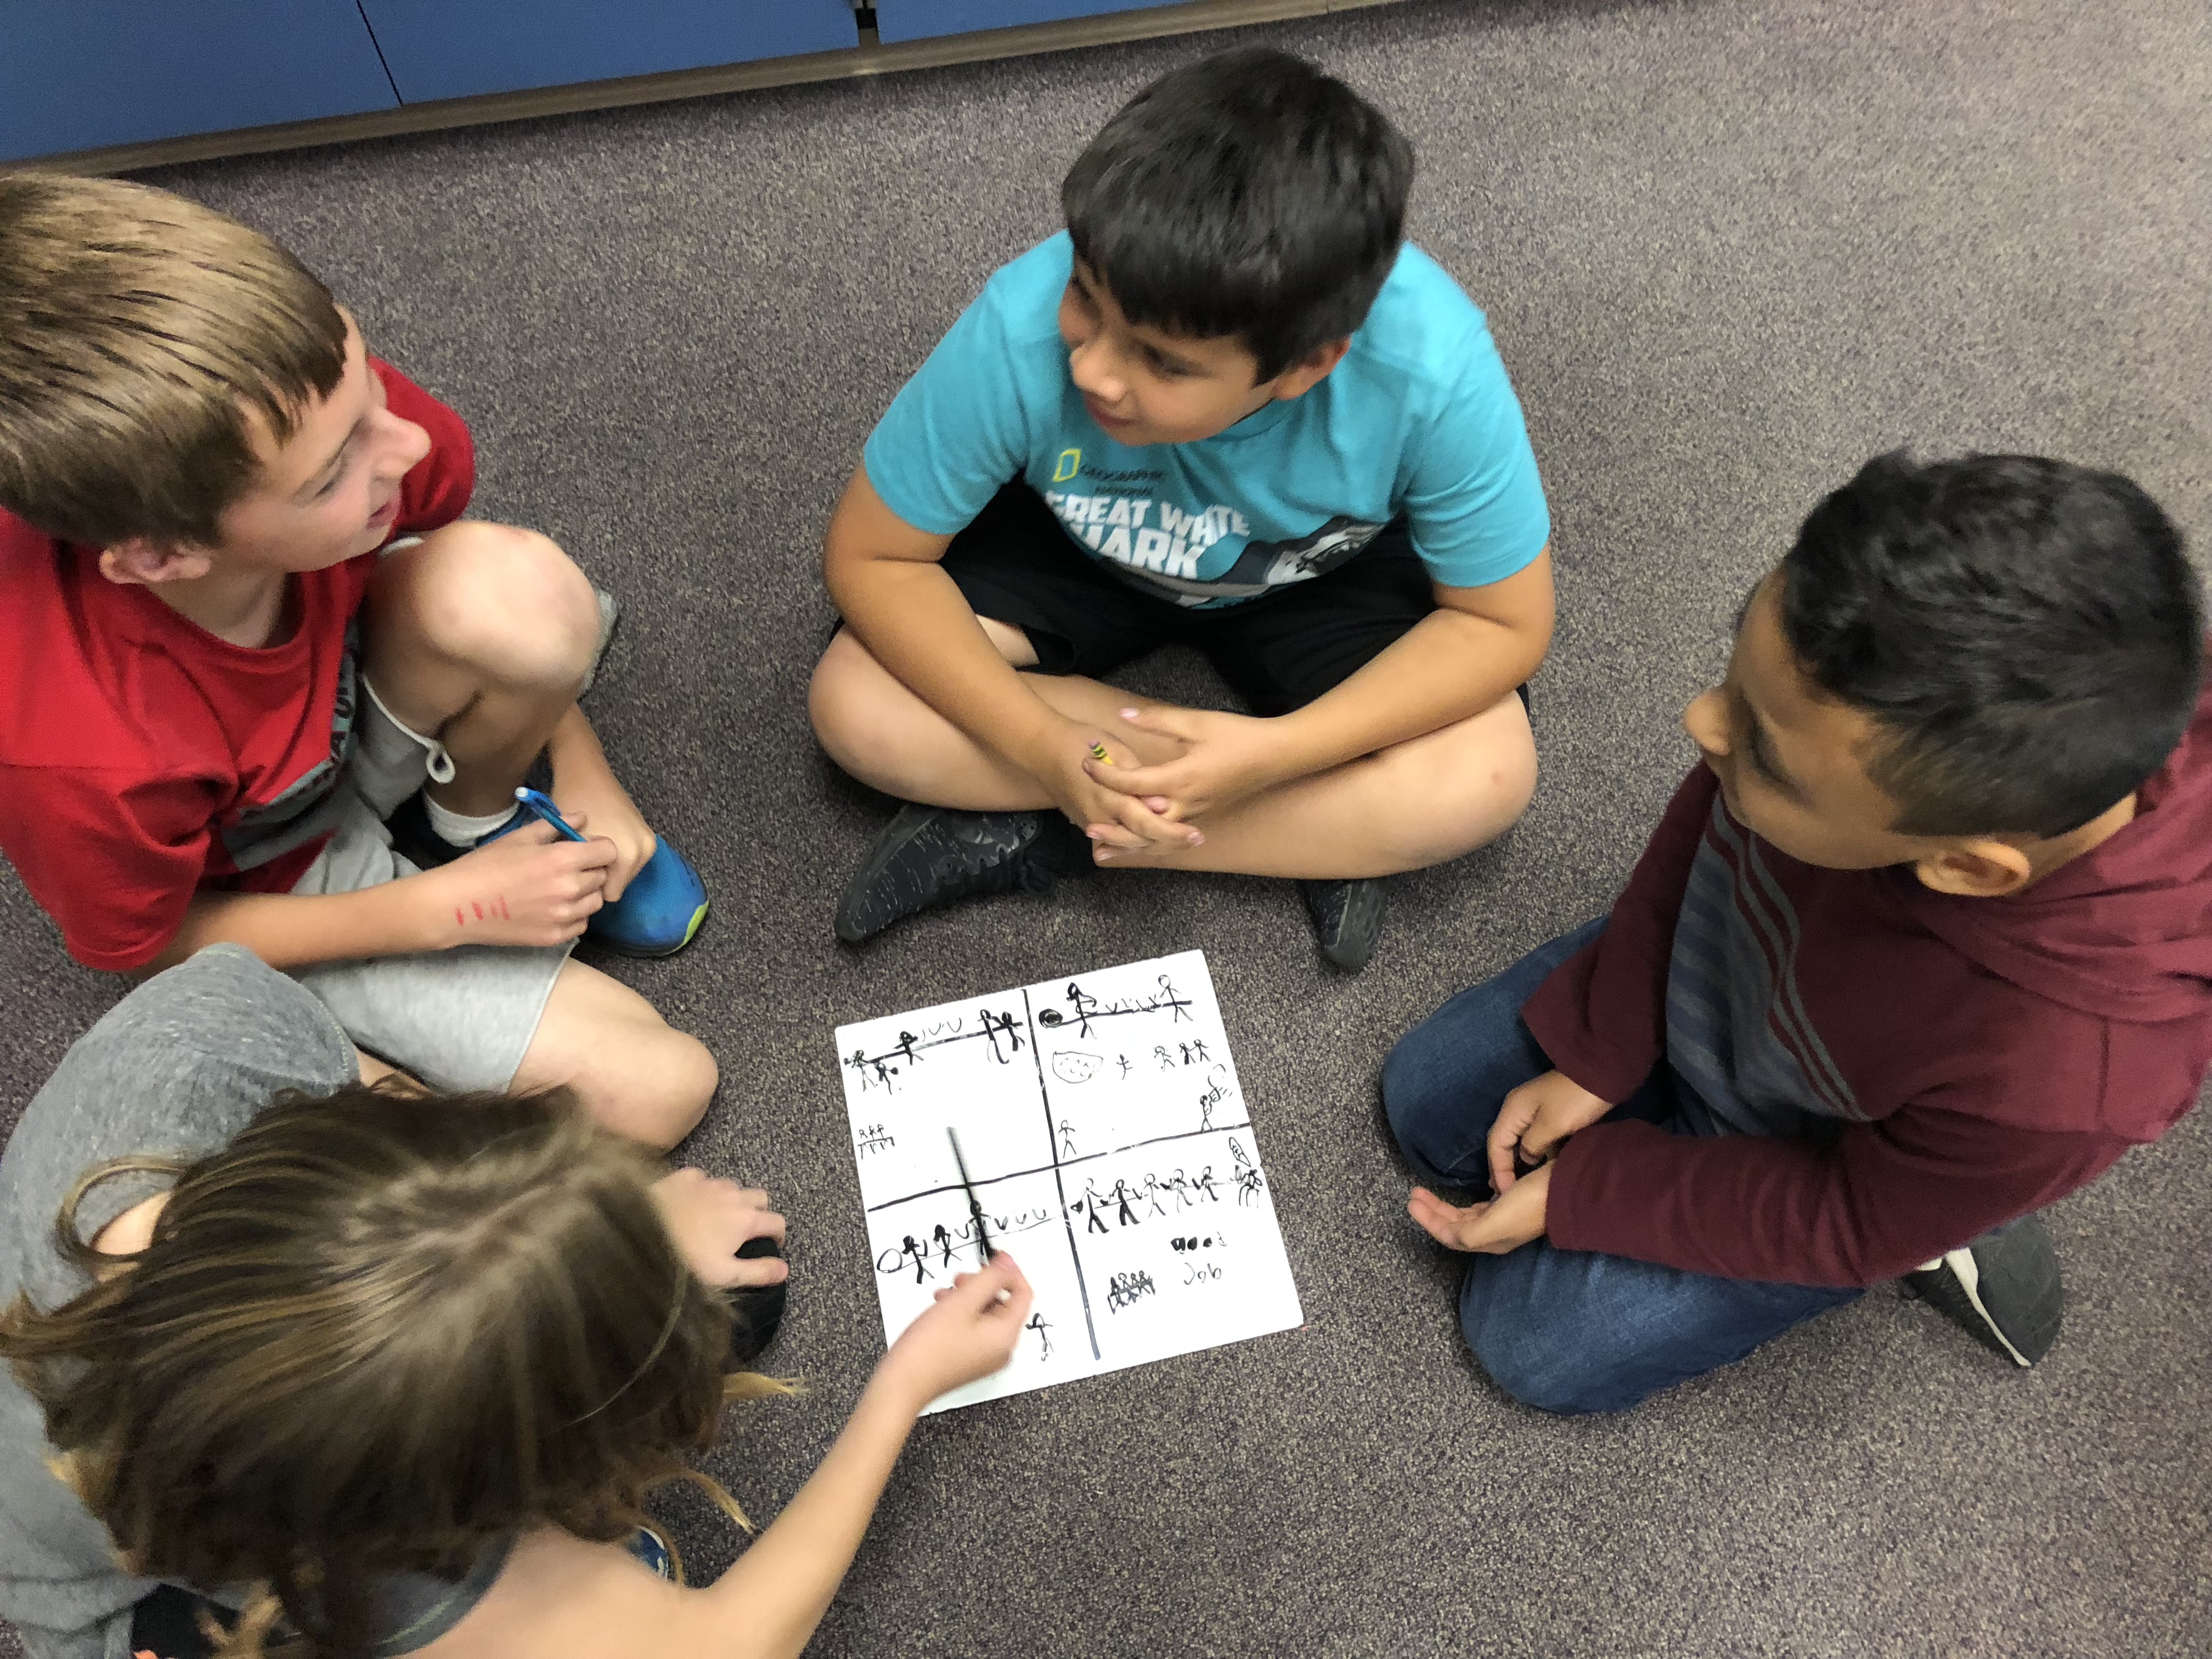
This year I wanted to introduce my 5th-graders to filmmaking using a 4-shot story. It’s a concept I learned about at a National Geographic Science Storytelling Bootcamp in a room filled with National Geographic Explorers. We generally begin storyboarding with a small whiteboard. Students pitch the idea to get feedback and to allow revision. Then, they move to a paper storyboard. I created this 4-shot storyboard you can download.
This year my class has struggled with blurting out anytime I ask a rhetorical question.
I framed this as a challenge we needed to overcome and asked if they’d be willing to create a 4-shot story to help other classes understand what a rhetorical question was. My students quickly agreed.
We talked about how we could establish a setting, create characters and then show conflict which is overcome. We created a simple storyboard and filmed it in one day. That night I used WeVideo to edit the footage. The next day, I told students they were going to edit what they’d shot. Their response: “We don’t know how!”
I shared with them my version of the film and challenged them to recreate it using their own WeVideo accounts. I’d uploaded all the media we’d shot as well as my version of the finished film into a collaborative project. I showed everyone how to log into their account. And then we quickly (less than 3 minutes) reviewed what the editing dashboard looks like.
After that, they were on their own.
I positioned myself at a table in the center of the room and announced I was available for coaching or questions. Students would wander over to me, Chromebooks in hand, ask a few questions, then return to wherever they were working to tinker with this new tech tool. Throughout the room, I could hear students getting frustrated, then asking others for help, then loud “Oooohs!” and “Ahhhhhs!” Students were helping each other and feeling empowered, smart and creative. Quick tip: If you’re not 1:1, try rotating students in groups of 2 or 3 to a device in your classroom while the rest of the class works on other tasks. Set an expectation that each student will have equal time operating the device. And here’s a bonus: I’ve found rich discussions emerge when students are forced to share a device and problem solve together.
Were the projects polished? No, not all of them. But some students got close, and all had learned how to use many of the editing tools and practiced struggling through a new creative task. Take a look at Devin’s version of the film (below) compared to mine (above). She did all of the editing on her own and asked just a few questions about how to adjust audio and trim clips.
Filmmaking: It’s storytelling and writing first and foremost. By studying how films are constructed and using analog tools like storyboards or digital tools like WeVideo, it means you don’t need a huge budget for expensive desktops or hard-to-learn software to transform your classroom into a film studio.
Got questions, challenges, successes, or tips? Share them in the comments section! Want to follow my students’ filmmaking adventures in our classroom? Follow us on Twitter or Instagram at @Curiosity_Films.
Editor’s Note: