Then also remember to take advantage of the tab button for predictive text. This will keep your spelling and grammar correct while saving time while coding.
To start building a level, find some space. Then push “/” and write the code.
/fill ~ ~ ~ ~L ~H ~W sea_lanturn 0 hollow
L H W are variables for how high and how wide you want your room, so enter the numbers you want. 3:29 in the video.
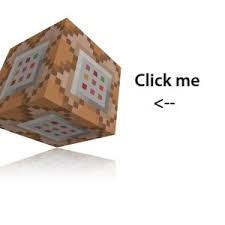
Now that you have your room, you will need to write the code for a command block.
/give @p command_block
6:03 in the video.
Once you have a command block place it on the ground with a “right click” and “right click” it again to go inside and write the code. Remember to use one line of code per block.
/clear @p
This command prevents cheating by clearing out the player inventory so players can’t have materials in the game that the game maker doesn’t want them to have. “@p” means at player, the item will be given to the closest player to the block. 6:40 in the video.
/gamemode 2 @p
This puts the player in adventure mode so they can take damage and will not be able to break blocks. 6:48 in the video.
The next few blocks will use the “give” command and be used to give your players their gear. For example.
/give @p diamond_sword
/give @p bow
/give @p arrow 64
The number after the item is how many things you will give. You can put most anything in the game after the “@p”. 7:20 in the video.
You then need to code for the placement of the player and bad guys when they enter the level. Push the F3 (or Fn F3) to get the game coordinates on the screen, and find the block coordinates on the upper middle left of the screen labeled BLOCK. Then fly to the level and land in the place where you want the player to arrive, and where you want the bad guys to start from. Always write down your coordinates on paper when working with students. 9:15 in the video.
Write the teleportation command.
/tp @p x y z
x y z are the three numbers that made up the block coordinate.
Now you can take care of what will happen when the player dies by creating a spawnpoint.
/spawnpoint @p
This command will set the spawnpoint to where the player is standing when the block is activated.
To tell your game’s story and to give directions to your player, use the “say @p” command. Simply open the command block and write “say @p” after a space anything you write there will show up and the player’s screen when the command block is activated. 8:51 in the video.
/say @p
Anything you write after the @p will show up on the screen when the command block is activated.
The last 2 command blocks will put in the game’s enemies and create a reset button. Start by leaving at least one space between your last block and the block that summons your enemies. This space is so you can create a “piston break system” in order to control the number of bad guys in the game. The break system is necessary because after a player dies and pushes the button to re-enter the level, the command that created the enemies gets activated again. Now there are both new and old mobs trying to kill your player making the game impossible and lagging your system. The brake system will keep this from happening. The reset will be a separate button that will fix the break and is only pushed when new games are started.
Put down your enemies block and write the summon command.
/summon zombie x y z
Remember you took the coordinates a few steps ago.
This block, as it stands, will only summon one zombie. If you want lots of zombies, change the command block into a repeat command block by clicking the button on the bottom left of the screen. A repeat command block will repeat the command as long as there is electricity on the block. This way you will have more like 15 mobs instead of one. (Mob are what monsters are called in Minecraft.) The command block will turn purple too. 11:51 in the video.
An important thing to know about.
[media-credit id=11289 align="alignnone" width="600"]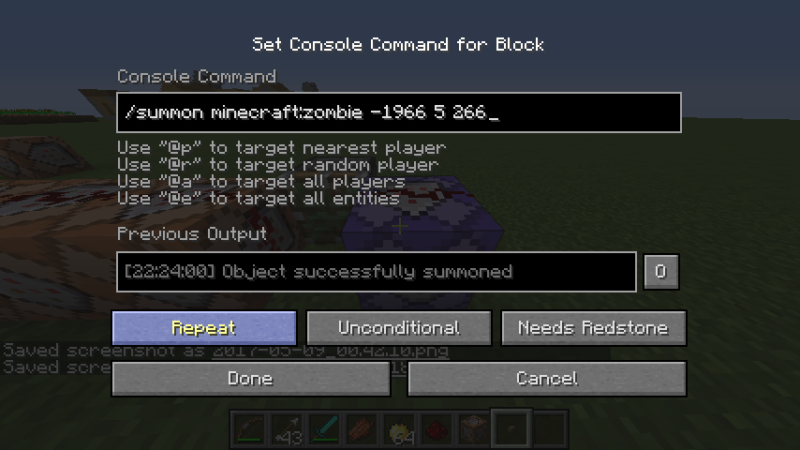 [/media-credit]
Watch this video to build the break system and reset button. The reset button will use the setblock command and replace the part of the wire that was broken by the brake system.
/setblock x y z redstone_wire
Make sure you get the coordinate from the space where the piston brakes with red stone wire.
Cross-Curriculum Subjects
When creating our cell minigames, my class studied English language arts and science by writing the storylines — each level must contain a written story that includes information about the organelle and its role in the cell as well as instructions on how to play the game. I used this for science but it could be used for any academic subject. I had my students create a Google doc to tell the story of their game — the first and last paragraphs tell us why we are in the game, and the closing paragraph tells us what happens after you beat the game. The students then cut and paste their paragraphs into the say @p command block.
Math is all over Minecraft. For example, the command blocks covers coordinate planes, the fill command covers volume and surface area, and the set designed covers measurement.
After the games were complete, we had a game review day. My students brainstormed ideas about what makes a good game, and played and rated each others game. We also ran statistics and made charts. I was so impressed with the real-world math applications my students found in the process of game design.
[media-credit id=11289 align="alignnone" width="600"] [/media-credit]
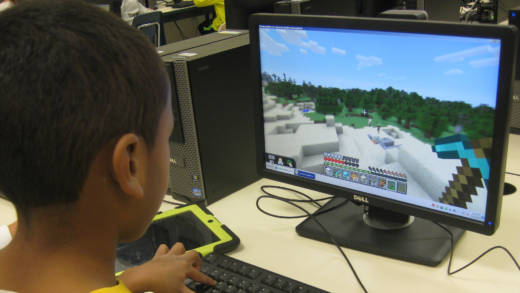
If you haven’t started teaching Minecraft, please be the rock star teacher that brings it to your school.
 [/media-credit]