upper waypoint
Homemade paneer, seared in olive oil. Kate Williams
Homemade paneer, seared in olive oil. (Kate Williams)

If You Can Make Ricotta, You Can Make Paneer, Its Sear-able Cousin

If You Can Make Ricotta, You Can Make Paneer, Its Sear-able Cousin

Save ArticleSave Article
Failed to save article

Please try again

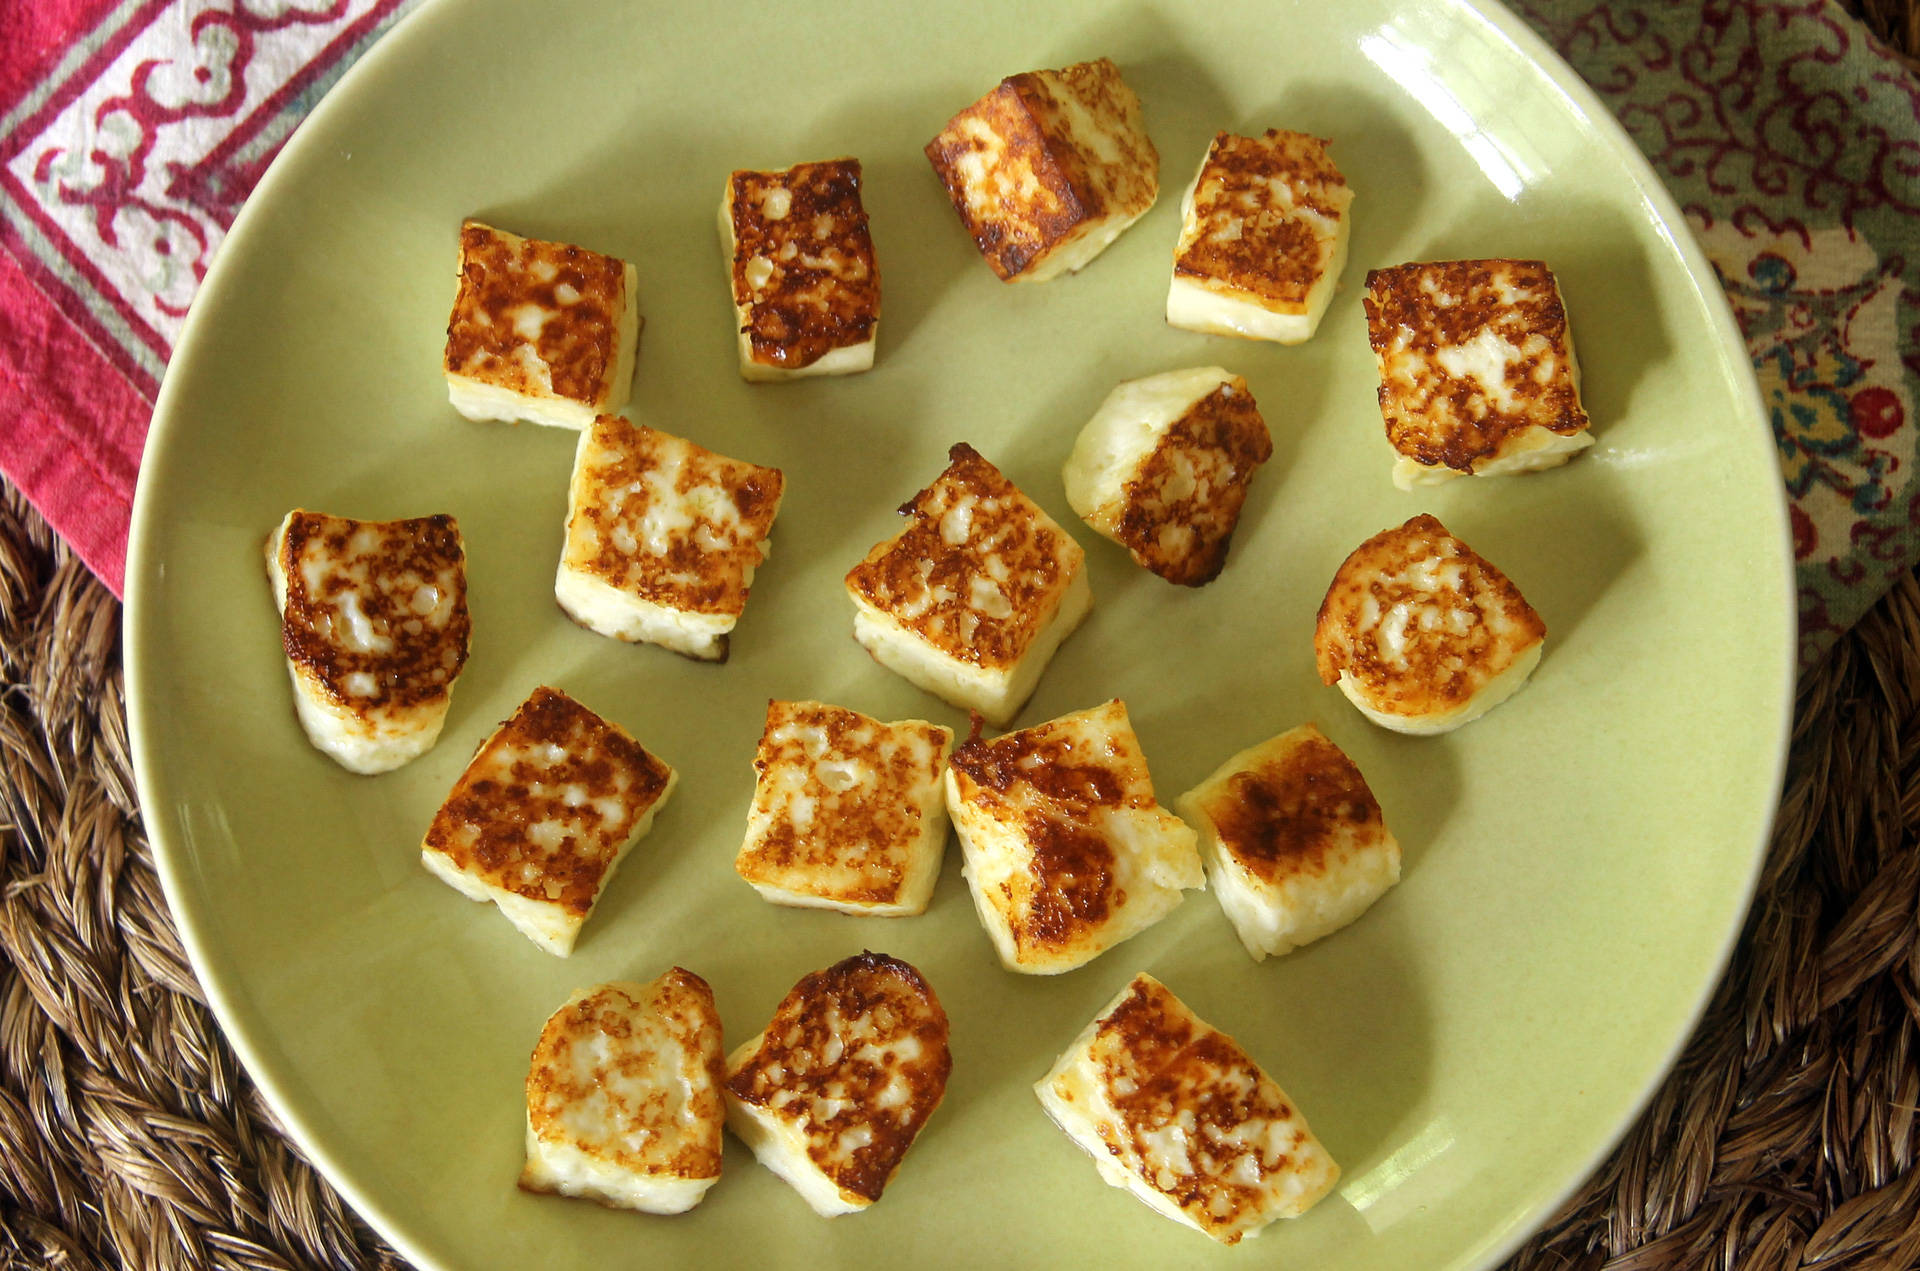
I’m going to let you in on a little secret: paneer, that delicious squeaky cheese found in saag paneer and many other Indian and South Asian dishes, can be made in almost the exact same way in which we make ricotta. Yes, somehow, through the magic of heavy pressure, crumbly, tender ricotta can transform into a non-melting, sear-able version of itself. And while paneer is, of course, a wonderful thing to make should you want to delve into more complicated Indian cooking, it is also quite tasty eaten on its own, browned up in a skillet.

The first steps are exactly like making ricotta cheese. You’ll combine milk, buttermilk and salt in a heavy pot and heat it until the curds begin to separate from the whey. Let it incubate for half an hour before gently scooping the curds into a lined colander.

Let the curds drain undisturbed for 10 minutes.
Let the curds drain undisturbed for 10 minutes. (Kate Williams)
Bring the ends of the towel together and squeeze out as much whey as possible.

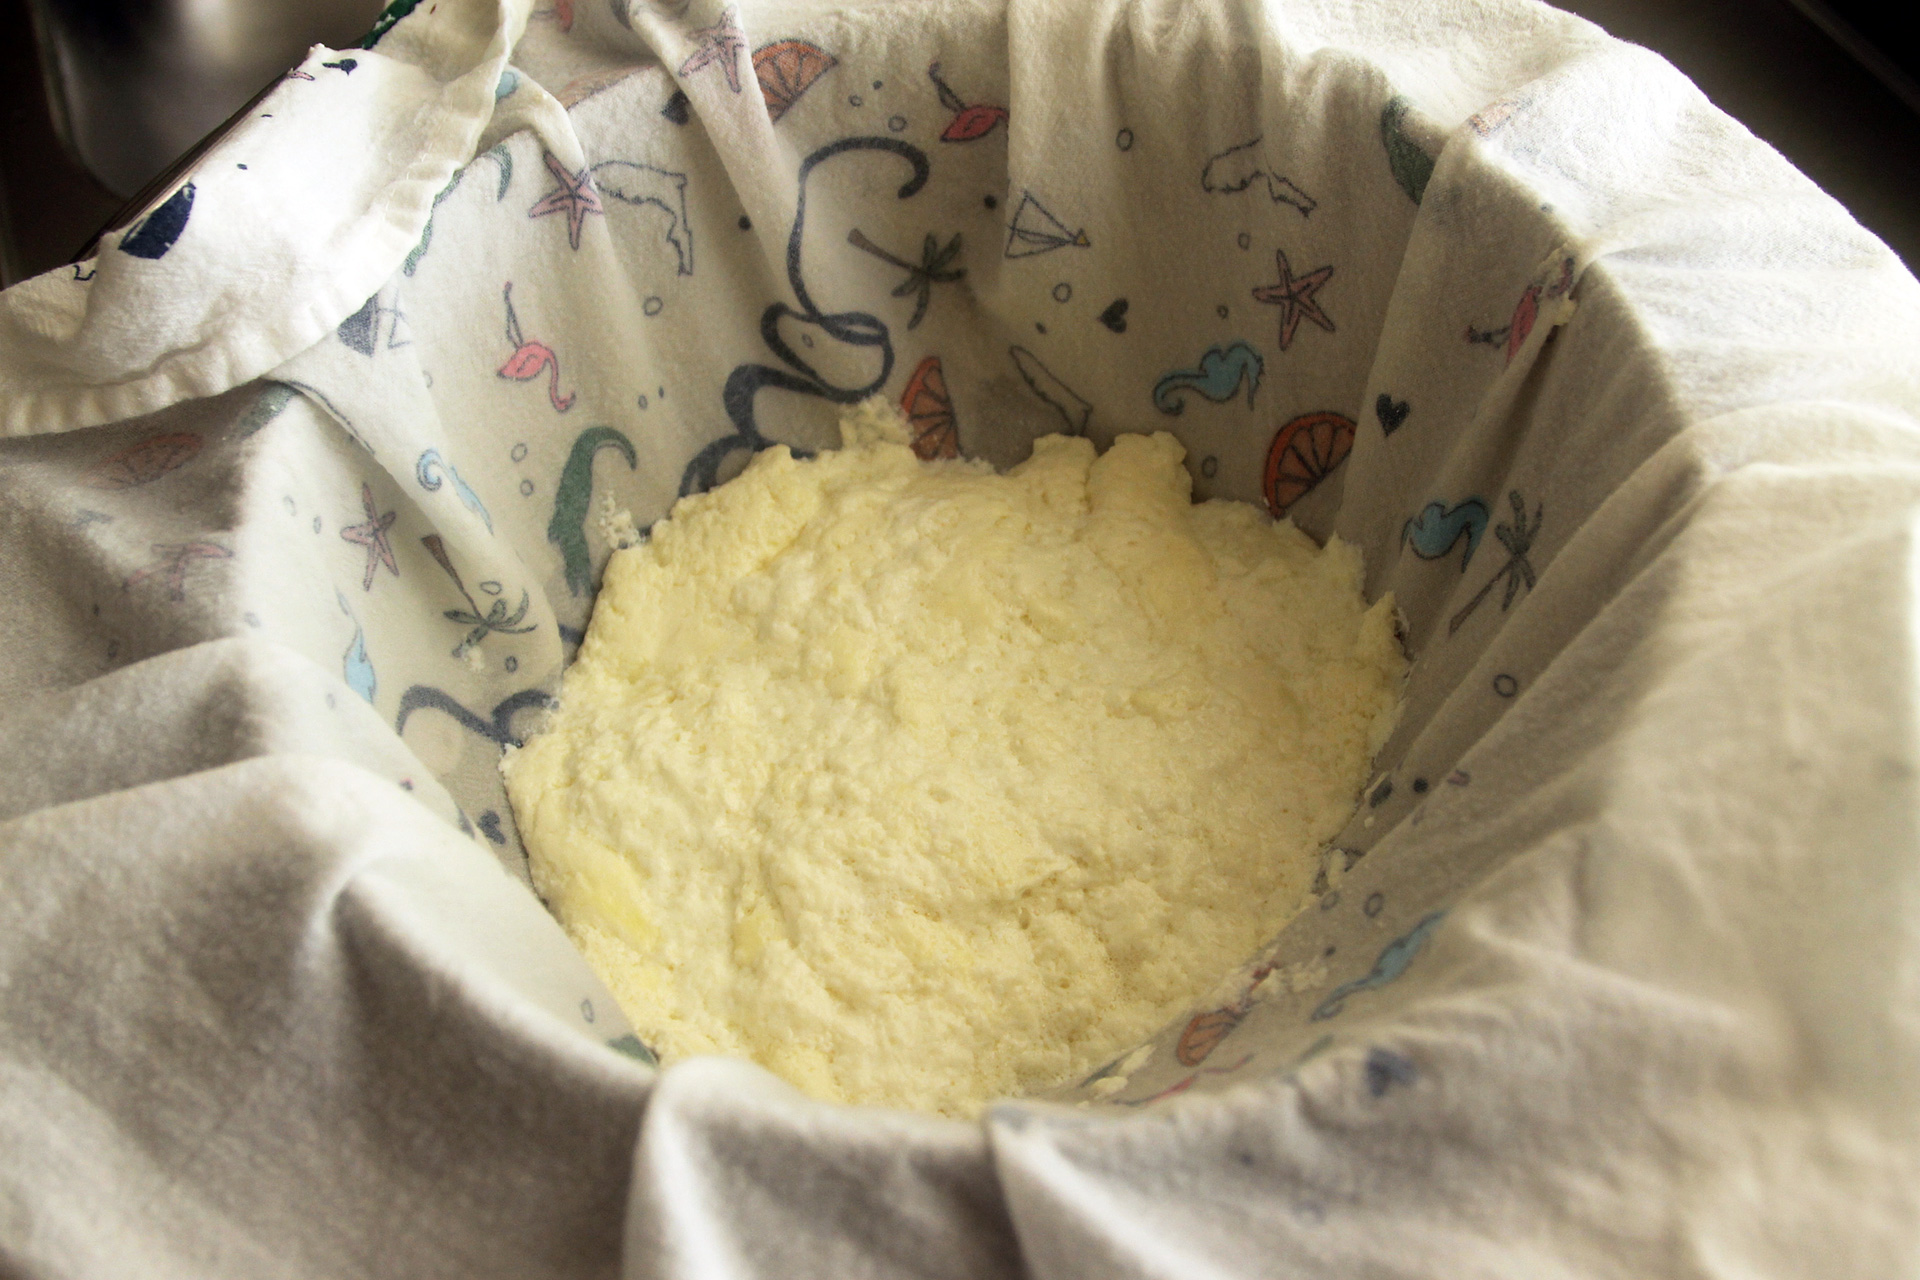
Now it’s time to get your hands (a little) dirty. Once the curds have drained for about 10 minutes, bring the sides of the towel together to form a sack. Twist and squeeze and twist and squeeze until you’ve gotten as much of the whey out of the curds as possible. You’ll likely want to scrunch and wiggle the curds around a few times to get to any pockets of hidden whey inside.

Bring the twisted ends of the towel to one side of the cheese sack.

Next, give the sack a really good twist to make sure the curds are in a taut ball. Place the ball of curds, still in the towel, on a large plate. Bring the twisted tail of towel to the side of the ball (see picture above) and then place a second plate on top.

Use a heavy pot, like a Dutch oven to press the cheese into a thick pancake.

To weigh down the cheese, grab your Dutch oven (rinse it out first!) and place it on top of the second plate. It should significantly smush down the cheese ball into a thick pancake. If necessary, wiggle the Dutch oven around so that it lays as flat as possible on top of the cheese. Now let the whole thing just sit there for about an hour.

Sponsored

The goal of all of this pressing is a super firm, springy cheese. You’ll know it when you poke it. If, at the end of the hour, you find that the cheese is still soft in places, let it rest under the weights for another 15 to 30 minutes.

Once the cheese has been pressed for about an hour, it should turn into a firm, flat disc. It’s okay if it is misshapen.

Finally, unwrap the cheese and, if you’re planning to eat it right away, you can cut it into cubes or triangles or any shape you’d like. Don’t fret if your cheese isn’t perfectly round or has weird indentations. You can cut those off (if you’re worried about it) or just let it be imperfectly shaped. Your paneer will still be great to eat, I promise.

If you want to save the paneer for future use, wrap the whole round in plastic. But don’t let it chill too long — this cheese is at its best when freshly made. At the maximum, you can refrigerate it for three days.

My favorite way to eat paneer is to sear it in olive oil (or butter) just until both sides turn a deep golden brown. Eaten warm, there’s really nothing better.

Homemade paneer.
Homemade paneer.

Recipe: Homemade Paneer

Makes about 8 ounces

Sponsored

Notes: For the best results, choose a milk that hasn’t been ultra-high-temperature pasteurized (labeled UHT). Many organic milks are UHT, so you may need to look for a non-organic option. You will end up with a lot of extra protein-packed whey; save it and use it instead of water when baking bread, incorporate it into smoothies, or just drink it!

    Ingredients:
  • 8 cups whole milk, preferably batch pasteurized and non-homogenized
  • 1 ½ cups buttermilk
  • 1 teaspoon kosher salt
    Instructions:
  1. Combine the milk, buttermilk, and salt in a Dutch oven or other large, heavy pot with a lid. Bring the milk mixture to a simmer over medium heat.
  2. When the milk mixture begins to simmer, you should start to see small curds forming throughout. Once this happens, give the milk mixture one big stir and then reduce the heat as low as it will go. Continue to cook the milk mixture for 2 minutes.
  3. Remove the pot from the heat, cover, and let the milk mixture sit for 30 minutes.
  4. Meanwhile, place a colander in a large bowl and line the colander with a thin kitchen towel or a triple layer of cheesecloth, leaving at least 6 inches of the towel dangling over the sides.
  5. After 30 minutes, remove the lid. You should see a thick raft of curds floating on top of translucent, yellow whey. (The whey here will not be as clear as when making cheeses using cultures and rennet.) Using a slotted spoon, gently scoop up the curds and transfer them to the prepared colander. Try to keep the curds in as large of pieces as possible.
  6. (Do not dump the entire pot of curds and whey into the colander, as it will break up the curds and will clog them with excess whey.)
  7. Rinse out the Dutch oven.
  8. Let the cheese drain undisturbed for 10 minutes. Bring the edges of the towel together to form a sack and twist to squeeze out more of the whey. Try to get out as much of the whey as possible. While keeping the sack taught, sandwich it between two large plates, pulling the twisted portion of the towel to the side. Place the plates on a rimmed baking sheet and then set the now-rinsed Dutch oven on top. Wiggle the Dutch oven around so that it is resting evenly on top of the cheese.
  9. Press the cheese until it is very firm to the touch, about 1 hour. Remove the towel.
  10. If you’re eating the cheese right away, you can go ahead and cut it up into small cubes (or whatever size you’d like). If you’re storing the cheese for later use, wrap it tightly in plastic wrap and store in the refrigerator for up to three days.
  11. To fry the paneer, heat 1 tablespoon of olive oil or butter in a non-stick skillet over medium heat. Add the cubed paneer and cook until browned on the bottom, 30 seconds to 1 minute. Flip and cook on the opposite side until browned, about 30 more seconds. Transfer to a plate and dig in!

lower waypoint
next waypoint
Samosas aren’t from India…Wait, what?Food Labeling: How to Identify Conventional, Organic and GMO ProduceWords on the Waves: Litquake in SausalitoSpringtime Delight: Rhubarb Puff-Tart PocketsWith Seafood Restaurant alaMar, Oakland Chef Nelson German Breaks From Black Chef Stereotypes