upper waypoint

Start Your New Year’s Diet Off Right with Homemade Nut Milks

Save ArticleSave Article
Failed to save article

Please try again

Homemade pistachio milk, almond milk, and nut meal. Photo: Kate Williams

I’m not one for jumping on the newest diet bandwagon, but come January, I’m usually so stuffed from two months of eating cookies and pies and roast meats that I crave lighter foods. Vegetable soups suddenly become my favorite dinner. And my usual dairy-heavy breakfast just doesn’t seem as appealing as it did a few months ago. Instead, I reach for almond milk to add to cereal and tea in the morning.

Since becoming the darling of the non-dairy milk category, almond milk’s shares on grocery store shelves have skyrocketed. Yet this profusion of products has done nothing for their quality. Most almond milks are full of stabilizers, preservatives, and sweeteners. Even the unsweetened bottles in the refrigerator section contain the likes of gellan gum, carrageenan, sunflower lecithin, and natural flavors. They’re less milk than chemistry experiments.

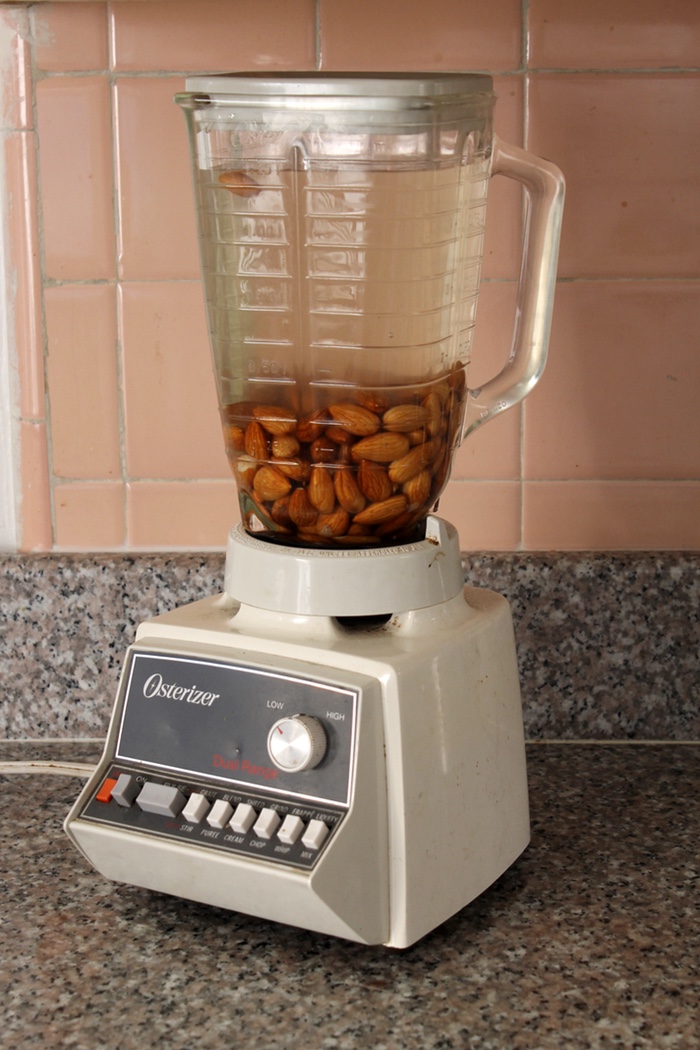
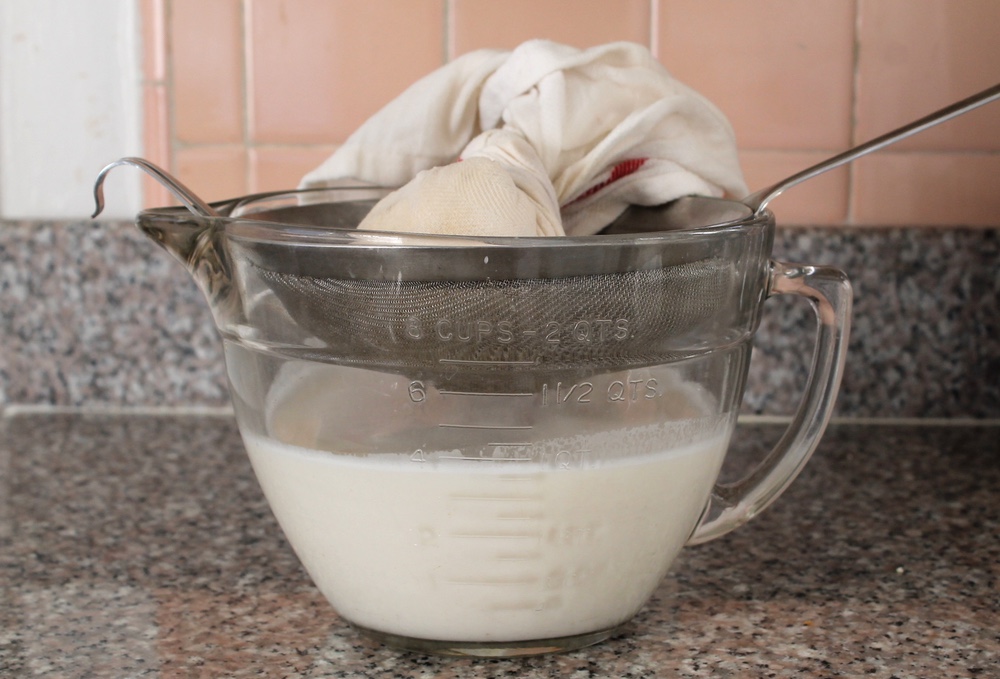
What’s the solution? Make almond (and pistachio and pecan and sunflower seed) milk at home. Depending on the price of the nuts, it costs about the same, or even a little less, than the premium brands of almond milk, and the quality is far better. Plus, homemade almond milk is just about the easiest DIY kitchen project you can take on. I often talk about how easy many of these projects are, but almond milk is by far the simplest. All you need to do is soak, blend, and drain. That’s it.

The first step to homemade nut milk is to soak your nuts of choice is cold water overnight. Photo: Kate Williams

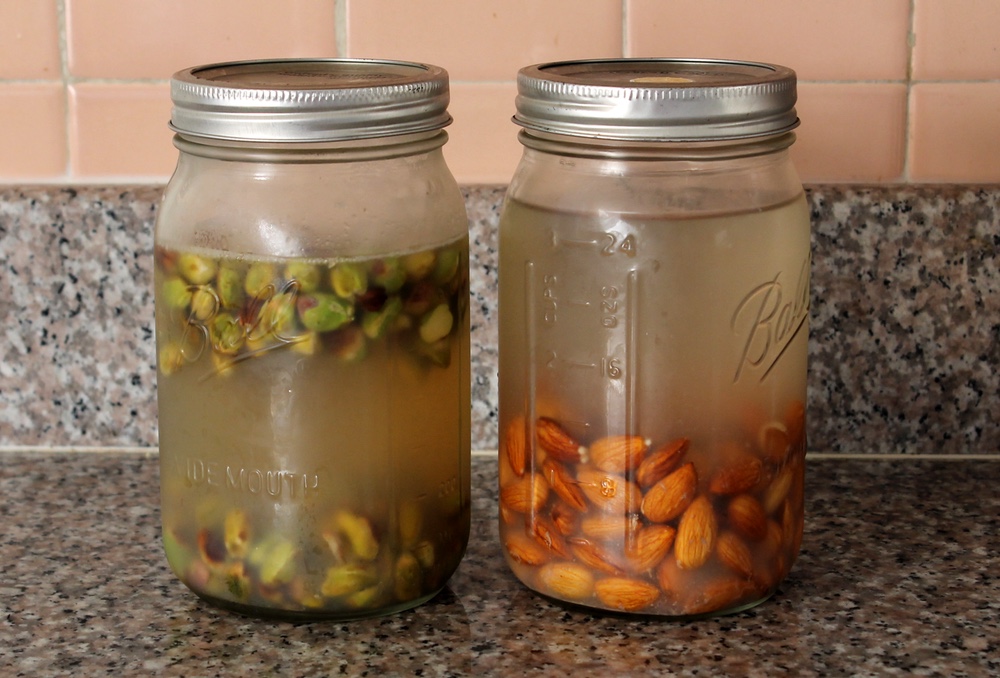
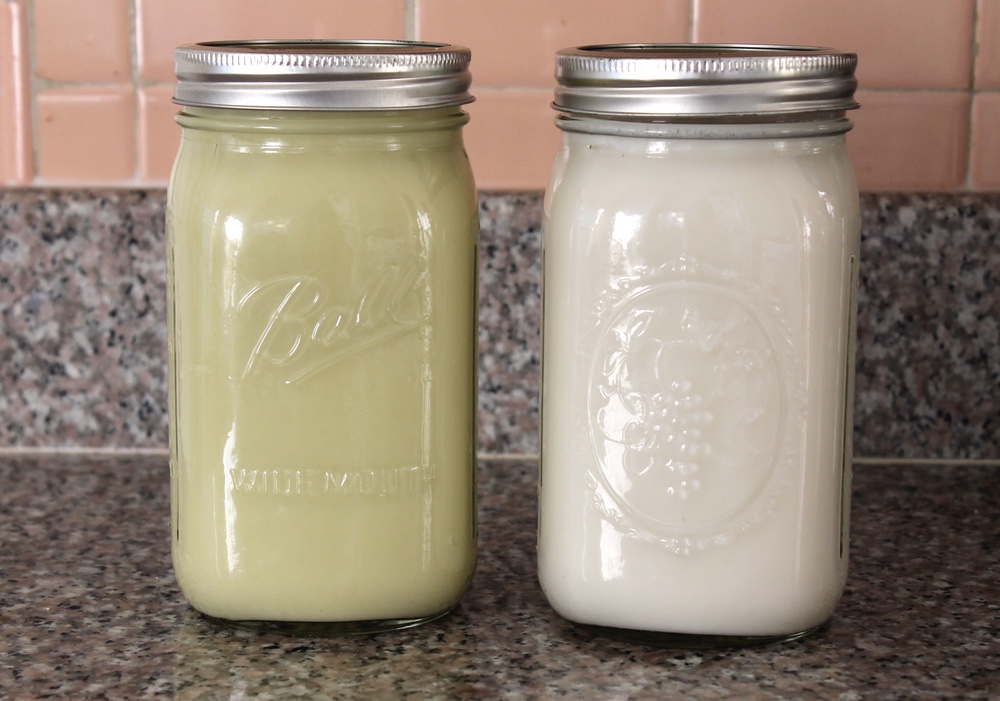
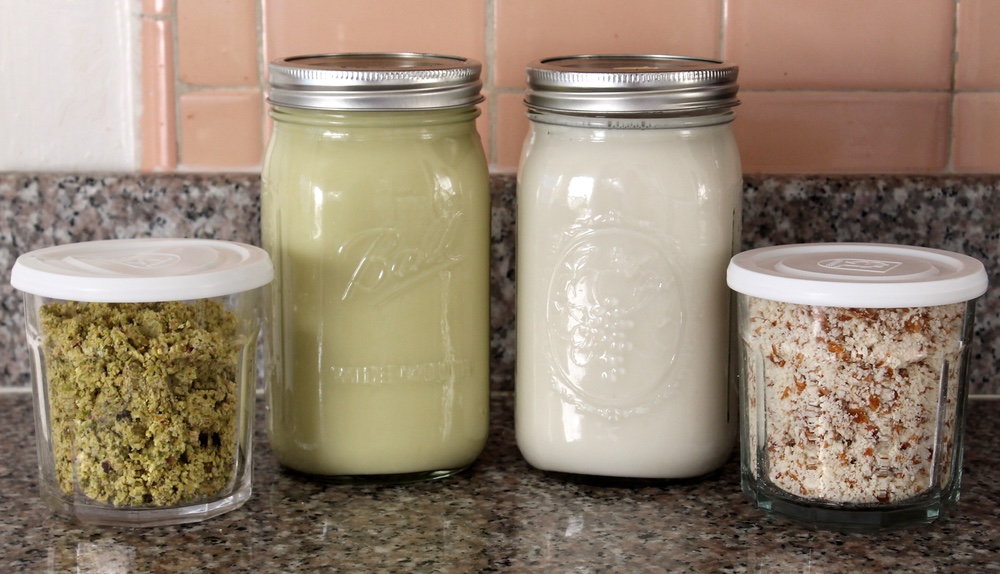
I’m going through so much nut milk these days that I typically make more than one batch at once. Here, I’ve made a batch of almond and a batch of pistachio.

The night before you want your milk, cover 1 cup of nuts with cold, filtered water. Cover and refrigerate overnight to soften the nuts. The next day, drain the nuts and transfer them to a blender.

Sponsored

Next, add water to the blender until it is about three-quarters of the way full. Blend the nuts until they’ve turned to a smooth pulp. Depending on the strength of your blender, this will take somewhere between 30 seconds and 1 minute.

Drain the soaked nuts and add them to a blender with more cold water to cover. Photo: Kate Williams
Drain the soaked nuts and add them to a blender with more cold water to cover. The water should only be three-quarters of the way full. This photo shows a bit too much water. Photo: Kate Williams

To drain the milk, line a fine mesh strainer with a clean dishtowel or butter muslin. (If you have a nut milk bag, you can use it instead of the lined strainer.) Place the strainer over a large bowl. I have a 2-quart measuring cup with a spout, which is perfect, but you can use any bowl with at least a 1-quart capacity. Slowly pour the nut mixture through the towel into the bowl. You may need to pause and let the mixture drain as you go to prevent spill-overs. Let most of the liquid drain through the dishtowel.

Grab the corners of the towel and bring them together to form a sack. Twist and squeeze the sack to press out any additional liquid from the nut pulp. Transfer the pulp to a storage container and save for later use — I like to dehydrate it in a low oven and use as coarse nut flour for baking.

Squeeze and twist the dishtowel to press out all of the milk from the nuts. Photo: Kate Williams

Now taste your nut milk. Decide if you’d like it to be thinner and add water to taste. Decide if you’d like it to be a little sweet and stir in a touch of honey or maple syrup. Decide if you want to add a bit of spice and add a pinch of cinnamon, cardamom, or maybe a drizzle of vanilla extract. It’s up to you. It’s your milk.

Homemade pistachio and almond milks. Photo: Kate Williams

Recipe: DIY Nut Milk

Makes about 1 quart

Note: You can use any raw nut or seed you’d like in this recipe. I prefer sweeter nuts, like almonds or pistachios, over nuts with more bitterness, like walnuts. You can use the leftover nut pulp in baked goods or dehydrate it in a low oven to use as coarse nut flour.

    Ingredients:
  • 1 cup raw nuts (preferably organic)
  • Cold filtered water
  • Honey, maple syrup, vanilla, cinnamon, cardamom, or other sweeteners and spices (optional)
    Instructions:
  1. Place nuts in a large jar or bowl and cover with at least 2 cups water. Cover and refrigerate overnight.
  2. The next day, drain the soaked nuts and transfer to a blender. Cover the nuts with enough water to fill the blender three-quarters of the way full (3 to 4 cups in standard-size blenders). Blend on high until the nuts have been reduced to a smooth pulp, 30 seconds to 1 minute.
  3. Line a fine mesh strainer with a clean dishtowel or butter muslin. Place strainer over a large bowl, preferably one with a spout. Slowly pour nut mixture through the towel. Let the mixture sit until most of the liquid has filtered through the towel, about 1 minute. Bring together the corners of the towel to form a sack. Twist the sack into a ball and squeeze until all of the liquid has been expelled from the nut pulp.
  4. Transfer the nut pulp to a 2-cup container and save for later use.
  5. Stir in any sweeteners or spices to the milk, to taste. Transfer the milk to a 1-quart glass canning jar, cover, and refrigerate. Shake the milk before serving. Nut milks will last for 3 to 4 days in the refrigerator.

lower waypoint
next waypoint
Samosas aren’t from India…Wait, what?Food Labeling: How to Identify Conventional, Organic and GMO ProduceSpringtime Delight: Rhubarb Puff-Tart PocketsCheck, Please: How to Pay without looking like a fool or making everyone uncomfortable.Bored of Apples and Walnuts? Try Adding Date Charoset to Your Passover Table This YearDIY Bone Broth - You Really Should be Making It at HomeBay Area Bites Guide to 8 Great Places to Buy Fresh FishJosey Baker Bread: Baking for Bros, with Gluten-Free Adventure Bread RecipeFromage de Chat (aka Cat Milk Cheese)DIY Soy-Free Tofu: Yes, You Can Make Tofu From Any Bean You’d Like