I have eaten at least one marshmallow Peep every Easter Sunday as far back as I can remember. I can’t confirm the presence of Peeps in my house back in my toddler years, but I’m willing to guess that they made an appearance.
I have eaten at least one marshmallow Peep every Easter Sunday as far back as I can remember. I can’t confirm the presence of Peeps in my house back in my toddler years, but I’m willing to guess that they made an appearance.
My mom, you see, has a fondness for the cottony, sugar-coated candies, and she still mails them to me from across the country every spring. (Never mind the fact that Peeps line the shelves of every supermarket and drugstore coast-to-coast come springtime.) As a kid, I relished this unabashed freedom to ruin dinner with an ungodly amount of sugar; I viewed the Peeps-bonanza a fair bribe for my cooperation during church.
These days, I’ll make my way through a single Peep, my reasoning powered more by nostalgia than desire. Store-bought Peeps are, after all, a sorry version of a marshmallow—a mere vehicle for a soda’s worth of sugar. But now that I’ve learned to make Peeps from scratch, I will likely up my intake.
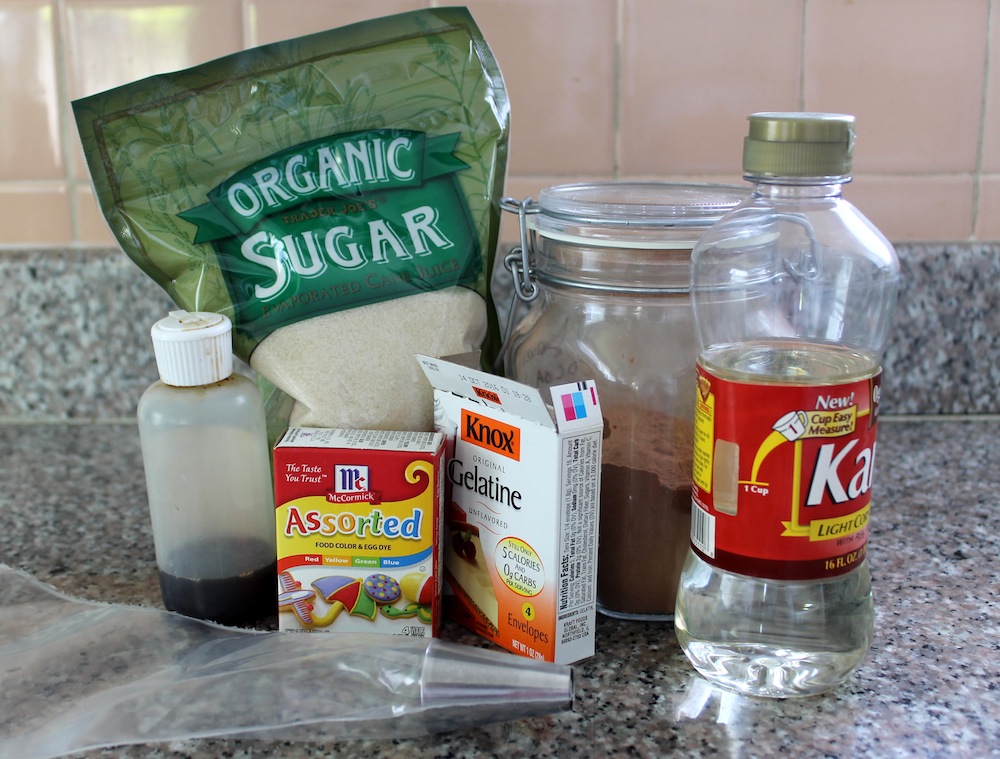
First, let’s get this straight: homemade Peeps are far from wholesome. Indeed, for the best results, granulated sugar and corn syrup are necessities. However, the flavor and texture of the DIY candies are exponentially better than the shrink-wrapped variety. I like to use organic cane sugar for its slightly more complex flavor, but traditional granulated sugar will work just fine. I use food coloring to dye the sugar for coating the Peeps, vanilla to flavor the marshmallow, and cocoa to form the eyes. You will also need a piping bag (use a disposable one for easy clean-up), a large (1/2-inch wide) piping tip, a stand mixer with a whisk attachment, and candy thermometer.
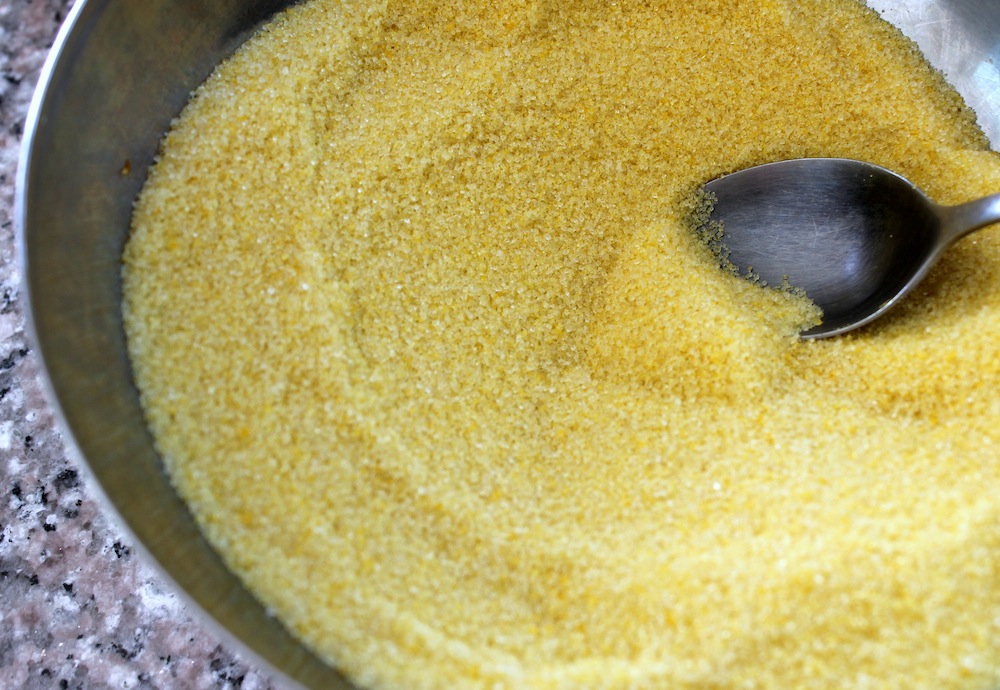
First, dye your sugar. I like to make classic yellow Peeps, but feel free to use any color you’d like. You could even go au natural. Measure out 2 cups of sugar into a large bowl and add 5 or 6 drops of food coloring. Use a spoon (or your hands if you don’t mind the mess) to rub the food coloring into the sand. Once the color is evenly distributed, you can choose to add more coloring if you want a more vibrant color. For this batch, I used 10 drops of yellow food coloring. Spread about half of the dyed sugar across a parchment paper-lined rimmed baking sheet. Save the rest in the bowl for later. Now is also a good time to fit the piping tip into the piping bag. Snip off the bottom of the piping bag and push the tip into the bottom. Continue to trim the bag until the piping tip fits perfectly in the hole in the bottom of the bag. Fold over the top 4 inches of the bag.
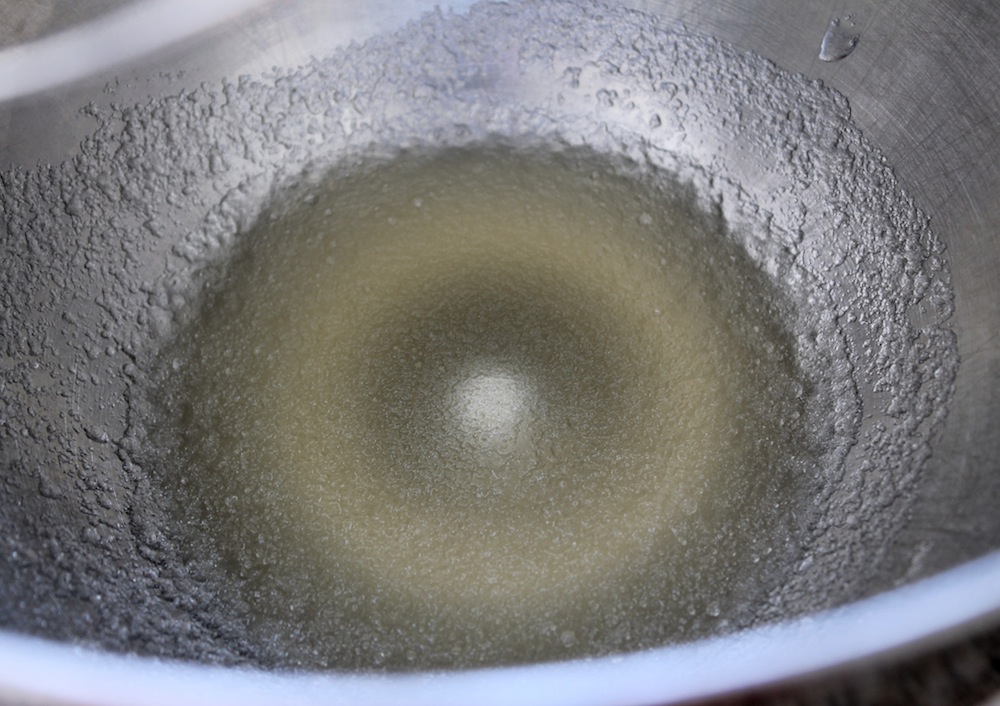
Next, bloom the gelatin in 1/3 cup of water. Gelatin is what provides the marshmallow mixture with structure. Almost all commercial marshmallows rely on gelatin, and it is the easiest to use at home. If you are vegan, there are resources online for learning to substitute other stabilizers, like agar, for the gelatin. Powdered gelatin must be hydrated (or bloomed) before use. To save bowls, I do this step in the bowl of my stand mixer. Stir the gelatin into the water until there are no longer any large clumps. The gelatin then needs to sit for around 10-15 minutes to soften. While the gelatin softens, make the sugar syrup.
This sugar syrup is made from a mixture of water, sugar, and corn syrup. The corn syrup helps prevent the sugar from crystallizing and it also gives the Peeps the ideal chewy texture. That said, I have seen recipes for homemade Peeps that forgo corn syrup altogether. If you’re weary of corn syrup, you can try substituting it for an equal amount of granulated sugar. (But really, if you don’t want to eat a little corn syrup, you probably don’t want to eat Peeps either.)
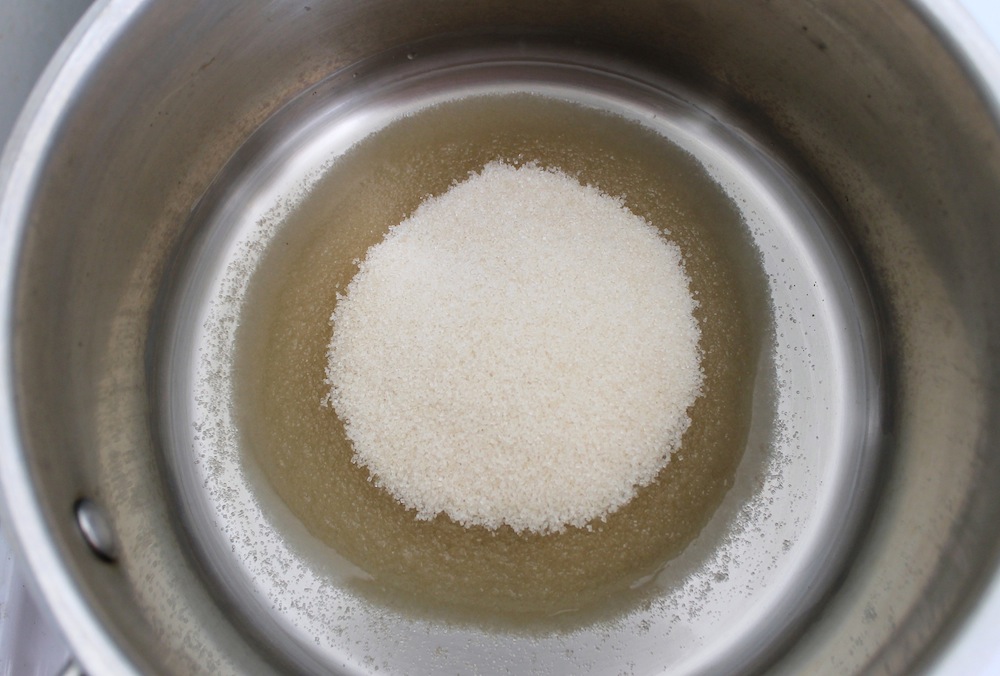
Boiling sugar syrup isn’t difficult, but there are a few tricks to making it foolproof. First, combine the corn syrup and water in a large saucepan. Then pour the sugar carefully into the center of the pot, making a mound that doesn’t touch the sides of the pot. Crystallization can happen when melted sugar gets stuck to the sides of the pot, so it’s best to avoid that problem from the get-go. Now bring the water up to a rolling boil over medium heat. While the mixture is heating, gently swirl the pot to slowly dissolve the sugar into the water. This will get easier as the sugar melts. Once the mound of sugar is gone, you can stop swirling the pan. Don’t stir it.
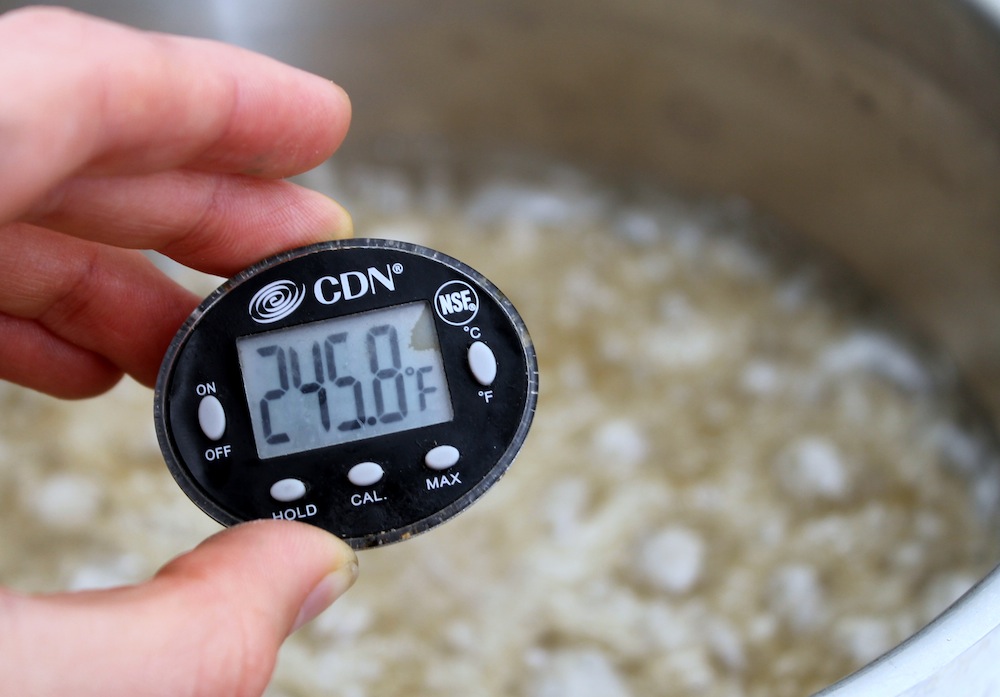
Monitor the temperature of the sugar syrup as it boils; you’re looking for 245 degrees, or the firm-ball stage. Try to take the temperature of the syrup in 3 or 4 places as it is heating. Sugar tends to form heat pockets, and you’ll want to confirm that the entire mixture has reached 245 before moving on.
Once the syrup is cooked, remove the pot from the heat. Now turn the stand mixer to low. Carefully pour the sugar syrup into the gelatin while trying to avoid both the sides of the bowl and the whisk. If you hit the side, some of the sugar will likely harden on the bowl and not get mixed in. This problem is smaller than the splattering that could occur should you hit the whisk. In other words, you definitely want to stay away from the whisk. Once all of the sugar syrup has been mixed in, slowly raise the speed of the mixer to high.
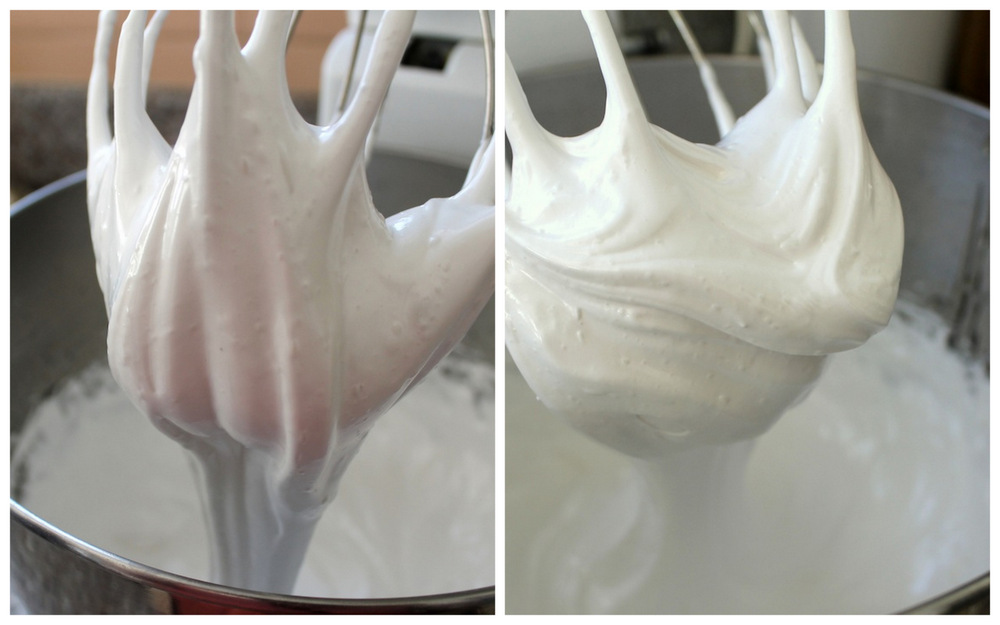
As the marshmallow mixes, it will cool and increase in volume rapidly. You will notice the color change to white and the mixture will slowly lose its gloss. Once the mixture is thick, add 1 teaspoon of vanilla. Continue to beat until the marshmallow is very thick and does not stream down off of the whisk when pulled out of the bowl.
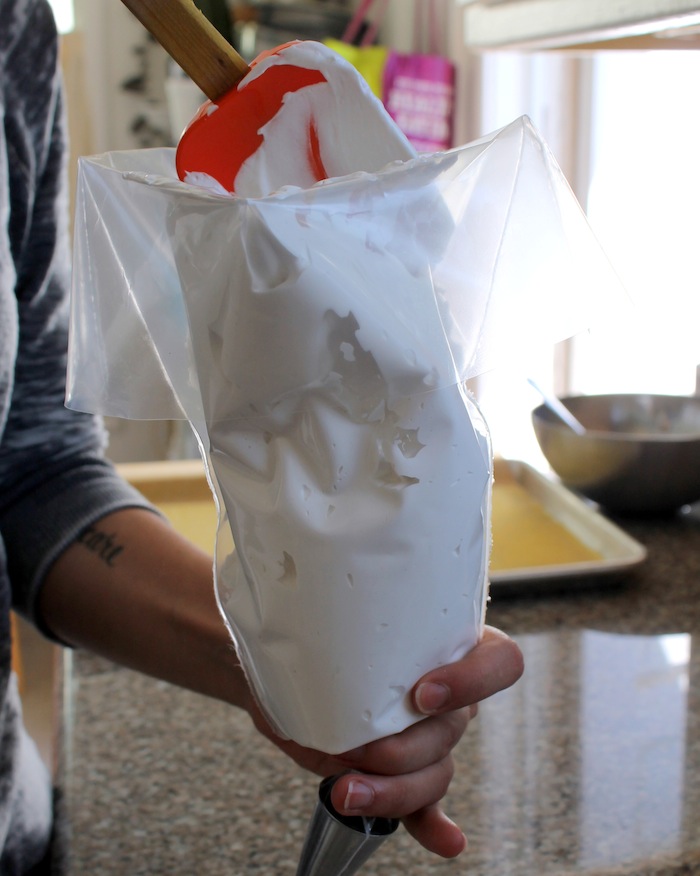
Now transfer the marshmallow mixture to the piping bag. To keep the marshmallow from falling out of the tip, make sure the bag is twisted right above the tip. Do your best to transfer all of the marshmallow mixture to the bag. Unfold the top of the bag and compress the marshmallow towards the tip.
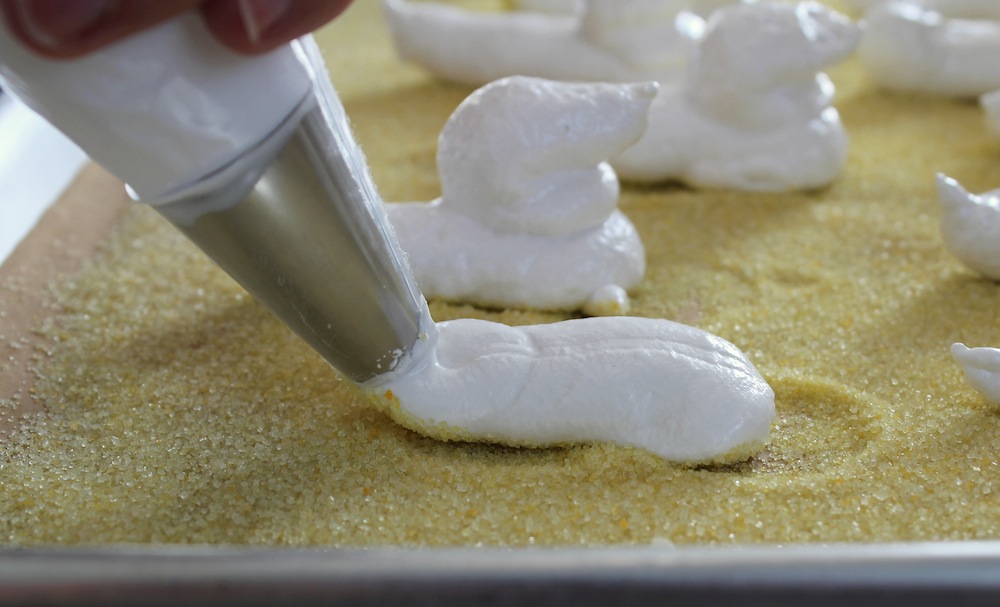
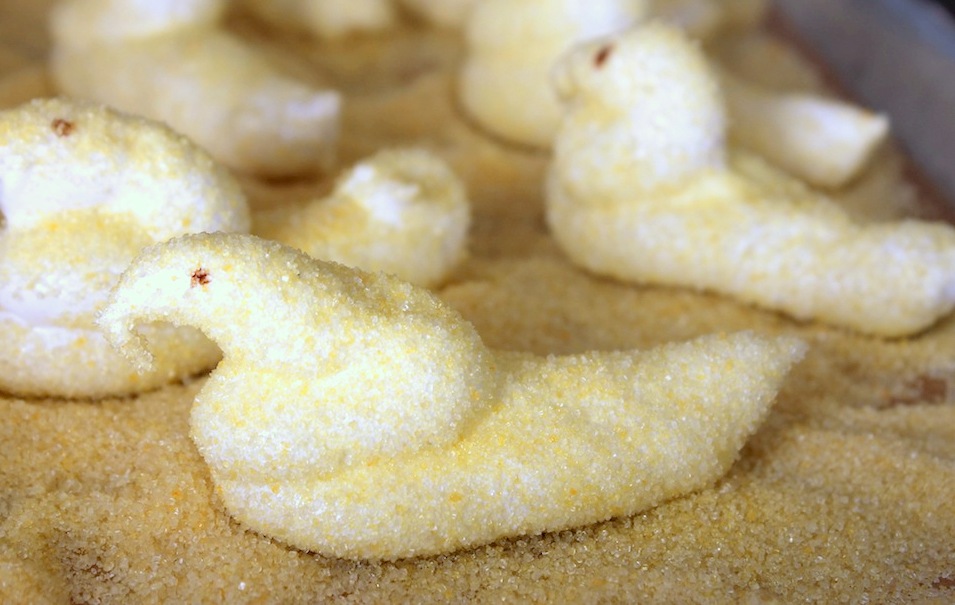
Here comes the tricky part: piping. I must admit that I never really got the hang of making perfect Peeps, so don’t sweat it if your Peeps look more like sea lions than baby chicks. They’ll still taste good. To shape the Peeps, start by forming the body: Hold the bag about 1 inch above the sugar-lined baking sheet at a 90-degree angle. Squeeze the marshmallow mixture out of the bag, allowing it to form a 1-inch round before beginning to taper. You should try to form a body in the shape of a fat tadpole. Release the pressure on the bag and pull the bag upwards to form the tail. You may need to wiggle the bag a little to get the marshmallow to separate.
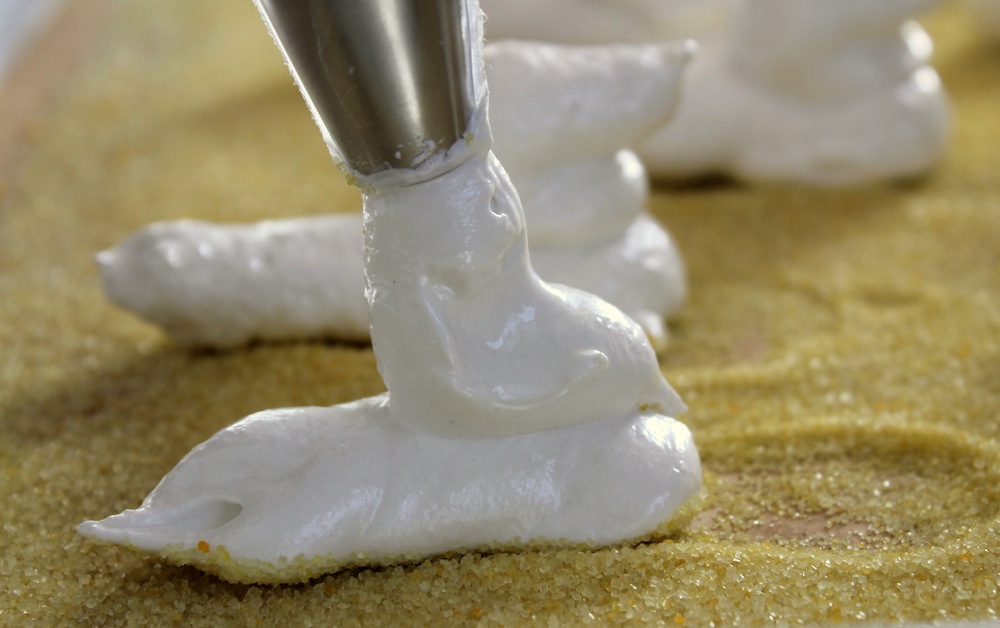
Form the head by placing the bag at a 90-degree angle above the widest part of the body. Slow pipe more marshmallow mixture onto the body, moving the bag back towards the tail. Once you reach the middle of the body, reverse directions and move the bag back towards the front. At the same time, release pressure on the bag so that the marshmallow stops flowing and forms something of a beak shape. Again, you will likely need to wiggle the bag a little to separate the Peep from the tip. Continue piping Peeps until you run out of marshmallow. If you need to do any touch ups or move the Peeps around on the tray, use slightly damp fingers.
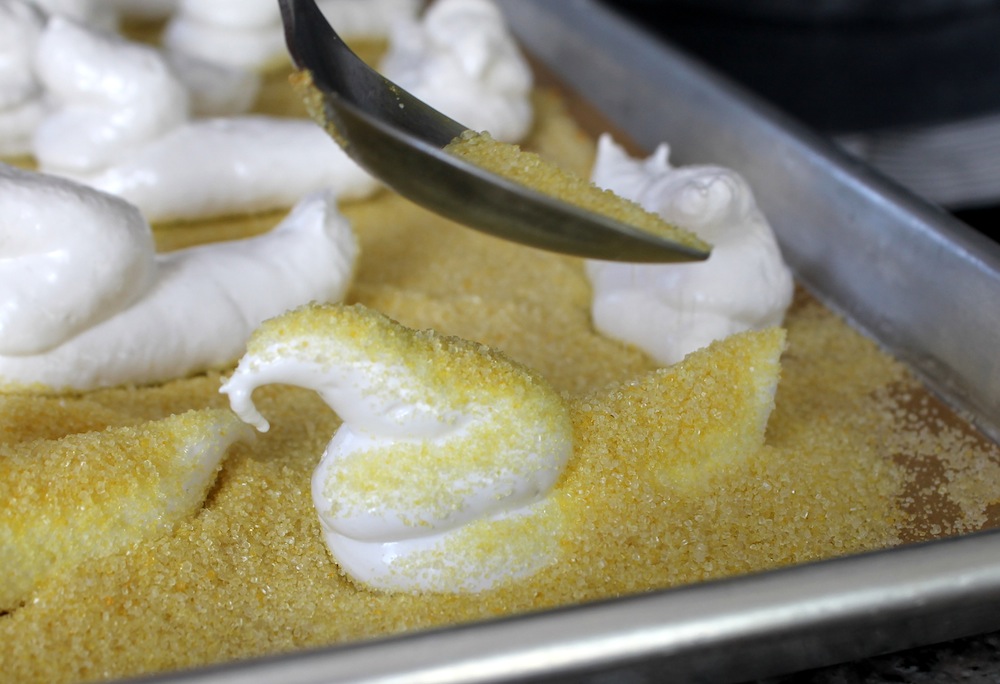
Once you’ve piped all of the Peeps, sprinkle them with the remaining dyed sugar. I found that it was easiest to coat the tops and broad sides of the Peeps first, and then turning them to coat until the head, neck, and tail. Once they’ve got a layer of sugar, you should be able to handle them without sticking.
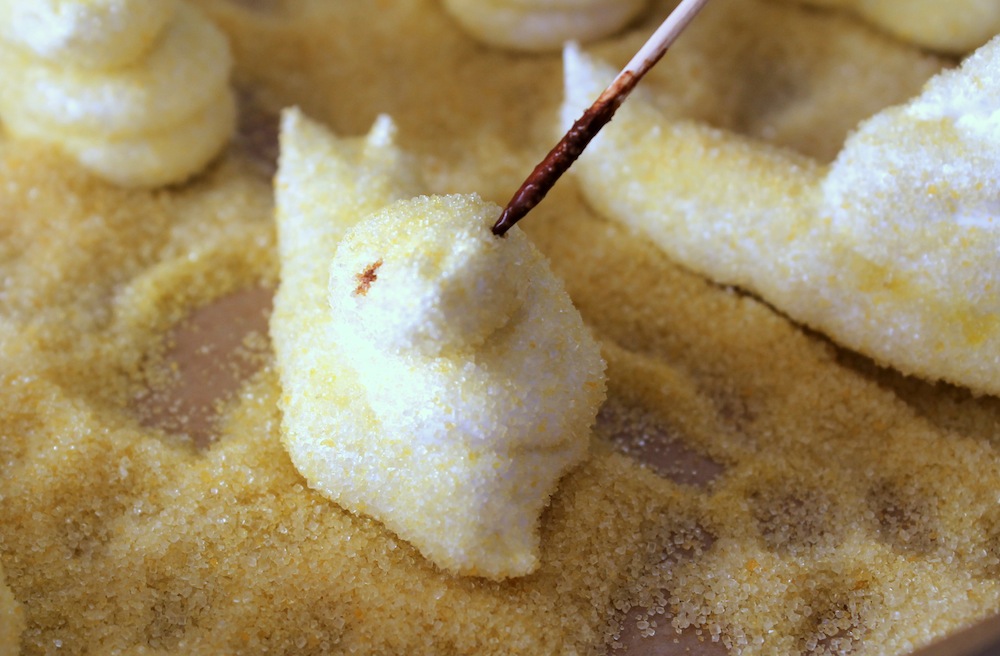
Finally, make the eyes. Some recipes called for making icing to paint onto the Peeps, but that additional process seemed unnecessary. All you really need is a little cocoa powder and water. I found that a 2:1 ratio of cocoa to water makes a good chocolate paint. Mix the cocoa and water together well to get out any errant clumps. Then use a toothpick to dot eyes and any other decorations you’d like to add to the Peeps. If you’re making Peeps with kids, you may want to let them take some creative license and transform the Peeps into marshmallow dinosaurs. (It wouldn’t be a stretch.)
Let the decorated Peeps sit out at room temperature for 4 to 6 hours to let the marshmallow dry and set. You can eat them right away, but they will be extremely soft and messy. The Peeps will maintain their texture for 2 to 3 days, covered in an airtight container. If you like stale Peeps (I do), you can store them for much longer.
Makes about 18 candies
Note: Large piping tips are often sold in sets of 10-15 tips. If you only want to buy the single tip used in this recipe, you will likely need to order it online or visit a specialty pastry store, like Spun Sugar in Berkeley. Disposable plastic piping bags are widely available online and at stores like Sur la Table. You will need a stand mixer for this recipe; it cannot be hand-whipped. The recipe can be easily doubled if necessary. You will not need to double the colored sugar mixture.