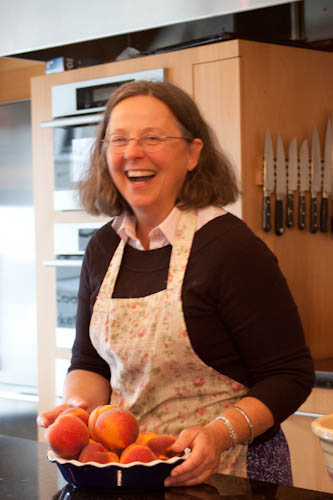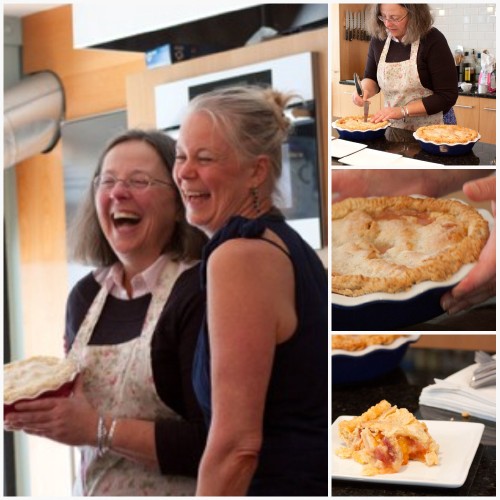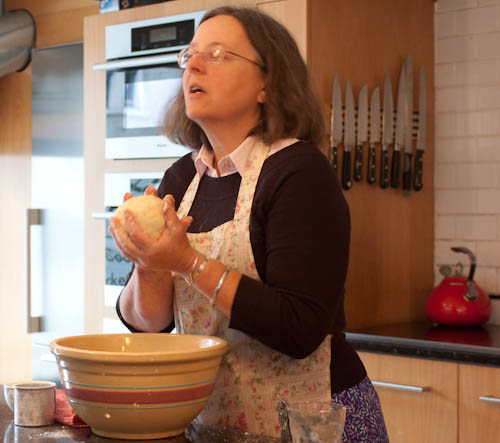
Setting an intention for her pie
Now for a few nuts and bolts. Where to begin? Ingredients and equipment seems like a logical start.
Ingredients and Equipment
Kate uses King Arthur Flour, Kerry Gold Irish Butter (she buys it from Trader Joe's--the best deal in town, she insists), and leaf lard she orders from a small farm in Pennsylvania. And perhaps most importantly, she insists on using only the most superior fruit you can buy. That way, you don't need to add much sugar at all. In our class, we used Frog Hollow Cal Red peaches and nothing more than a little sugar, flour, salt, tapioca, and nutmeg. It turned out absolutely dreamy.
As far as equipment, Kate uses either an 8-inch or 9-inch pan and admits to loving many kinds of pans--from ceramic to glass. She does advise, however, to stay away from those disposable aluminum pie pans because they interfere with the even temperature of the pie crust. Kate also uses a dowel pin and a pastry cloth to roll out her dough. You can find both at your local food supply store.
After discussing ingredients and equipment, Kate began to speak about pie in general, and the elements that make up a good pie:
4 Elements of a Pie Filling:
1) Superior Fruit
2) Thickener
3) Seasoning
4) Sweetener
Pie Filling: Fruit
With any good fruit pie, there are some considerations that will make a ho-hum pie extraordinary. Kate weighs in:
- Quantity: O.K., so this tip is genius in my opinion. I always struggle with how much fruit it will take to make my pie filling. Kate uses a method where she takes whole peaches (or apples, or whatever you're using) and literally places them in the pie pan. Once it's full, you've got enough fruit. In our case with this pie, I believe we used 4 large peaches for our 8-inch dish.
- To peel or not to peel: Kate doesn't bother. Ever. I love this about her.
- Choosing the best fruit: With peaches, Kate says you want to see gold coming out of the rim (not green) of the peach--that way, you know it's gotten all of the sun and nutrients available to it. And when you're choosing a peach, a heavy peach means it has more sugar.
New Trick to Figure out How Many Peaches to Include
As we watched Kate make, form, and roll out her crust she gave many invaluable tips that I've used since and have seen great improvements in my pies. Here they are, in no particular order:
Kate's Crust Tips:
- Cold, cold, cold: Everything must be cold. I was surprised to learn that Kate not only uses cold butter and lard, but she also keeps her butter, her rolling pin, her bowl--even the pastry cloth in the freezer.
- Adding water to your dough: Kate says two things: it's not precise, and go slow. She mentions a 3-2-1 formula where she adds 3 Tbsp. of water to begin and advises to just quickly move the dough around (you're not doing a thorough mixing here) and press together to see if it holds. If it doesn't, add 2 Tbsp. more. A good rule of thumb: the colder the fat, the more water you’re going to need. And an important side-note: Don’t get ice into the dough! When asked if she likes to err on the wet or dry side with her pie crust, Kate says she'd much rather err on the wet side (apparently, Ruth Reichl agrees).
- Forming your dough: Cut your dough ball in half and you should see marbling. You want two “chubby disks” (about 4 inches by 1.5 inch). Wrap your disks in dough and then actually shape them how you'd like while they're in the plastic wrap (this was a revelation to me).
- Rolling out your dough: After chilling your "chubby disks" for at least an hour, you want to take them out and gently tap them with your rolling pin. Kate says this is to kind of jar it awake and let it know you mean business. You want to put a nice amount of flour down on your pastry cloth, and roll out slowly (without worrying about cracks) from fingertips to palms, out and back. Brush off the extra flour as you go with a pastry brush. Kate says you want the pie dough "as thin as glass and only as large as it needs to be." That's how you know when you're done.
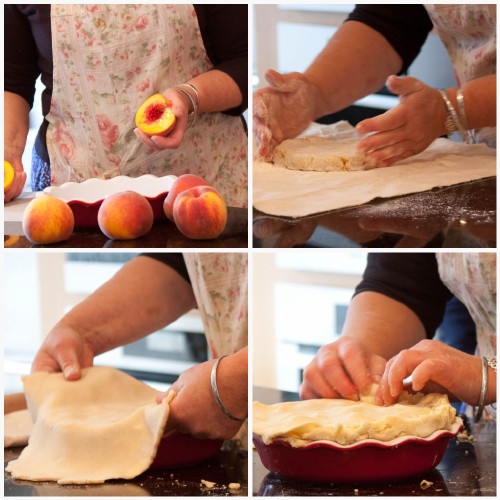
Forming Our Pie!
And now that you're inundated with tips and advice, here is the recipe for Kate's award-winning crust. I will say that nothing could ever replace sitting across from her and watching her make it herself. And I look forward to one day actually taking her longer participation course. Maybe if we all start stalking her and sending her emails, she'll decide to take this pie-crust madness on the road. Until then...
Kate's Infamous Pie Crust
Ingredients:
2 1/2 cups King Arthur Unbleached White Flour (red bag)
8 Tbsp. leaf lard, cut into various small pieces, pea to walnut size
8 Tbsp. Irish butter, cut into various small pieces, pea to walnut size
1/2 tsp. kosher salt
6-8 Tbsp. ice water (this is an average--Kate's used anywhere between 3-15 Tbsp. at a time)
Method:
1. Combine all ingredients except the ice water in a large, cold bowl.
2. With clean hands, blend the mixture together until it looks like course meal with some lumps in it. Lumps=flaky pie!
3. Sprinkle ice water over mixture and stir lightly with a fork.
4. Squeeze a handful of dough together. Mix in a bit more water if it doesn't keep together.
5. Divide the dough in half and make two chubby disks about 5 inches across. Wrap each disk separately in plastic wrap and chill for 1 hour.
6. Take out one disk and put on a well-floured board. Sprinkle some flour onto the top of the disk and thump the top several times. Turn it over and thump the other side.
7. Sprinkle more flour onto the top of the crust if needed to keep the pin from sticking and roll the crust out from the center in all directions. When it's an inch or so larger than your pie pan, fold the dough over the top of the pin and lay it in the pie pan carefully.
8. Don't worry if the crust needs to be patched together; just paint a little water where it needs to be patched and "glue" on the patch pieces.
9. Put the filling in the pie and repeat the process with the other disk.
