upper waypoint
DIY Halloween Caramel Apples Wendy Goodfriend
DIY Halloween Caramel Apples (Wendy Goodfriend)

DIY Halloween Caramel Apples

DIY Halloween Caramel Apples

Save ArticleSave Article
Failed to save article

Please try again

Bobbing for apples, candied apples, and especially caramel apples always make me think of autumn and harvest festivals and Halloween. Clearly all this apple-y goodness is because apples are in season! And these seasonal treats not only bring up fond childhood memories, but make any gathering feel festive and of-the-season.

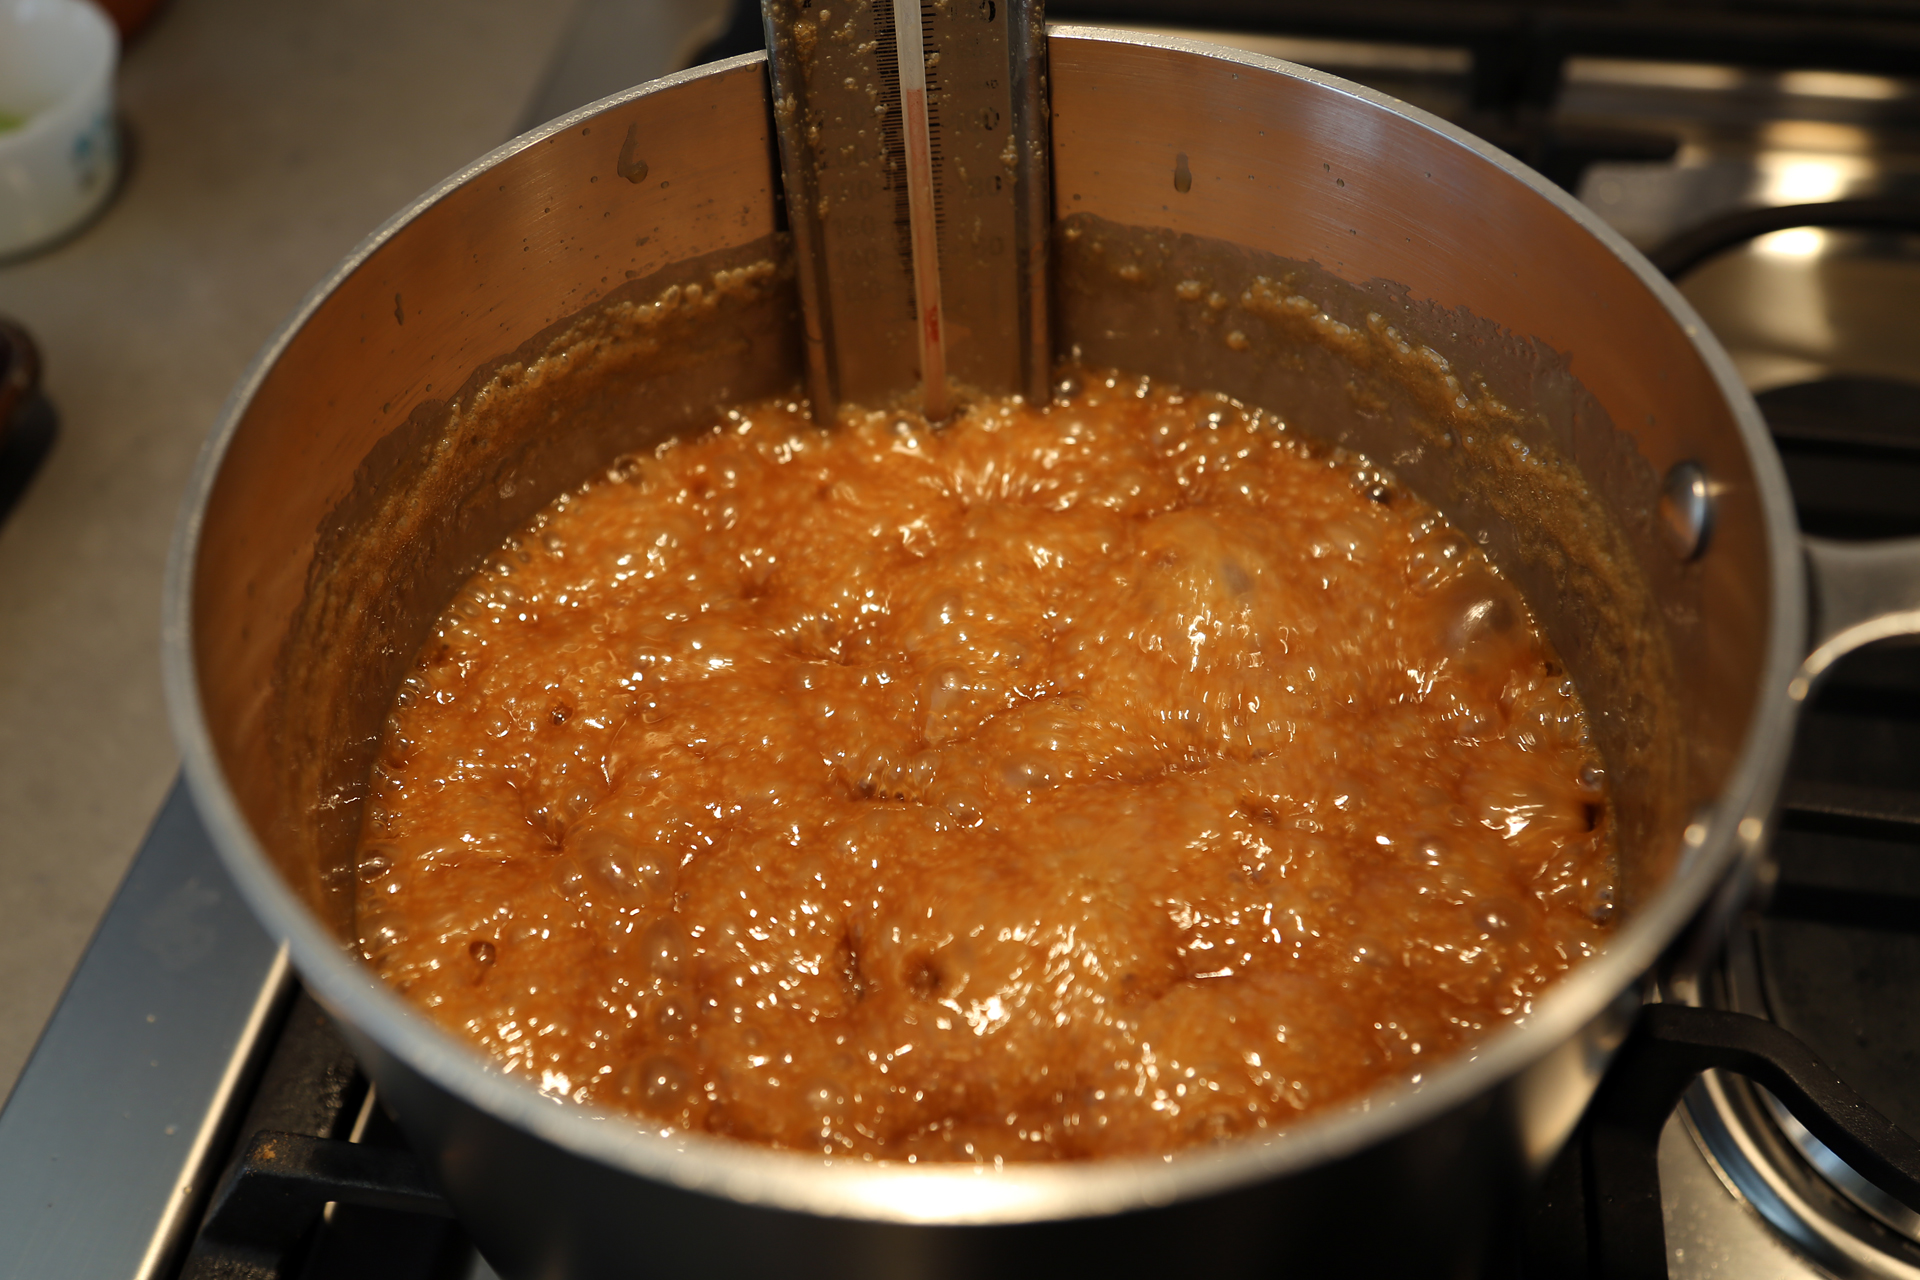
Making caramel apples isn’t hard, as long as you follow a few simple steps:

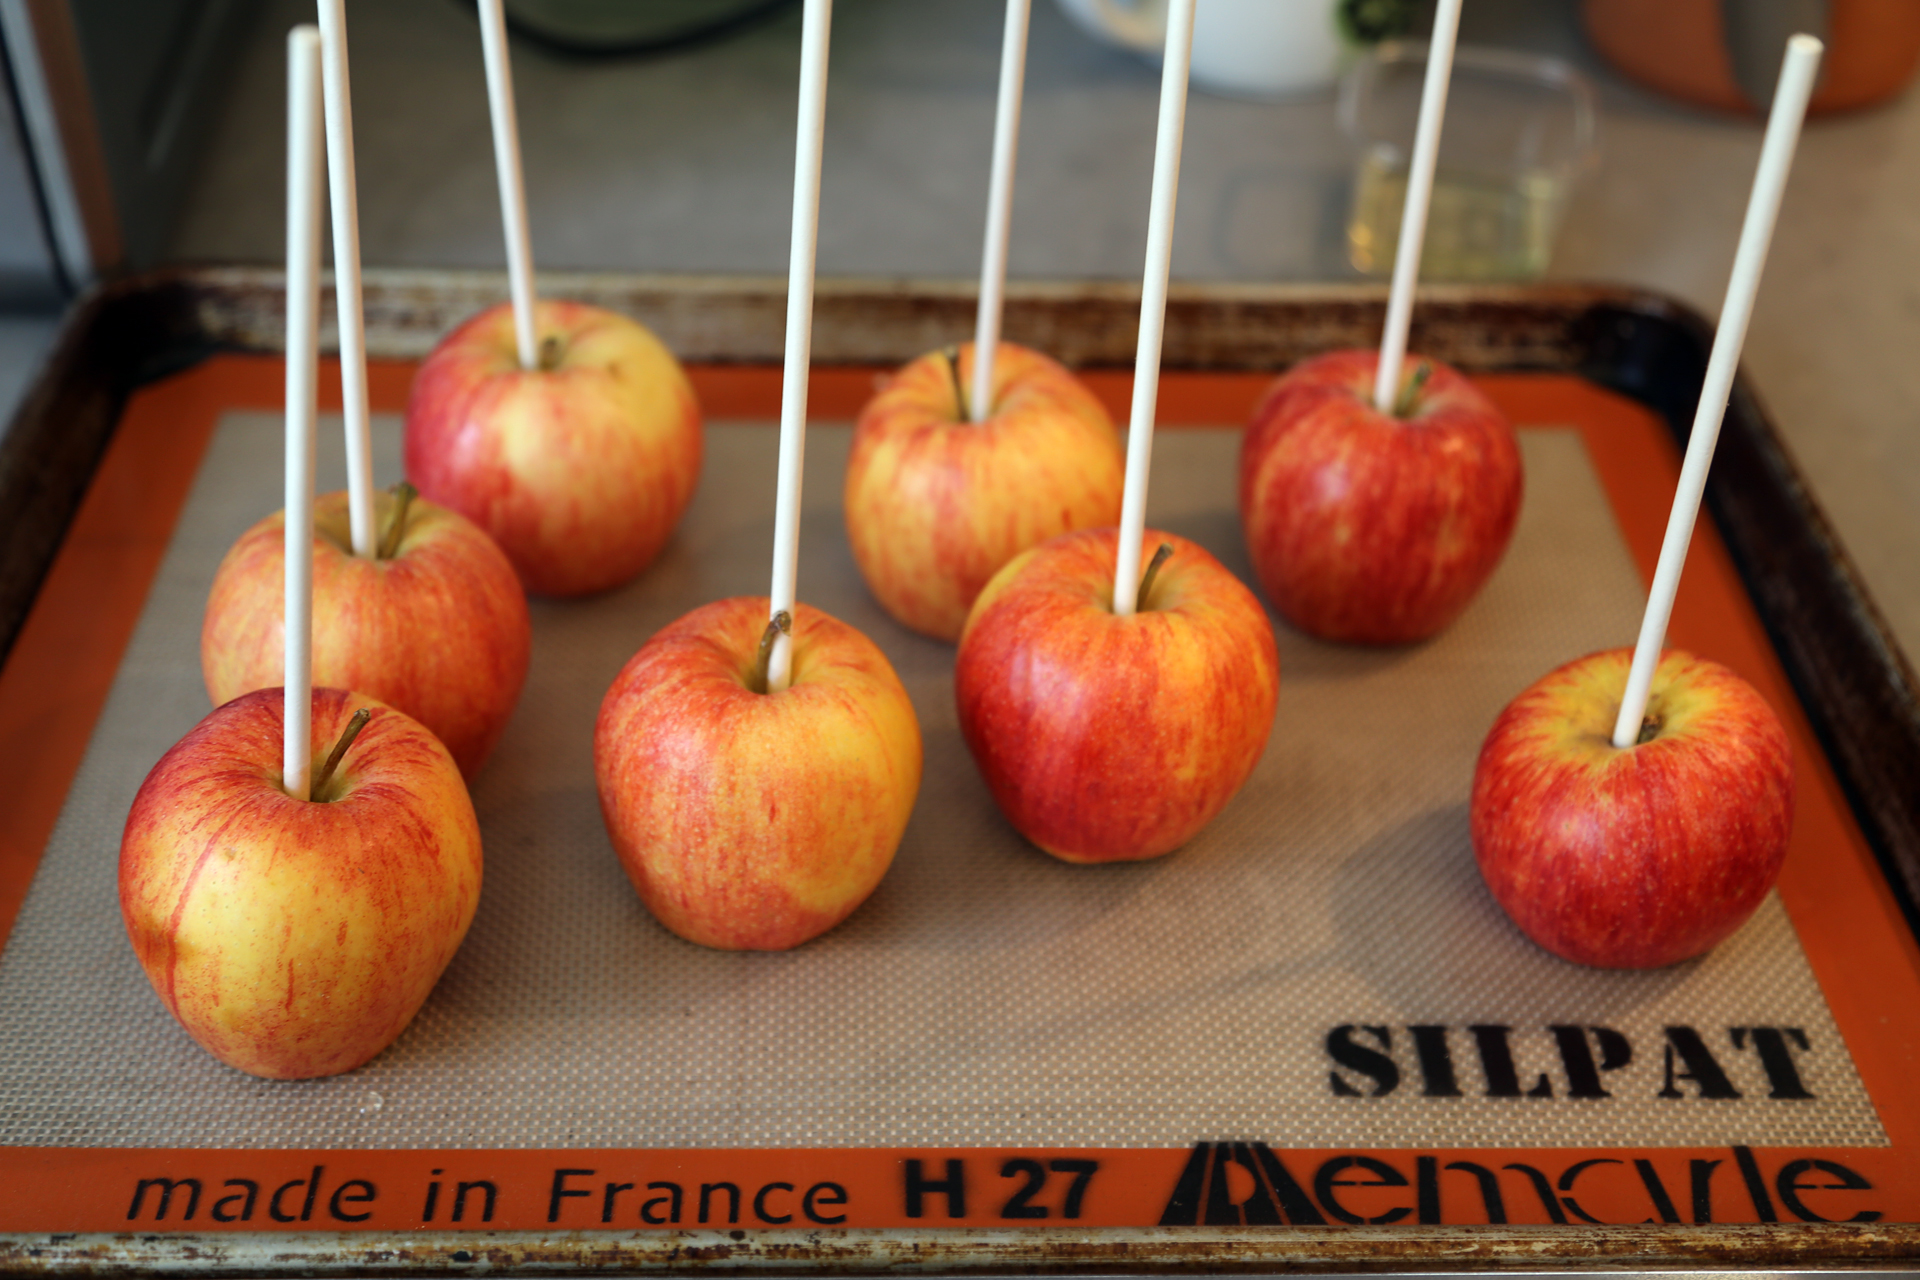
  • Make sure you rinse your apples in hot water to remove any wax, then dry them thoroughly.
  • The apples should be at room temperature before dipping.
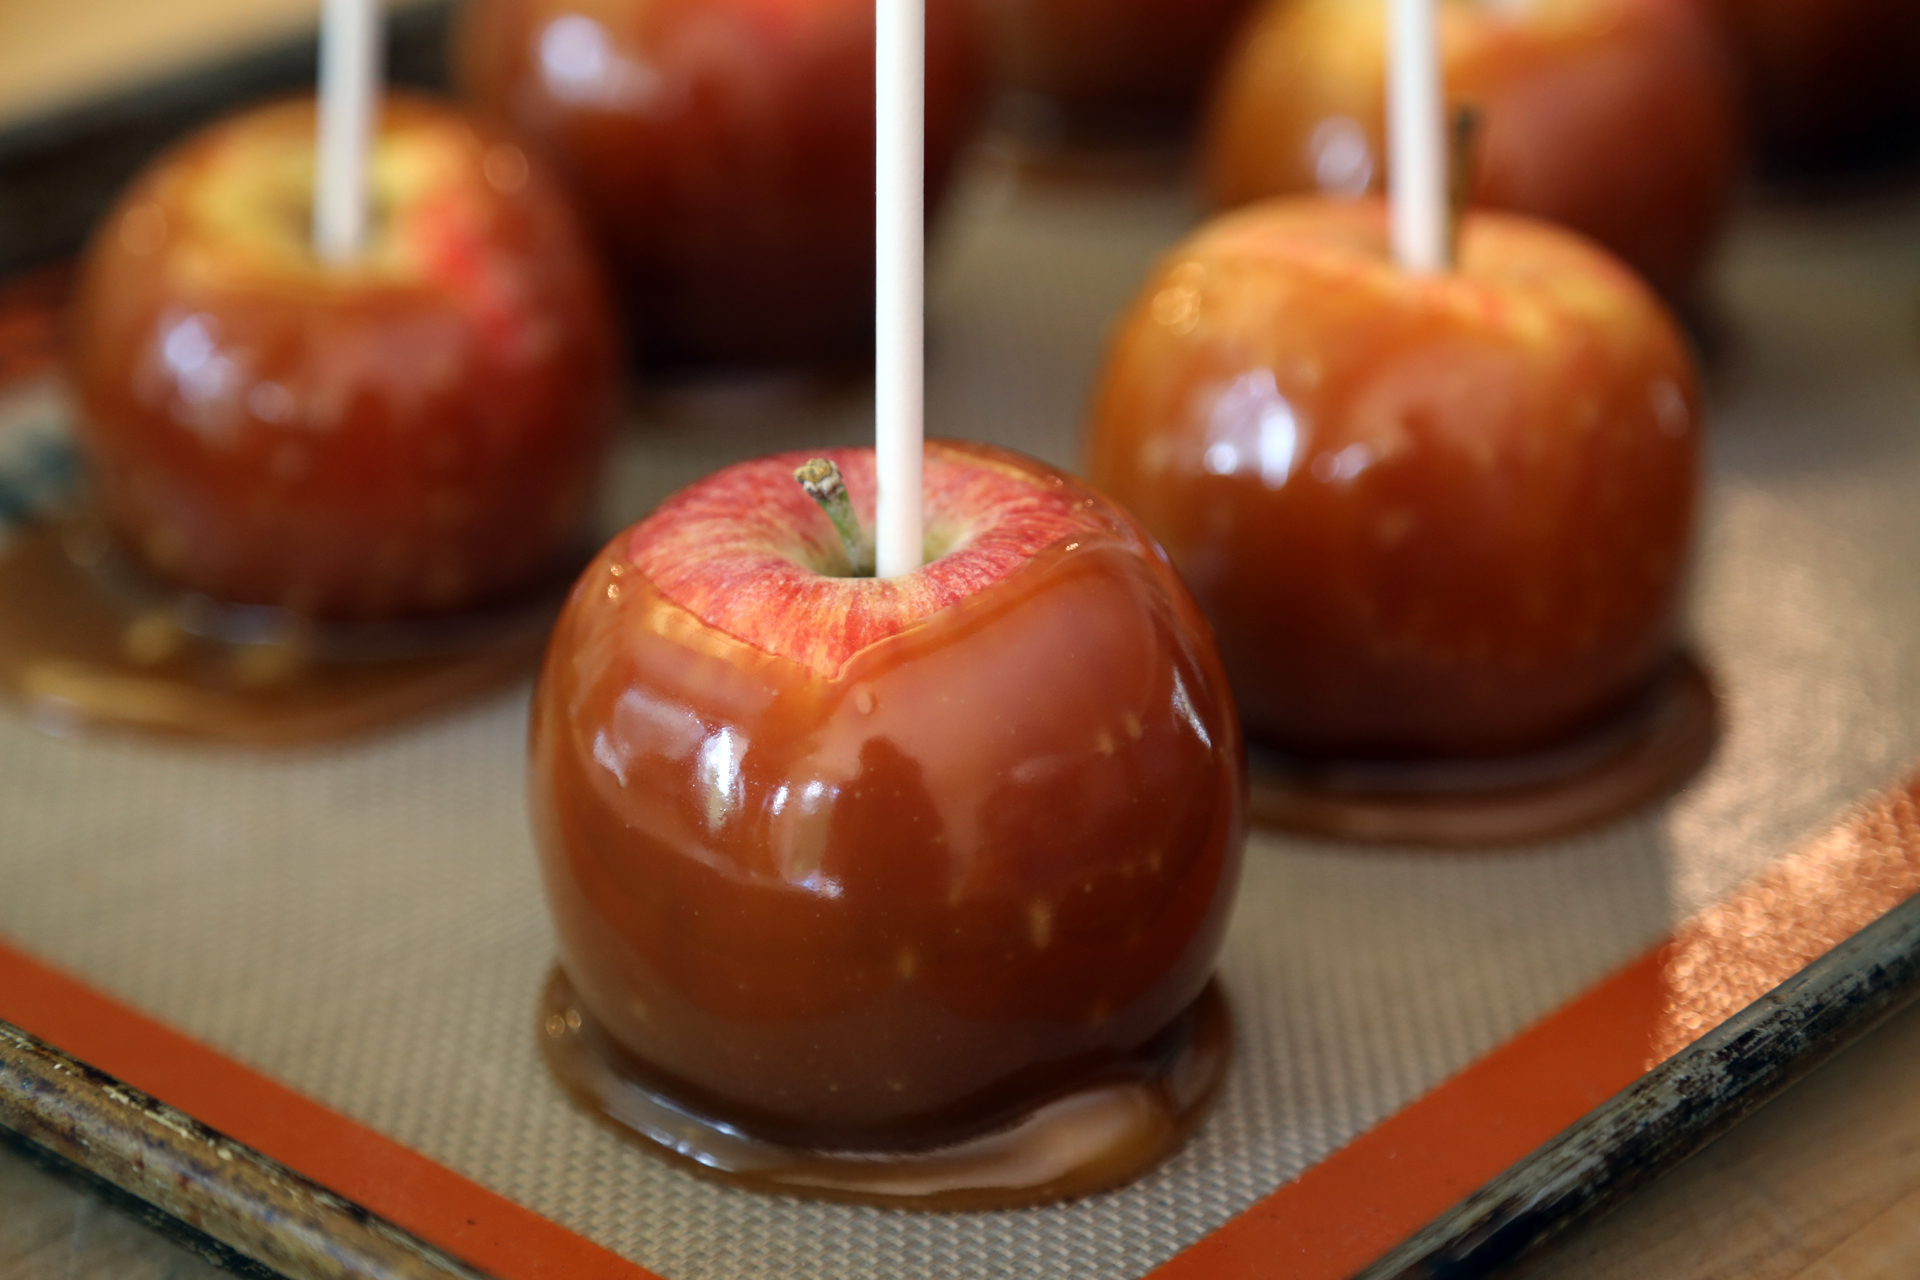
  • Choose smaller apples, and ideally a tart variety to offset the sweetness from the caramel.
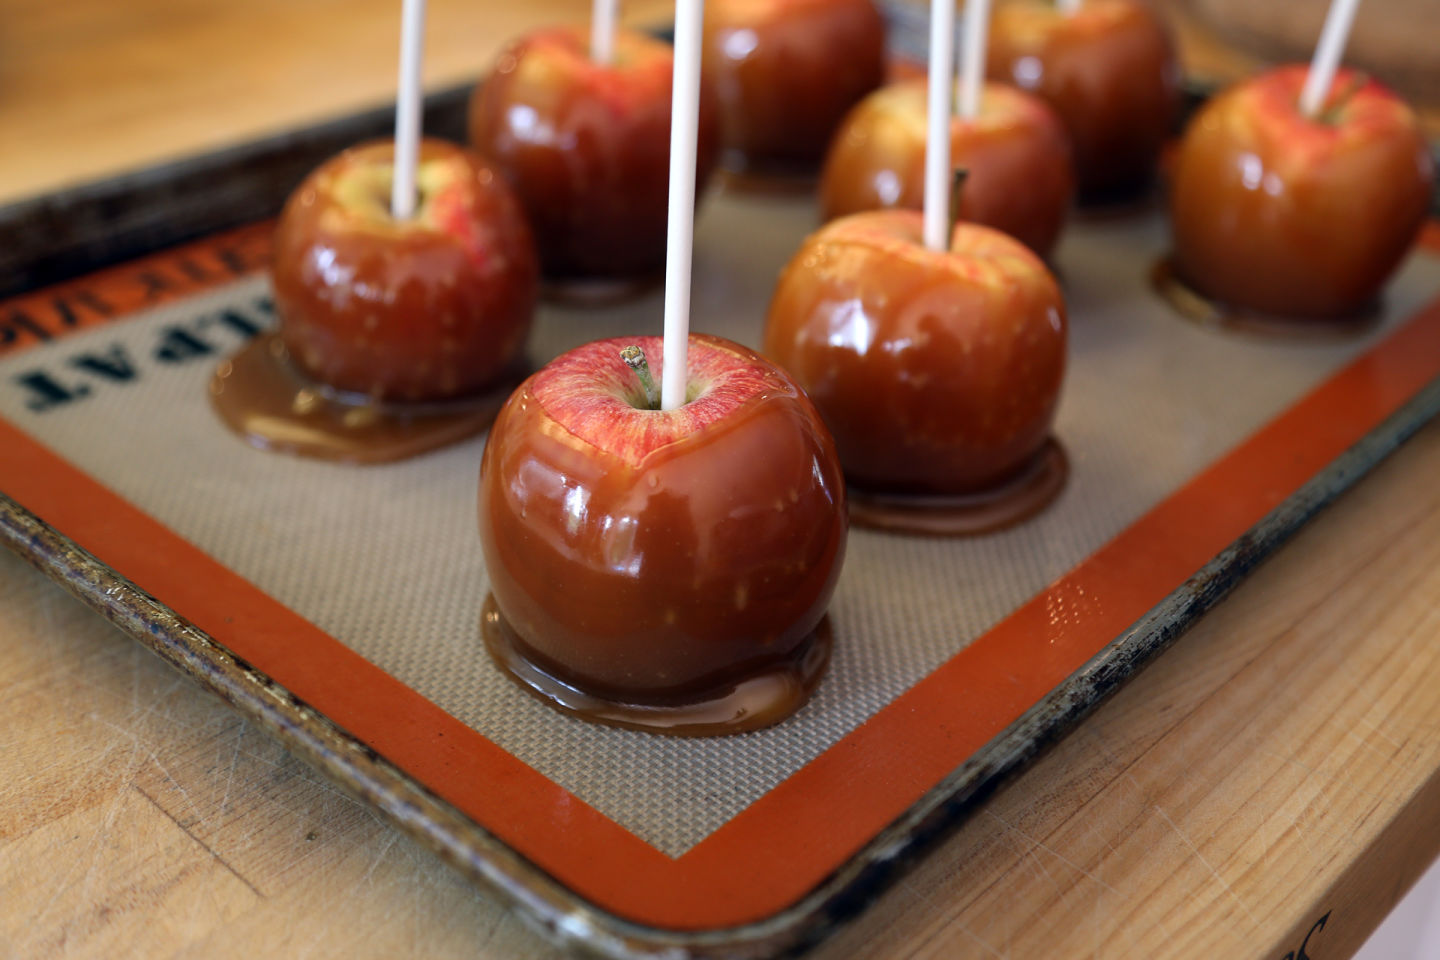
  • Make sure you use sturdy lollipop sticks, popsicle sticks, or even wooden chopsticks to plunge into the apple core for easy lifting.

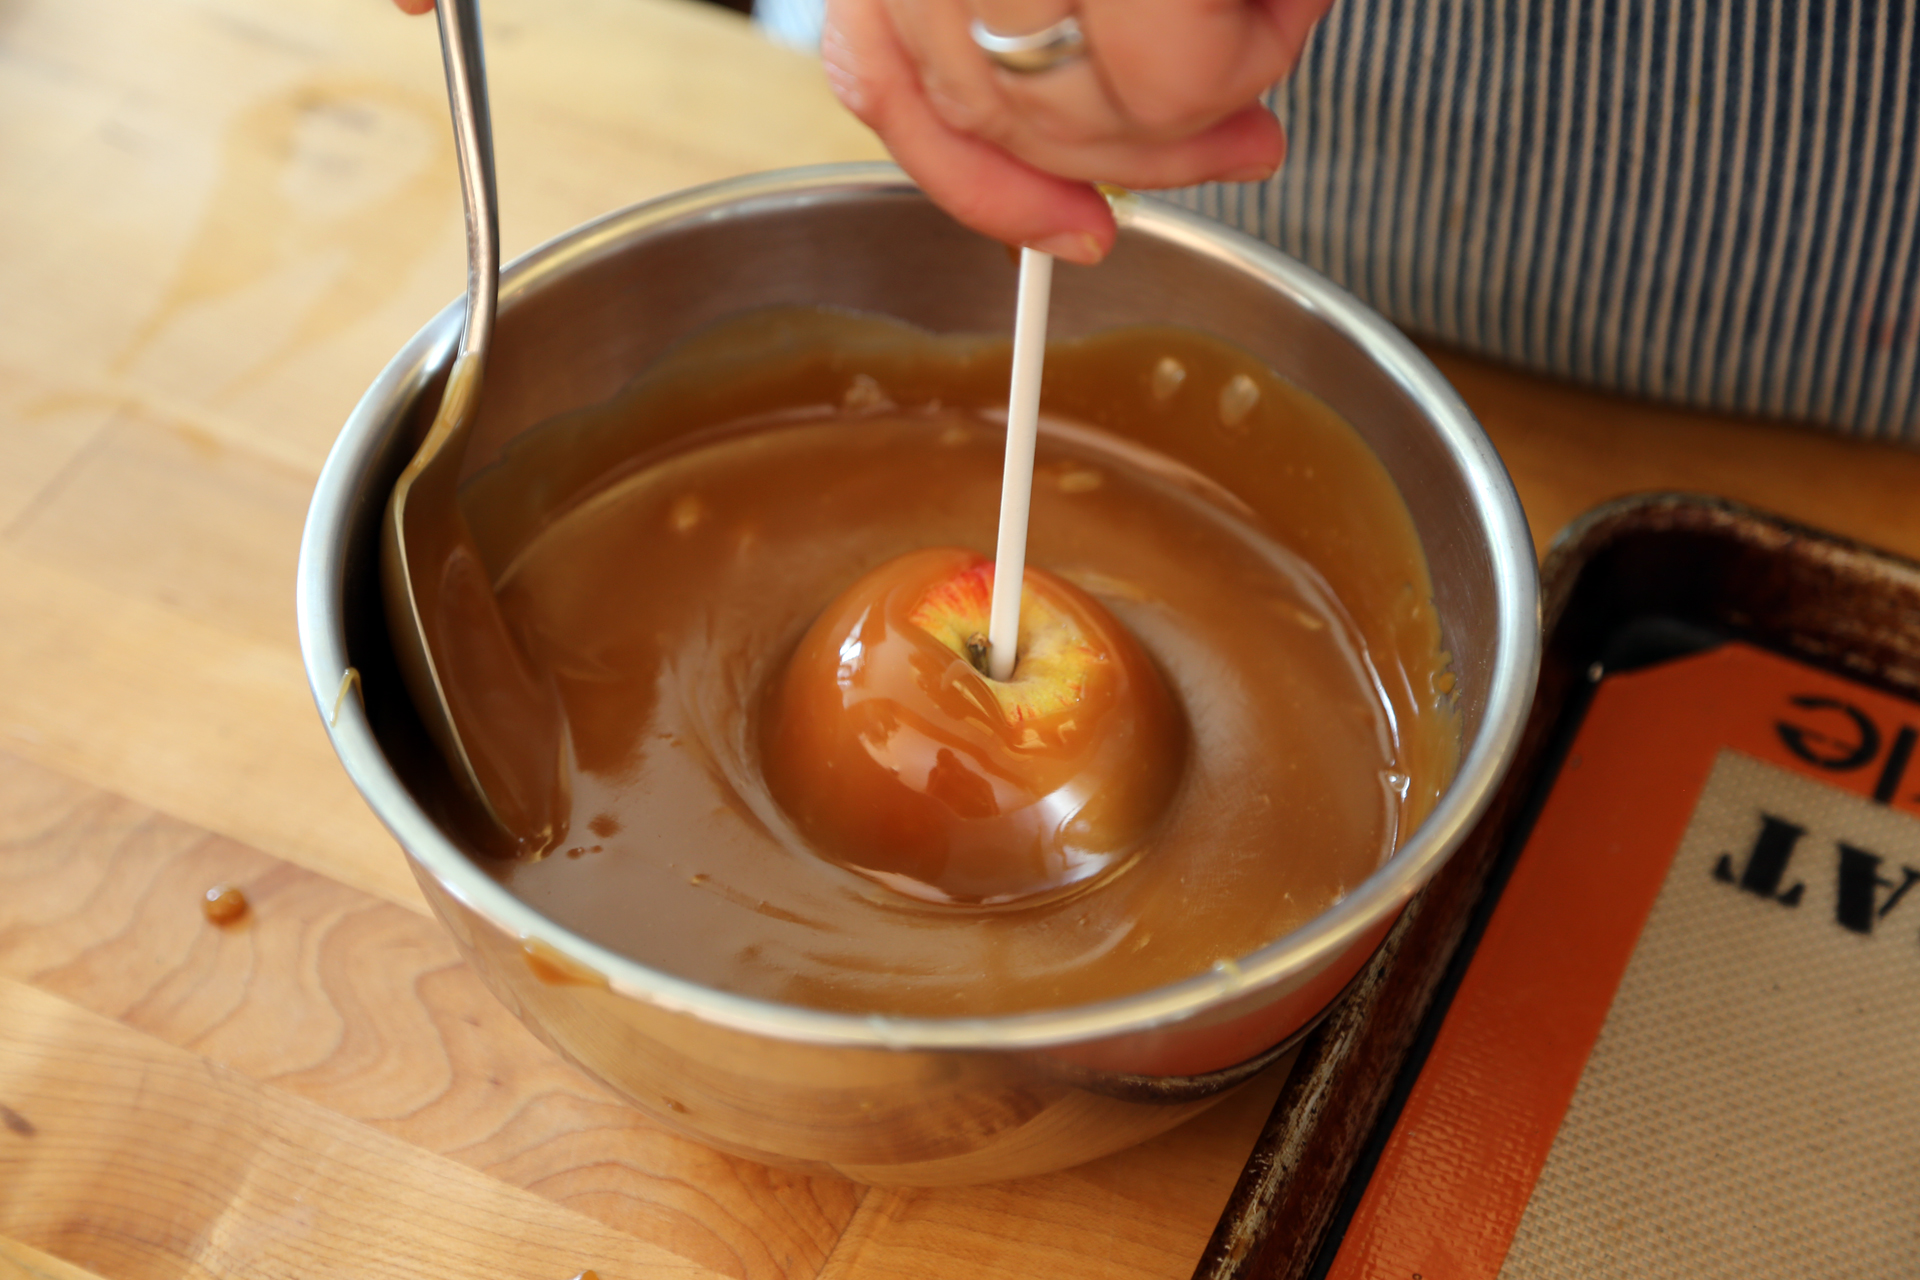
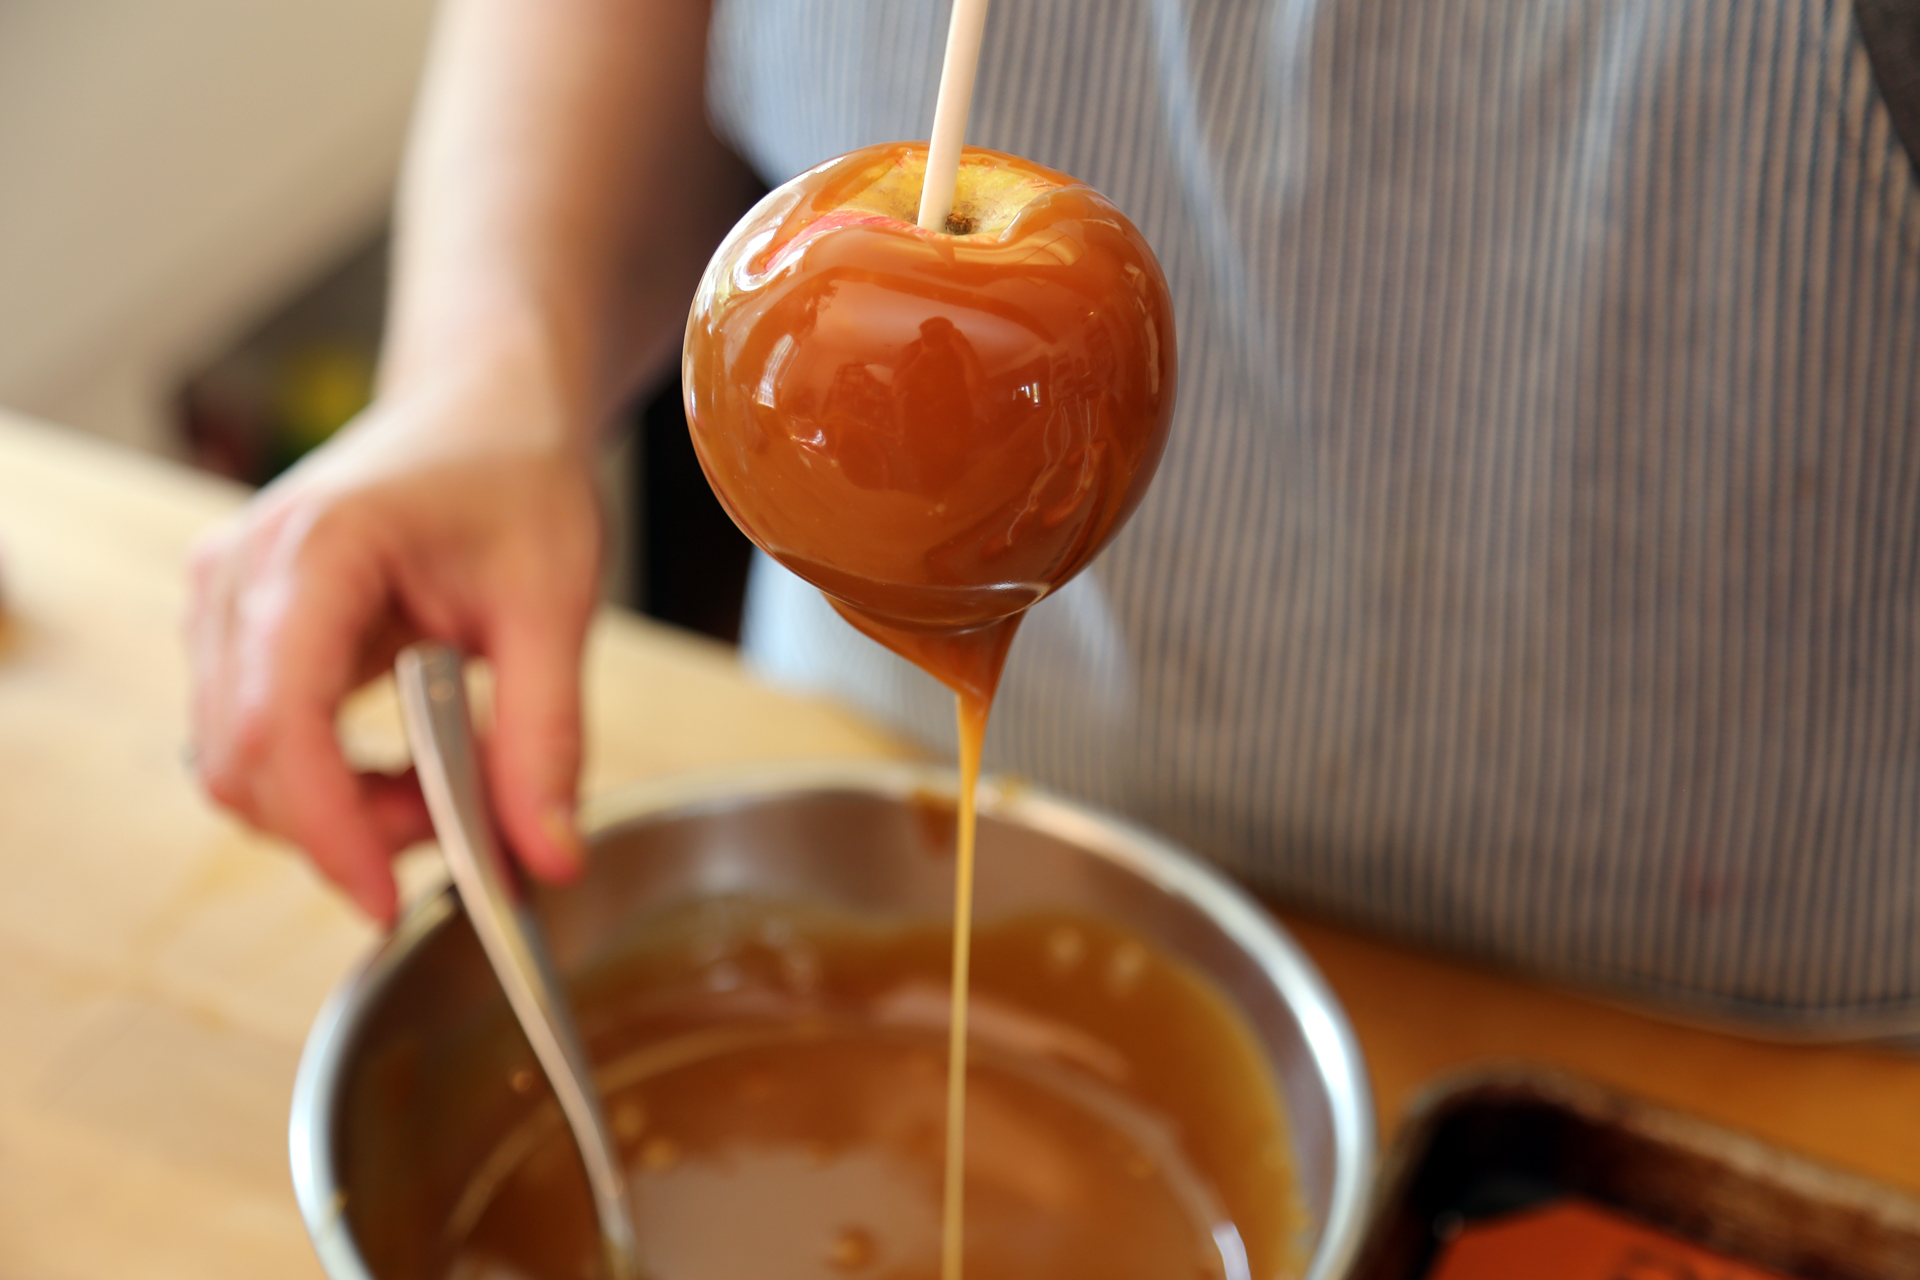
Once you dip your apple, you can leave it as is with just a caramel sheen or dip into chopped toasted nuts (like peanuts, pecans, or almonds), mini chocolate chips, or even sprinkles. Make sure you set out a bowl of whatever you want to dip the apple in before you start dipping, and roll the freshly-dipped apple into the bowl of ingredients while the caramel is still warm so the ingredients will stick.

To make individual caramel apple gifts, wrap each apple individually in wax paper and tie it with a ribbon. (Make sure to refrigerate after the apples set; they can be made up to 1 day in advance.)

You’ll have a little leftover caramel which can be used for warm caramel sauce over ice cream, or pour it into a small greased pan and let it set, then cut it into caramels and wrap each one individually with wax paper (a great treat to give out at Halloween as well!).

Halloween Caramel Apples
Halloween Caramel Apples (Wendy Goodfriend)

Halloween Caramel Apples

Makes 12 apples

Sponsored

Ingredients:

  • 12 medium apples (not cold, at room temp)
  • 12 popsicle sticks or lollipop sticks
  • 2 cups brown sugar
  • 1 1/2 cups heavy cream
  • 3/4 cup dark corn syrup
  • 4 tbsp unsalted butter
  • 2 tsp vanilla extract
  • 1 tsp kosher salt

Instructions:

    1. Rinse the apples in hot water, then dry them thoroughly. Place on a parchment or silicone mat lined baking sheet. If the apples don’t sit flat, slice a little off the bottom to make them sit flat. Push the sticks into the stems of the apples.
Rinse the apples in hot water, then dry them thoroughly. Place on a parchment or silicone mat lined baking sheet. Push the sticks into the stems of the apples.
Rinse the apples in hot water, then dry them thoroughly. Place on a parchment or silicone mat lined baking sheet. Push the sticks into the stems of the apples. (Wendy Goodfriend)
    1. In a deep, heavy saucepan over medium heat, stir together the sugar, cream, corn syrup, butter, vanilla, and salt. Cook, swirling the pan occasionally, until the mixture is thick and syrupy and registers 245F (or “soft ball” stage) on a candy thermometer.
In a deep, heavy saucepan over medium heat, stir together the sugar, cream, corn syrup, butter, vanilla, and salt. Cook, swirling the pan occasionally, until the mixture is thick and syrupy and registers 245F.
In a deep, heavy saucepan over medium heat, stir together the sugar, cream, corn syrup, butter, vanilla, and salt. Cook, swirling the pan occasionally, until the mixture is thick and syrupy and registers 245F. (Wendy Goodfriend)
    1. Pour the mixture into a small but deep metal bowl and set aside to cool to about 200F.
    2. Grease the lined parchment or silicone. Holding the stick, dip each apple into the caramel, letting the excess drip off, and then return to the lined baking sheet. Let set at least 15 minutes.
Grease the lined parchment or silicone. Holding the stick, dip each apple into the caramel.
Grease the lined parchment or silicone. Holding the stick, dip each apple into the caramel. (Wendy Goodfriend)
Let the excess drip off, and then return to the lined baking sheet. Let set at least 15 minutes.
Let the excess drip off, and then return to the lined baking sheet. Let set at least 15 minutes. (Wendy Goodfriend)
  1. If you are not serving the apples right away, make sure to cover and refrigerate them for up to 1 day before serving.
If you are not serving the apples right away, make sure to cover and refrigerate them for up to 1 day before serving.
If you are not serving the apples right away, make sure to cover and refrigerate them for up to 1 day before serving. (Wendy Goodfriend)

lower waypoint
next waypoint
Your Corn Tortilla Sucks…Science Can Fix ItSamosas aren’t from India…Wait, what?With Seafood Restaurant alaMar, Oakland Chef Nelson German Breaks From Black Chef StereotypesYour Ultimate 2020 Summer Ice Cream GuideFood Labeling: How to Identify Conventional, Organic and GMO ProduceSpringtime Delight: Rhubarb Puff-Tart PocketsHow To Buy And Store Fresh Tomatoes Bay Area Bites Guide to the Best Food for Takeout in Berkeley and OaklandZucchini and Beyond: A Farmers Market Guide to Summer SquashBay Area Bites Guide to 6 Favorite Spots For Fresh Pasta in San Francisco and the East Bay