upper waypoint

Homemade Greek-Style Yogurt Cups Make for an Easy and Healthy DIY Snack

Save ArticleSave Article
Failed to save article

Please try again

Homemade Greek-style yogurt cups with cardamom mango. Photo: Kate Williams

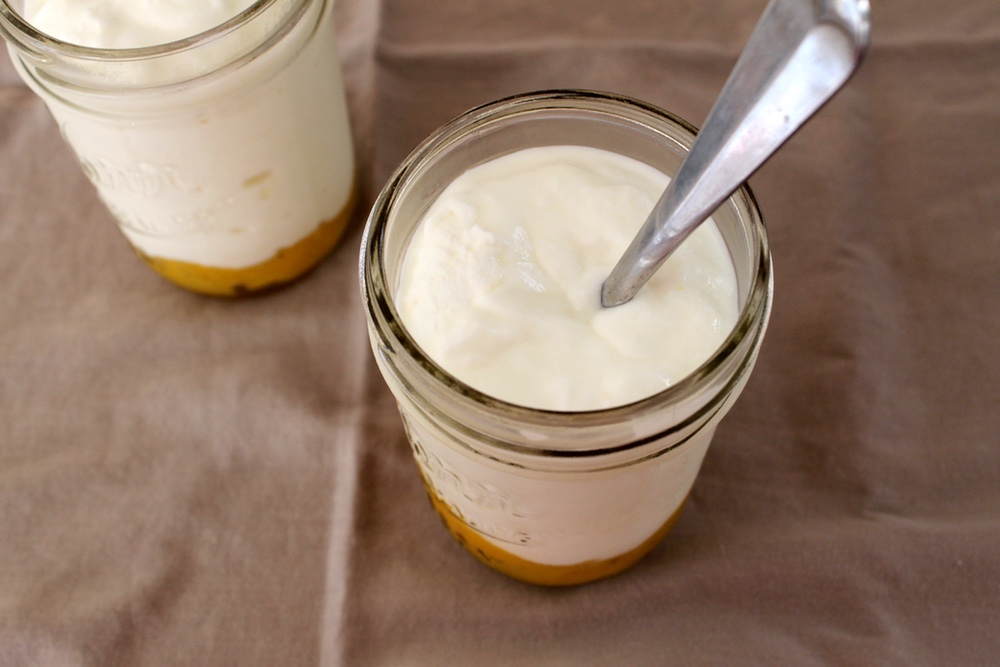
Single-serve Greek yogurt cups are doing big business. A glance at their growing real estate in the dairy aisle says plenty about the snack’s growing popularity. Most yogurt companies tout their product’s healthfulness, but they gloss over the added sugars, flavorings, dyes and binders used to make their yogurt shelf-stable and kid-friendly. That’s not exactly what I call health food.

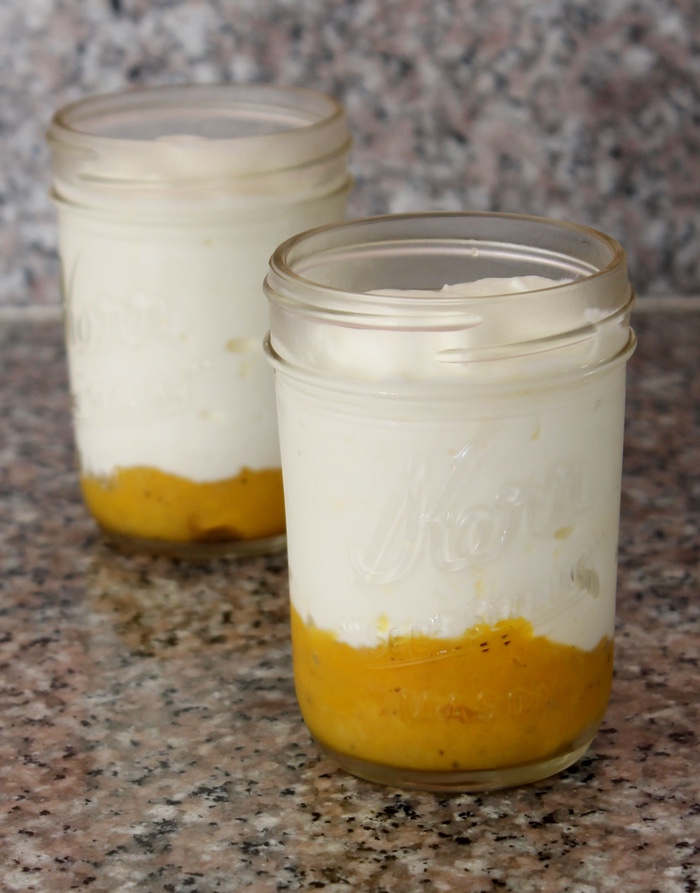
Still, I see the food’s appeal — colorful, fun, and protein-packed, one single cup has enough nutrient heft to get me through an afternoon lull. But the truth is, it is easy to do better, much better, by making yogurt at home. It requires patience, about 24 hours of it, but most of the time is hands-off. Plus, I can control the quality and fat content of the milk, as well as the sugar content of the fruit. I call it a win-win-win.

All you need to make yogurt at home is milk, yogurt for culturing, and fruit to serve on the bottom of the cups. Photo: Kate Williams

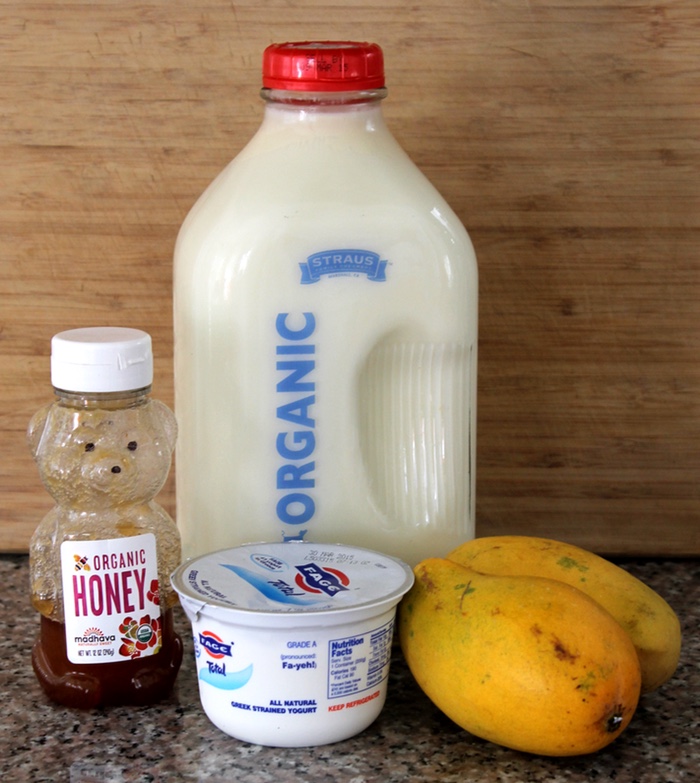
I like to start with organic, whole milk for my yogurt. (Yes, you can use low-fat or even skim if you’d like, but didn’t you just read the revised dietary guidelines? Fat is no longer the enemy.) The easiest thing to use to culture the milk is store-bought yogurt with live cultures. I like to grab one 7-ounce container to use for 8 cups of milk. Keep in mind, the texture and flavor of the resulting yogurt will mimic that of the starter yogurt. Choose something you like. Don’t use a flavored yogurt, or anything with gums or sweeteners. After this first batch of yogurt is made, you can reserve a bit of the homemade yogurt to use in subsequent batches, and you won’t need to buy any yogurt from the store again.

First heat the milk to 185 degrees. Photo: Kate Williams

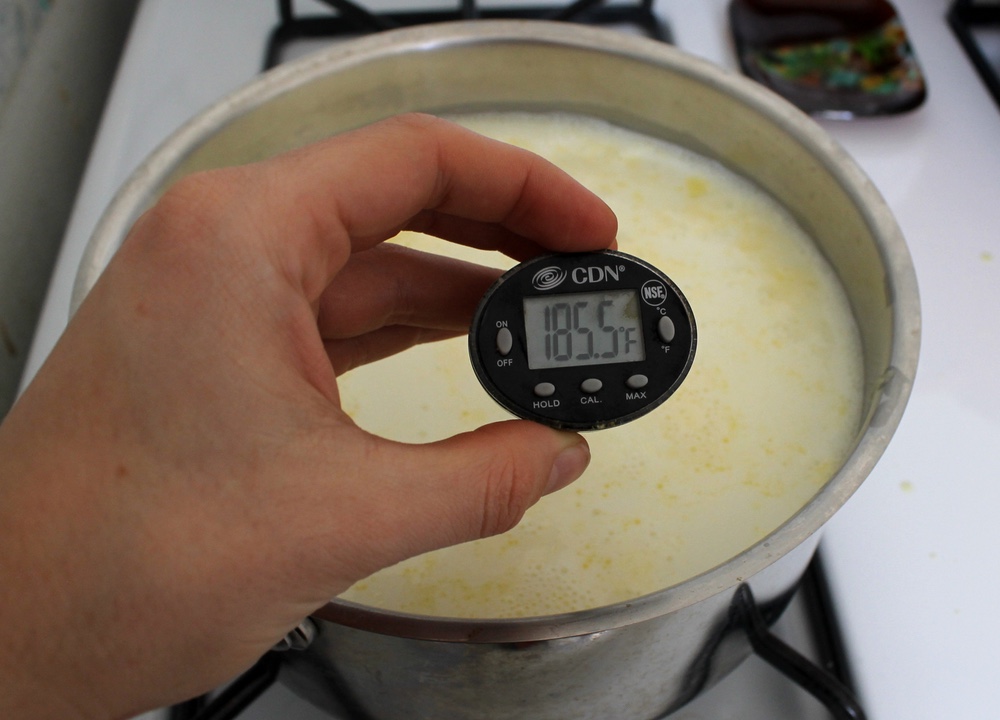
To make yogurt, the milk first needs to be heated to 185 degrees. This heating step helps to reconfigure the proteins in the milk so that they will form creamy yogurt when cultured. Next, let the milk cool to a more suitable incubation temperature (around 110 to 112 degrees) before adding the yogurt.

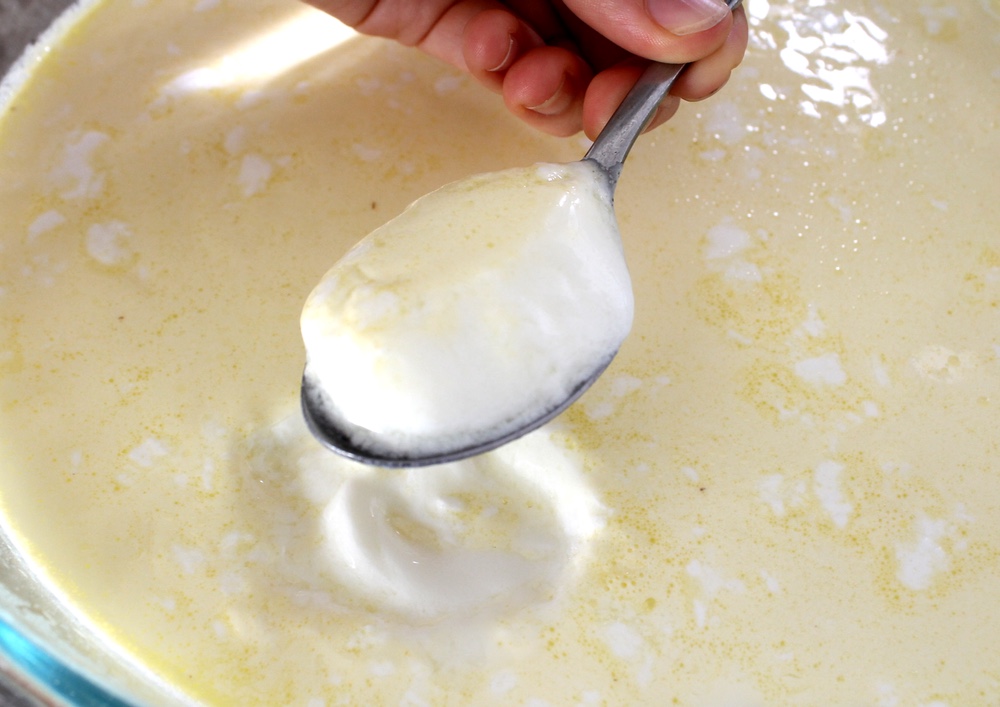
You can let the milk cool on the stove, but I like to speed things up a bit by using a water bath. Simply place the entire pot of milk into a bowl of ice water and stir while it cools. It’ll reach 112 before you know it. Once the milk is cooled, stir in the yogurt. Take the time to get the mixture smooth.

Sponsored

Now pour the milk and yogurt mixture into a large glass bowl for culturing. I like to use glass here because it is non-reactive. You could also use a large glass canning jar, or two smaller jars if you’d prefer. Cover the bowl with plastic wrap and then a kitchen towel to keep the milk warm.

The oven makes a great yogurt incubator, and using it doesn’t require purchasing special equipment. Photo: Kate Williams

Yogurt bacteria are happiest when they are incubated somewhere between 100 and 110 degrees. There are plenty of fancy yogurt-making contraptions that will hold this precise temperature, but there’s no reason to go out and buy one — an oven light will do the trick. I snuggle the bowl up next to the oven light, flip it on, and close the oven door. Five to seven hours later, the yogurt is set. You’ll know the yogurt is ready when it holds its shape in the bowl or on a spoon.

You’ll know the yogurt is set when it holds its shape on a spoon. Photo: Kate Williams

You can eat the yogurt right now if you’d like; it will have the texture of “European-style” yogurts. The best way to make yogurt with fruit on the bottom, however, is to drain the yogurt to mimic “Greek-style” brands.

Line a colander with a triple layer of cheesecloth and set it into a large bowl. Transfer the yogurt to the colander, cover with plastic wrap, and let drain in the fridge. I like to let the yogurt drain overnight (somewhere between 8 and 10 hours). It will lose about half its volume in whey and become remarkably thick.

After transferring the yogurt to the draining set-up, I like to prepare the fruit filling. The best looking fruit at the store was a couple of Manila mangos, which make for a bright and slightly tangy foil to the yogurt. You can use whatever fruit you’d like for the filling; two cups of prepped fruit will yield enough filling for the yogurt.

Mango, cardamom, and a touch of honey makes a sweet-tart accompaniment. Photo: Kate Williams

Combine the mango with a splash of water, a tablespoon of honey, a dash of ground cardamom, and a pinch of salt. The honey, by the way, is totally optional. One of my mangoes was a bit tart, so it needed a little sweetness for balance. Heat the fruit mixture until the mango softens; it will only take a few minutes. Use the back of a spoon to mash some of the cooked fruit to create a jam-like texture. Season to taste and store in the fridge until the yogurt is ready.

Once the yogurt is drained, fill the jars. I like to use half-pint jars because they are the perfect single serving size. First, divide the mango mixture between six jars. I like to use between two and three tablespoons. Top with about 3/4 cup yogurt and seal the jars with their lids. Make sure to save between 1/2 cup and 1 cup plain yogurt to use for your next batch.

Place two to three tablespoons mango mixture on the bottom of a half-pint jar and top with yogurt. Photo: Kate Williams

Recipe: Greek-Style Yogurt Cups with Cardamom Mango

Makes 6 single-serve jars

Note: Feel free to experiment with the choice of fruit and seasonings. Anything in season will work; aim for 2 cups prepped fruit. You can make the yogurt using low-fat or fat-free dairy if you insist. Goat’s milk yogurt will also work, but the fermenting time may be longer. For best results, use a plain, additive-free Greek-style yogurt, such as Fage or Strauss, as a starter. When making future batches, you can use homemade yogurt as a starter.

Ingredients:

  • 8 cups whole milk yogurt
  • 1 (7-ounce) container plain whole milk Greek-style yogurt, with live and active cultures
  • 2 Manila mangos, peeled and roughly chopped
  • 2 tablespoons water
  • 1 tablespoon honey (optional)
  • 1/4 teaspoon ground cardamom
  • Pinch kosher salt

Sponsored

Instructions:

  1. Prepare an ice bath by filling a large bowl with ice water.
  2. Heat milk in a large saucepan over medium-low heat until it reaches 185 degrees. Remove from heat and let the milk cool for 5 minutes. Place the saucepan directly in the bowl of water. Let milk cool, stirring frequently, until it reaches 110 to 112 degrees, 5 to 7 minutes. Remove from ice bath.
  3. Stir yogurt into cooled milk until smooth. Transfer to a large glass bowl and cover with plastic wrap. Cover the bowl with a clean kitchen towel and transfer to an oven with the light on. Place the bowl close to the light. Let yogurt sit, undisturbed, until set, 5 to 7 hours. Rotate the bowl 180 degrees about halfway through the culturing time.
  4. Meanwhile, place a colander over a second large bowl. Line the colander with a triple layer of cheesecloth.
  5. When the yogurt is set, remove the bowl from the oven. Carefully transfer the yogurt to the prepared colander. Cover with plastic wrap and let drain in the refrigerator overnight.
  6. While the yogurt is draining, prepare the mango mixture: Combine the mangoes, water, honey, cardamom, and salt in a small saucepan. Bring to a simmer over medium-high heat and cook, stirring frequently, until the mango softens, 5 to 7 minutes. Use the back or a wooden spoon to mash about half of the mango against the side of the saucepan. Season to taste with honey and salt. Transfer to a storage container and refrigerate until the yogurt has drained.
  7. The next day, remove the yogurt and the mango mixture from the refrigerator. Divide the mango mixture between 6 half-pint glass jars. (You should use 2 to 3 tablespoons per jar.) Top the mango mixture with about 3/4 cup drained yogurt. Discard drained whey or save for another use. Seal jars and refrigerate until serving. Reserve remaining yogurt (1/2 cup to 1 cup) to start next batch of yogurt.

lower waypoint
next waypoint
Samosas aren’t from India…Wait, what?Food Labeling: How to Identify Conventional, Organic and GMO ProduceWords on the Waves: Litquake in SausalitoSpringtime Delight: Rhubarb Puff-Tart PocketsWith Seafood Restaurant alaMar, Oakland Chef Nelson German Breaks From Black Chef Stereotypes