There’s a long history of love for the classic combination of creamy vanilla and tangy orange. And whether you first tried it as an Orange Creamsicle Popsicle or even an Orange Julius, now you can create your own creamy-tangy pops from scratch.
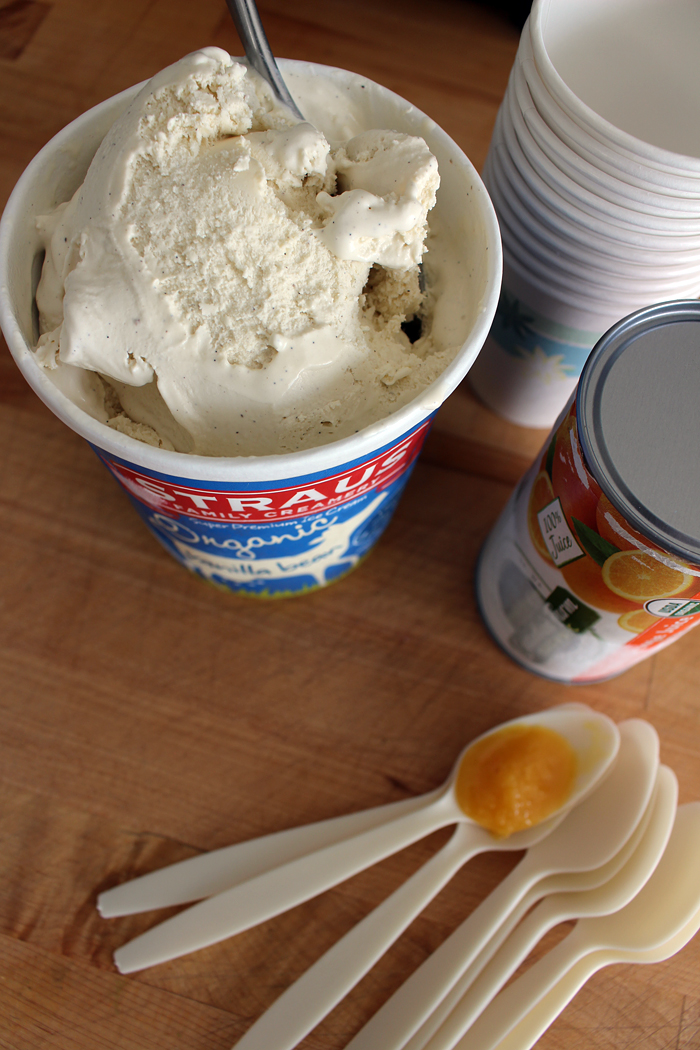
This recipe really couldn’t be simpler. In fact, there are only two ingredients: ice cream and orange juice concentrate. Because of that, choose the best quality that you can find. Use your favorite premium ice cream made with cream and vanilla bean or pure vanilla extract. My favorites are San Francisco’s local Mitchell’s or Bi-Rite’s vanilla ice creams, or if I don’t have time to go to their storefronts, Straus Organic.
Normally I’m not a fan of orange juice concentrate, but for this it works magically. Again, be sure to choose a good quality version, ideally something organic.
The other great thing about this recipe is that you don’t need any fancy pop molds or even sticks. All you need are paper cups and plastic spoons, things you might already have in your pantry! (In fact, fancy pop molds don’t really work well with these; I know, because I tried to make them in mine and they wouldn’t come out of the mold!)
This recipe makes 6, but it’s easy to double (or triple) if you are having a party. Not only will this be a HUGE hit with the kiddos, but I suspect there will be plenty of adults angling for them. Slurp!
Recipe: Dreamy, Creamy, Orange and Vanilla Creamsicles
Makes 6 creamsicles
-
Ingredients:
- 1 quart of your favorite vanilla bean ice cream
- 1/2 cup best-quality organic orange juice concentrate, partially thawed, plus a few extra tablespoons for drizzling
-
Equipment:
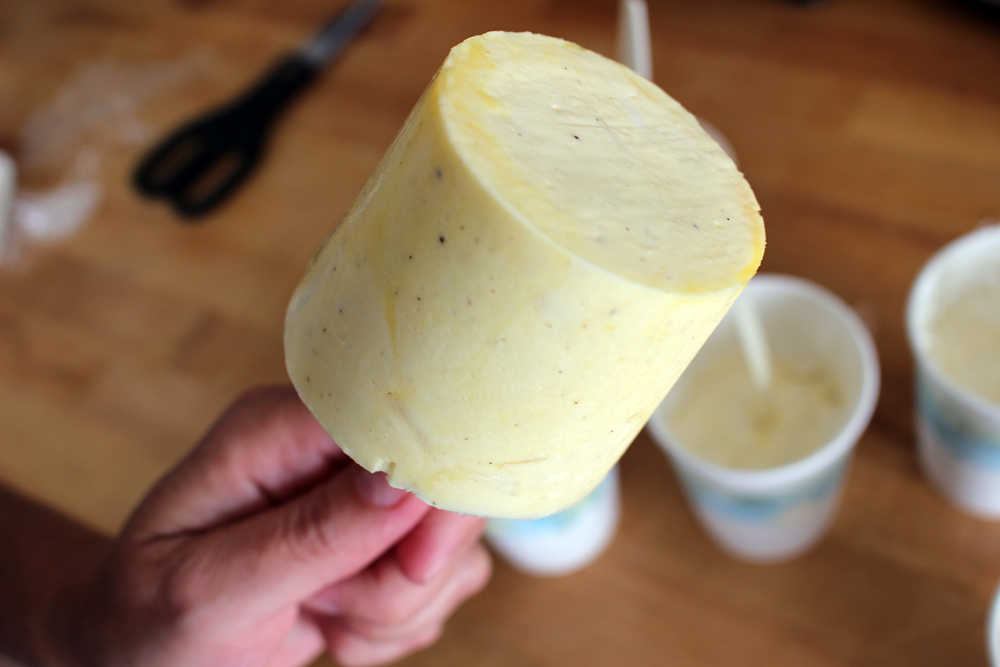
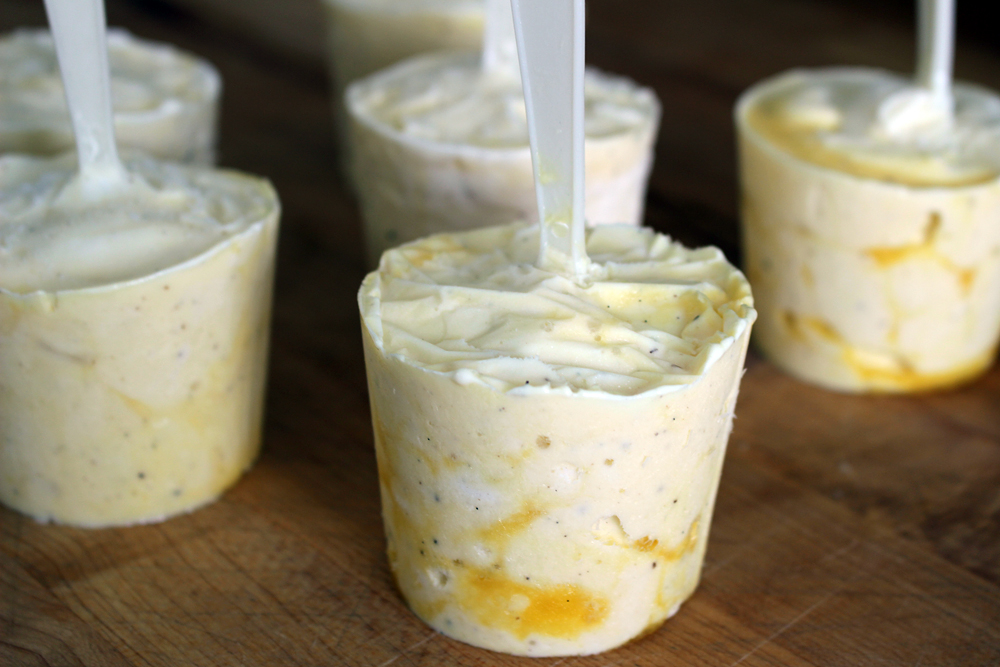
- 6 small paper cups (I used 9-ounce and only filled them halfway, but you can also use 5-ounce and fill them completely)
- 6 plastic spoons or wooden popsicle sticks
- 6 small squares of plastic wrap
-
Instructions:
- Let the ice cream sit out until softened, about 20 minutes depending on the heat of the day. Have ready the cups and spoons or sticks.
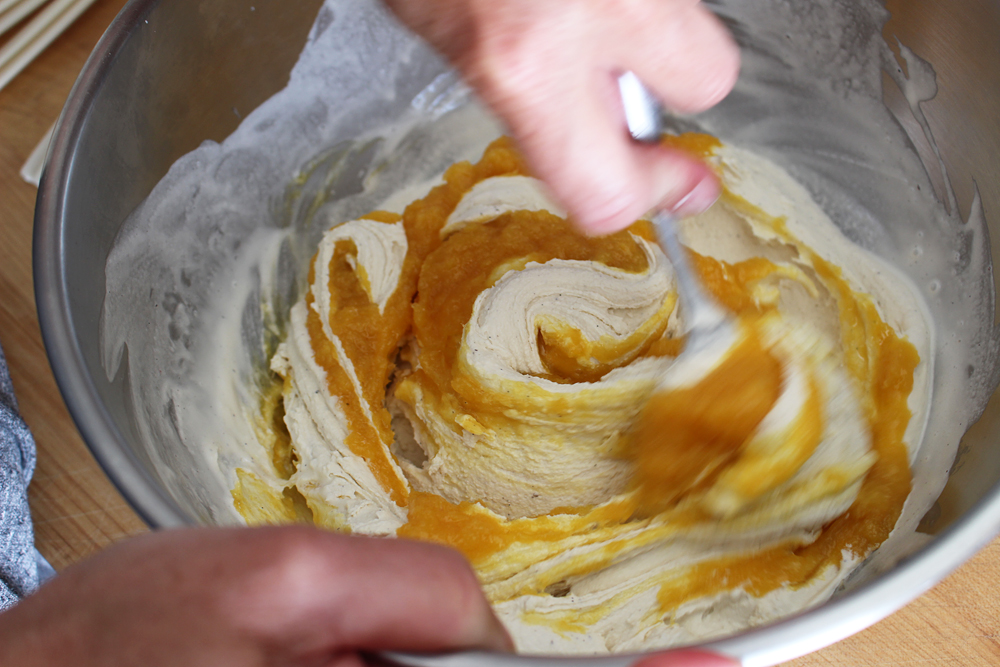
- In a mixing bowl, stir together the ice cream and 1/2 cup concentrate. Drizzle a little more concentrate over the top of the mixture (this will enable you to “swirl” it in as you pack it). Working quickly so the ice cream doesn’t become soup, pack it into the cups using a kitchen spoon. Tap the cups on the table to remove air bubbles, and insert the spoons or sticks. Cover with a small piece of plastic wrap, pressing so the spoon or stick pushes through the plastic.