upper waypoint

Give Yourself a Dairy-Free Treat This Summer with DIY Coconut Milk Ice Cream

Save ArticleSave Article
Failed to save article

Please try again

Coconut milk makes for a wonderfully creamy dairy-free ice cream, but there are a few tricks to getting it right. Photo: Kate Williams

Sometimes recipe testing just doesn’t work out. Sometimes, it’s my fault—culinary errors or forgotten ingredients are common occurrences for even those of us who cook on a daily basis. Other times, the problem lies with equipment. Namely, my freezer. It always seems to work just fine until I need it to be properly cold for a recipe. As soon as I need to churn ice cream, the freezer door mysteriously pops open or the temperature won’t get quite cold enough to freeze anything other than water.

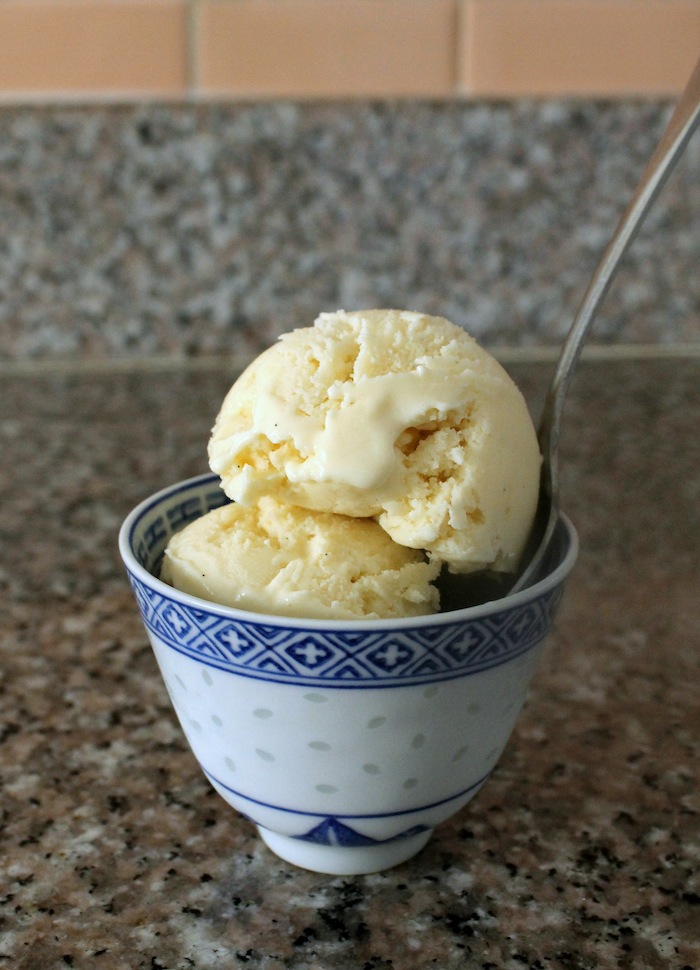
This was my weekend. My plan to develop a pair of coconut milk ice creams for those of us who cannot or chose not to eat dairy was seemed destined not to happen. I wanted to demonstrate that it’s possible to churn creamy, smooth, coconuty ice cream with or without eggs with little more effort than turning on the ice cream machine itself. It wasn’t until after the first batch was churned and chilling that the freezer stopped cooperating. So instead of a duo of frozen treats, one vegan and one definitely not, I have just one, egg-filled ice cream to show for myself. But it is darn good.

To combat iciness in my coconut milk ice cream, use full-fat coconut milk, liquid sugar (honey), and egg yolks. Photo: Kate Williams

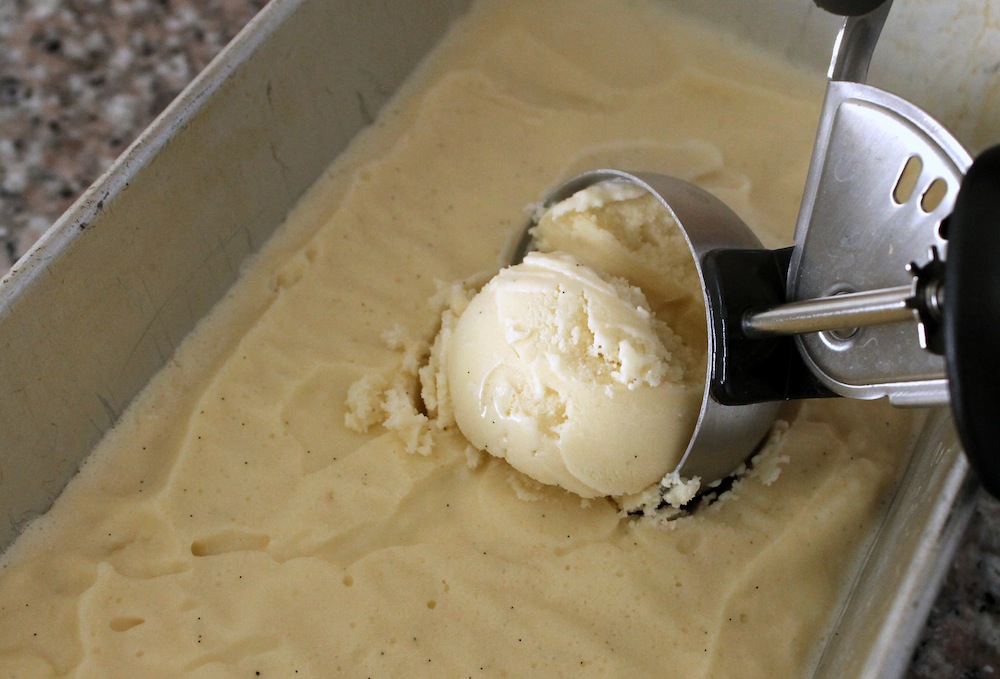
Many of the coconut milk ice creams on the internet call for little more than coconut milk, sugar, and maybe a little vanilla. I’ve tried making ice cream this way and it unfortunately doesn’t work very well. The coconut milk needs a little more help to keep from forming a solid block of ice in the freezer. While this creamy milk is certainly rich enough to take the place of heavy cream, it doesn’t behave in the same way. However, there are a couple easy tricks to help prevent icy woes.

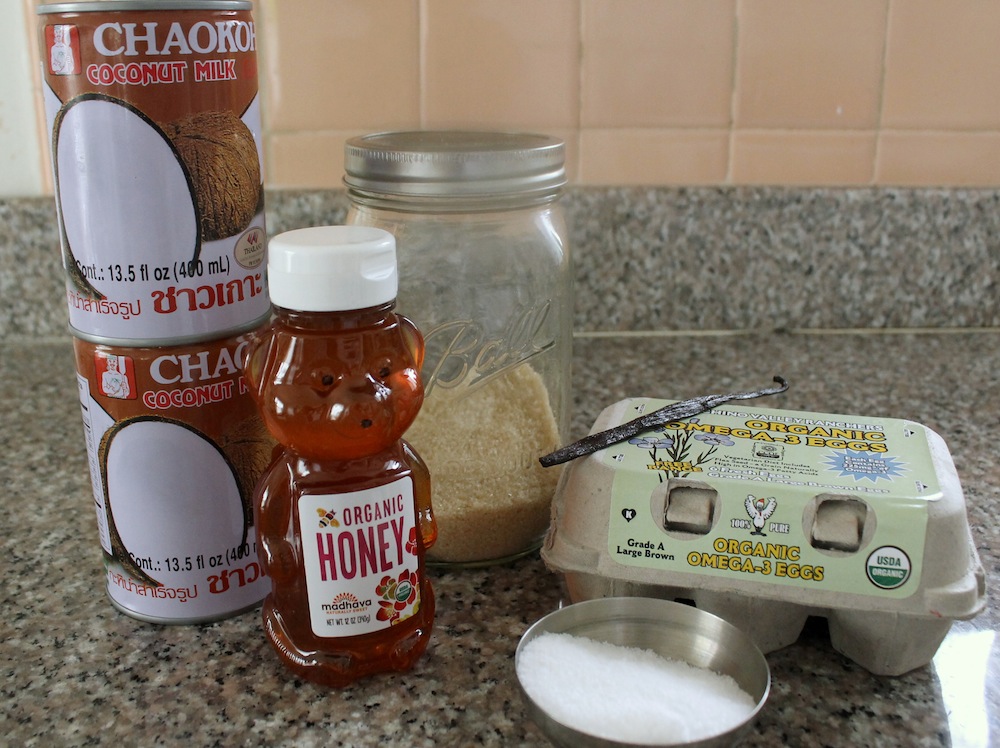
First, substitute some of the granulated sugar with a liquid sweetener, such as honey, agave, or corn syrup. I am partial to the flavor of honey, so that’s my sweetener of choice. These particular sweeteners all contain relatively high amounts of glucose, which helps to interfere with water flowing through the ice cream base. If the water can’t move around, it can’t meet up with more freezing water molecules to form large ice crystals. Large ice crystals are the enemy, so it’s best to avoid them as much as possible. An ice cream flavored entirely with honey would lose any distinctive coconut or vanilla flavor, so I use half honey and half regular granulated cane sugar.

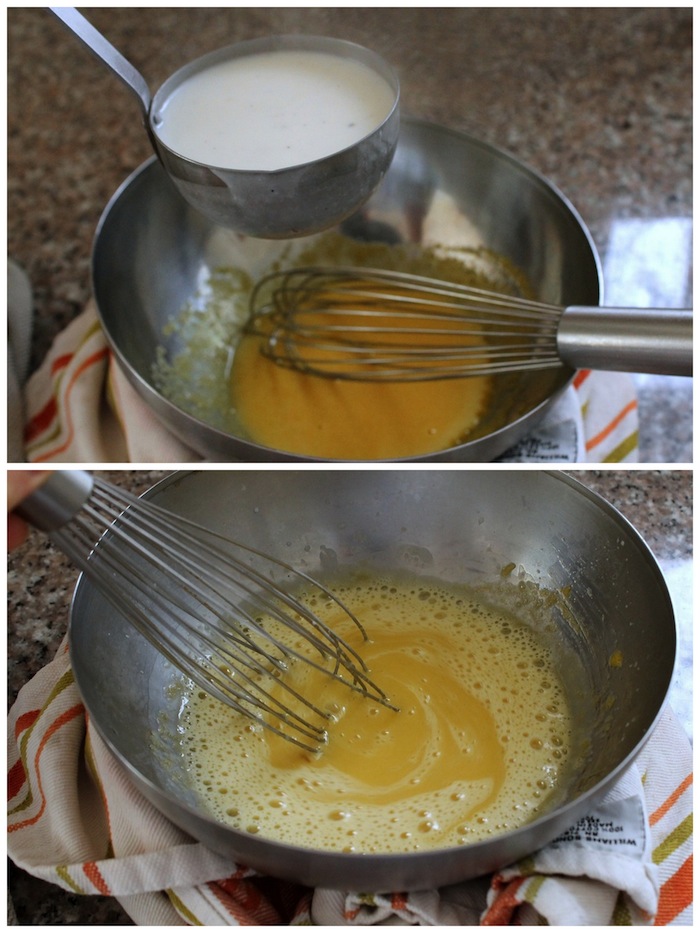
The second trick is to use egg yolks. The rich yellow yolks help give the ice cream a silky texture and their extra protein also helps to prevent ice crystals. This style of ice cream is often referred to as French style ice cream or custard ice cream. For flavoring, I like to use vanilla bean, but you could also use a vanilla extract, or go crazy by infusing herbs or spices into the coconut milk.

Sponsored

But before you start anything, be sure to get your ice cream maker ready for use. I use a canister-style ice cream maker, which requires at least 24 hours of freezing time before churning. If you love homemade ice cream, consider storing the canister in the freezer so that it will always be ready to use. You’ll also want to set up an ice bath before beginning to cook the custard. To do so, fill a large bowl with ice and add enough cold water so that the ice just begins to slosh around. Fit a smaller bowl in the ice and set a fine mesh strainer over the smaller bowl.

To get the most out of the vanilla beans, use both the seeds and the pods themselves, adding them both to the coconut milk and honey mixture. Photo: Kate Williams

Now combine two cans of full-fat coconut milk (you need the fat for texture and flavor), the honey, and kosher salt in a medium saucepan. Slice the vanilla bean in half lengthwise and use a paring knife to scrape out the seeds from inside the pod. Add both the seeds and the empty pods to the saucepan with the coconut milk. The pods will help amp up the vanilla flavor; you’ll remove them before churning.

Heat the coconut milk mixture over medium heat until it begins to simmer. Stir frequently with a rubber spatula to dissolve the honey and evenly distribute the vanilla beans. You don’t want to bring the mixture to a full boil, though, because the coconut milk can easily scorch. Once the mixture is hot, lower the heat as low as it will go.

While the coconut mixture is heating, whisk the egg yolks with the granulated sugar until the sugar dissolves. You’ll have to whisk pretty aggressively.

To temper egg yolks, whisk about 1/2 cup of the hot coconut mixture into the egg yolks and sugar. Whisk constantly to avoid curdling while heating the eggs. Photos: Kate Williams

To add the yolk mixture to the coconut mixture without curdling the eggs, you’ll need to first temper the egg yolks. This means that you’ll gradually whisk in some of the hot coconut mixture into the eggs to warm them up. Once the eggs are warm, you should safely be able to whisk them into the rest of the coconut mixture without ending up with bits of scrambled egg in the custard. It’s easiest to do this if you support the bowl containing the egg yolks with a towel wrapped around the bottom in a ring. The towel will keep the bowl from spinning around as you whisk in the hot coconut milk.

You’ll know the custard is ready when it reaches 180 degrees and evenly coats the back of a spoon. Photo: Kate Williams

Add the tempered eggs to the saucepan, whisking constantly. Raise the temperature under the pot to about medium low, and cook the mixture until it thickens. You’ll want to continue to whisk the mixture as it cooks, making sure to get the whisk in all of the corners of the pot. The target temperature for the custard is 180 degrees, but you can also check to see if it is ready by dipping in a spoon. Once the custard has sufficiently thickened, it will smoothly coat the back of the spoon.

Immediately remove the custard from the heat and pour it through the fine mesh strainer into the small bowl in the ice bath. Use a spatula to press the custard through the strainer. Any rouge bits of egg will be left behind, as will the vanilla bean pods.

Rapidly cool the strained custard in an ice bath to halt cooking before transferring it to the fridge to chill completely. Photo: Kate Williams

Now let the custard chill in the ice bath until it has cooled to room temperature. Transfer it to a 4-cup storage container and move it to the refrigerator. You’ll need to let the custard continue to chill for a few hours until it is very cold. The colder the custard is when it goes into the ice cream maker, the faster it will churn, and the less icy its final texture will be. You can also refrigerate the custard overnight if you’d like.

Once the custard is chilled, it’s time to churn. Most canister style ice cream makers take 25-30 minutes to churn ice cream; compressor and self-refrigerating models are faster. No matter what type of ice cream maker you use, you’ll know the ice cream is fully churned when it has thickened to the consistency of soft serve ice cream.

Freeze the churned ice cream in a metal container to drop its temperature quickly. Cover the top of the ice cream with parchment paper to seal out any unwanted flavors from the freezer. Photo: Kate Williams

Transfer the churned ice cream to a metal container. Metal containers work better than glass or plastic because they freeze very quickly and help keep the ice cream as cold as possible. I like to use a metal bread pan. Cover the ice cream with a layer of parchment paper, pressing it down flush with the surface of the ice cream. Wrap the container with plastic wrap and place the whole thing in the freezer. Let the ice cream freeze until solid, another 4 to 6 hours.

Finally after all that waiting, it’s ice cream time.

Coconut Milk Ice Cream. Photo: Kate Williams

Recipe: Coconut Milk Ice Cream

Makes about 4 cups

Sponsored

Note: If you are using a frozen canister-style ice cream maker, be sure to freeze the canister at least 24 hours in advance to ensure that it is cold enough to churn the ice cream.

    Ingredients:
  • 2 (13.5 ounce) cans full-fat coconut milk
  • 1/4 cup honey
  • 1/4 teaspoon kosher salt
  • 1 vanilla bean
  • 3 egg yolks
  • 1/4 cup organic granulated cane sugar
    Equipment:
  • Mixing bowls
  • Fine mesh strainer
  • Saucepan
  • Whisk
  • Rubber spatula
  • Instant-read thermometer (optional)
  • Ice cream maker
    Instructions:
  1. Prepare an ice bath by filling a large bowl with ice. Add cold water to cover the ice. Nestle a smaller bowl inside the ice water and place a fine mesh strainer over the smaller bowl.
  2. Combine coconut milk, honey, and salt in a heavy-bottomed medium saucepan. Split the vanilla bean in half using a pairing knife and scrape seeds into the saucepan. Place both halves of the vanilla bean into the saucepan. Bring the mixture to a simmer over medium heat and cook, stirring frequently, until the honey has dissolved.
  3. Meanwhile, whisk egg yolks and sugar together in a medium bowl. Once the coconut milk mixture has come to a simmer, ladle about 1/2 of the hot milk into the yolk mixture while whisking constantly. Continue to whisk until the egg mixture is uniform.
  4. Reduce the heat under the coconut milk mixture to medium-low. Whisk the hot egg yolks into the remaining coconut milk mixture on the stove and return the mixture to a simmer. Continue to cook until the mixture reaches 180 degrees and is thick enough to coat the back of a spoon, 2 to 3 minutes. Immediately pour the custard through the prepared fine mesh strainer into the bowl set in the ice bath. Press custard through the strainer using a spatula.
  5. Let the custard cool to room temperature in the ice bath before transferring it to a storage container. Refrigerate until the custard is chilled, at least 4 to 6 hours.
  6. Once the custard is chilled, freeze the mixture in an ice cream maker following the manufacturer’s directions. Transfer the churned ice cream to a metal pan, cover with parchment paper and plastic wrap, and freeze until solid, 4 to 6 hours. Serve.

lower waypoint
next waypoint
Samosas aren’t from India…Wait, what?Food Labeling: How to Identify Conventional, Organic and GMO ProduceSpringtime Delight: Rhubarb Puff-Tart PocketsCheck, Please: How to Pay without looking like a fool or making everyone uncomfortable.Josey Baker Bread: Baking for Bros, with Gluten-Free Adventure Bread RecipeWe Recreated an It's-It Ice Cream Sandwich at Home — With an Oakland Twist.Bored of Apples and Walnuts? Try Adding Date Charoset to Your Passover Table This YearDIY Bone Broth - You Really Should be Making It at HomeTaste Test: Store-bought Raw Sauerkrauts are Surprisingly DistinctiveFromage de Chat (aka Cat Milk Cheese)