upper waypoint

DIY Conversation Hearts are a Fun Project for Valentine’s Day

Save ArticleSave Article
Failed to save article

Please try again

Making your own conversation heart candies is a fun DIY project for Valentine’s Day. Photo: Kate Williams

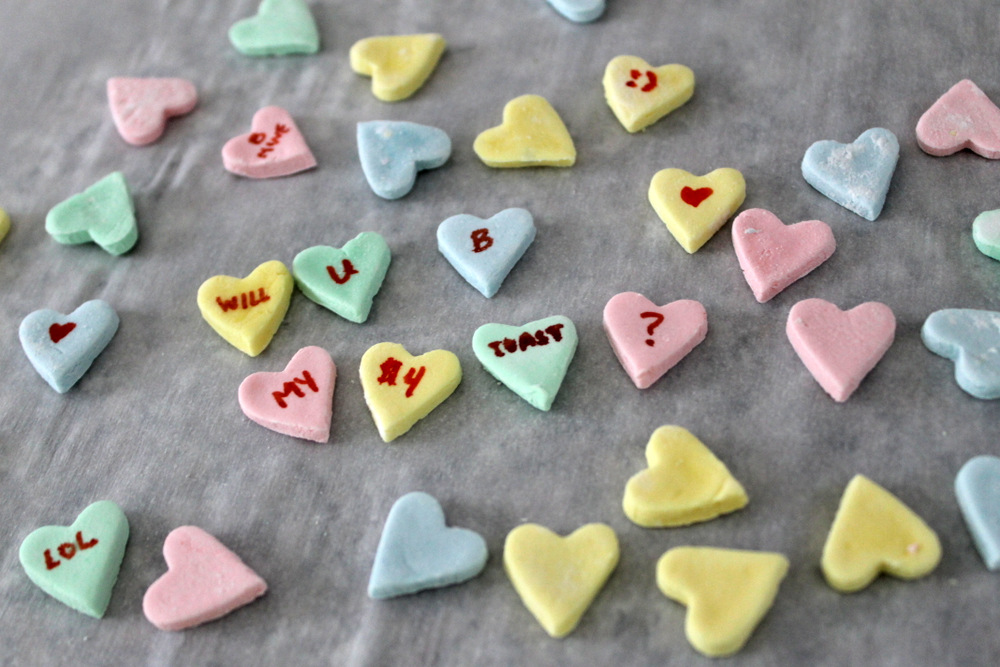
Like many kids, my favorite part of Valentine’s Day was the candy. A box of miniature heart-shaped chocolates was the ultimate prize, but I didn’t hold back from noshing on the copious lollipops, hard candies, and cookies that crossed my path on February 14. Inevitably, I ate my fair share of conversation hearts, those little chalky sugar bombs stamped with hilarious (to an 8-year-old) messages like “FAX ME,” “XOXO,” and “ASK ME.” I didn’t care that the candies were basically flavorless; a sugar high was the end goal.

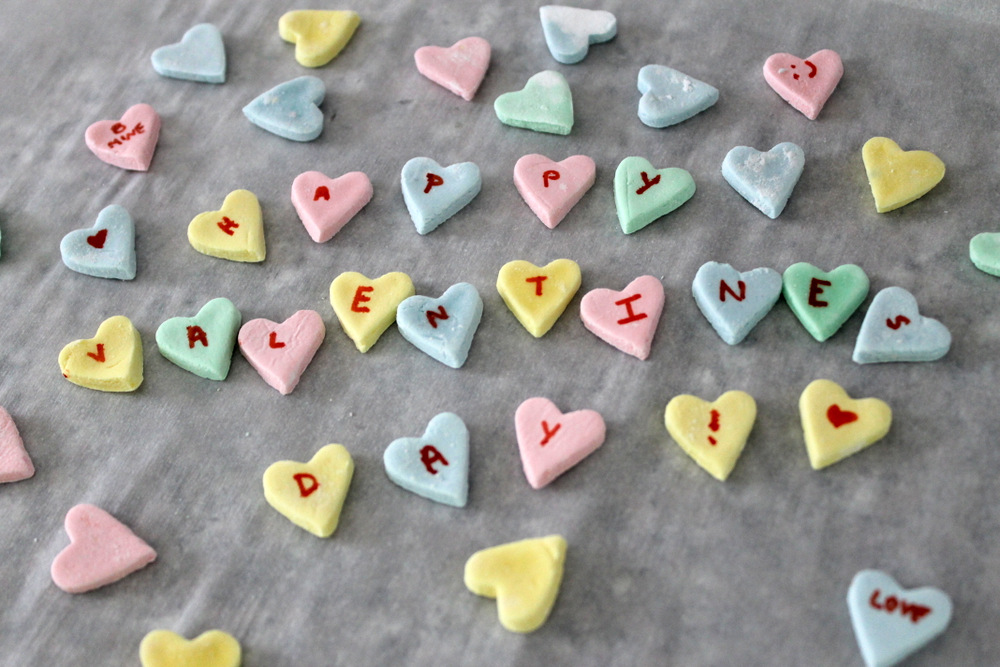
These days, I’d likely only purchase a box of conversation hearts to hunt for modernized messages (“OK CUPID ME”?). A more flavorful way to satisfy any nostalgic cravings is to make them at home. The ingredient list is fairly simple—conversation hearts are, after all, mostly just sugar—and the flavoring, coloring, and decorating options are endless. Best of all for anyone with a family, the candy is very hard to screw up. It’s the perfect project for tackling with kids.

To make conversation hearts, all you need is sugar, gelatin, flavored soda, flavoring extracts, and food coloring. Photo: Kate Williams

In addition to the sugar (I use confectioner’s), you’ll need unflavored gelatin, salt, food coloring, flavor extracts, and a bottle of soda. I used a bottle of fancy ginger ale to add a bit of spice to the candies, but you could use Sprite, sparkling cider, sparkling lemonade, or anything that strikes your fancy. Keep in mind that colored liquids will color the final candies, so try and stick to something clear or light-colored. You will also want to coordinate the extracts with the soda choice. I used lemon, peppermint, almond, and vanilla extracts; these all matched well to the ginger ale. The number of flavors used is entirely up to you.

Using a double boiler to gently heat the gelatin will ensure that it fully dissolves into the soda. Photo: Kate Williams

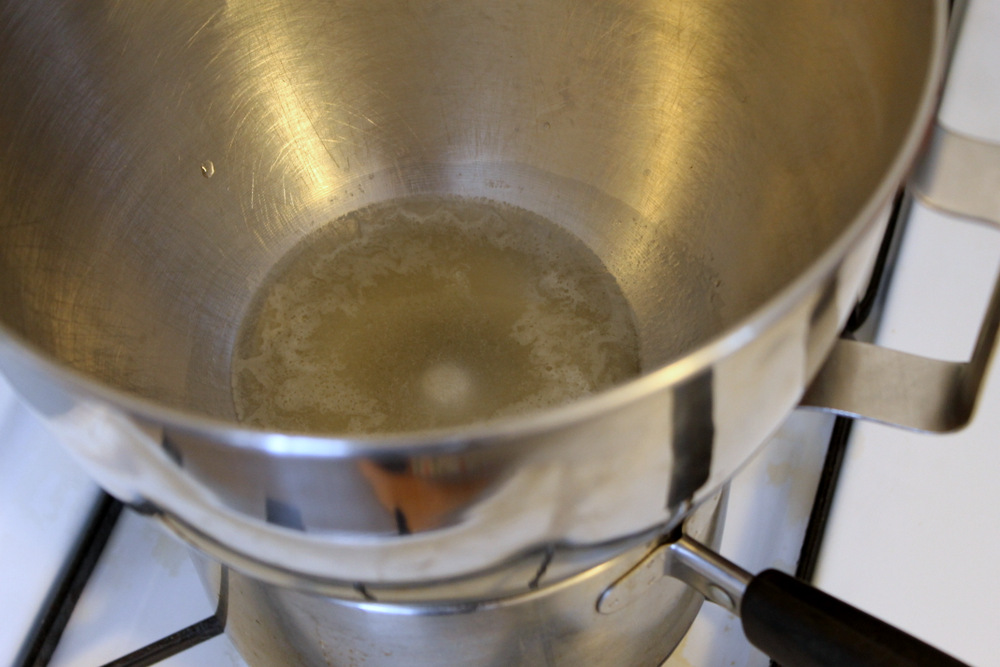
To get started, you will first need to “bloom,” or hydrate, the gelatin. First, mix the gelatin with the soda in the bowl of a stand mixer and let the mixture rest for about five minutes. Meanwhile, set up a double boiler by bringing a small pot of water to a simmer over medium heat. Once the water is steaming, place the mixer bowl on top of the water, making sure that the bottom of the bowl doesn’t touch the water. Stir the gelatin mixture occasionally until the granules are completely dissolved. Remove the mixer bowl from the pot of water and wipe the bottom to remove any condensation.

Now place the bowl in a stand mixer fitted with the paddle attachment. If you don’t have a stand mixer, you can use a hand mixer, but be prepared for a bit of an arm workout. Add 1 cup of confectioner’s sugar and beat until the sugar is combined. At this point, the mixture will be a thin, syrupy liquid.

Beat confectioner’s sugar into the gelatin and soda mixture until it becomes a thick dough. Photo: Kate Williams

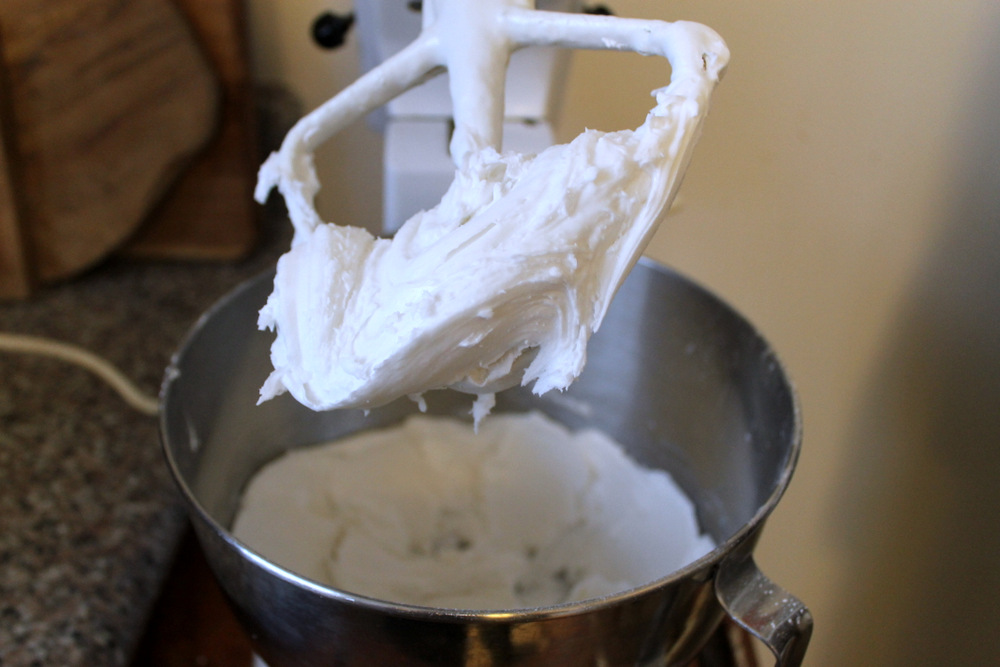
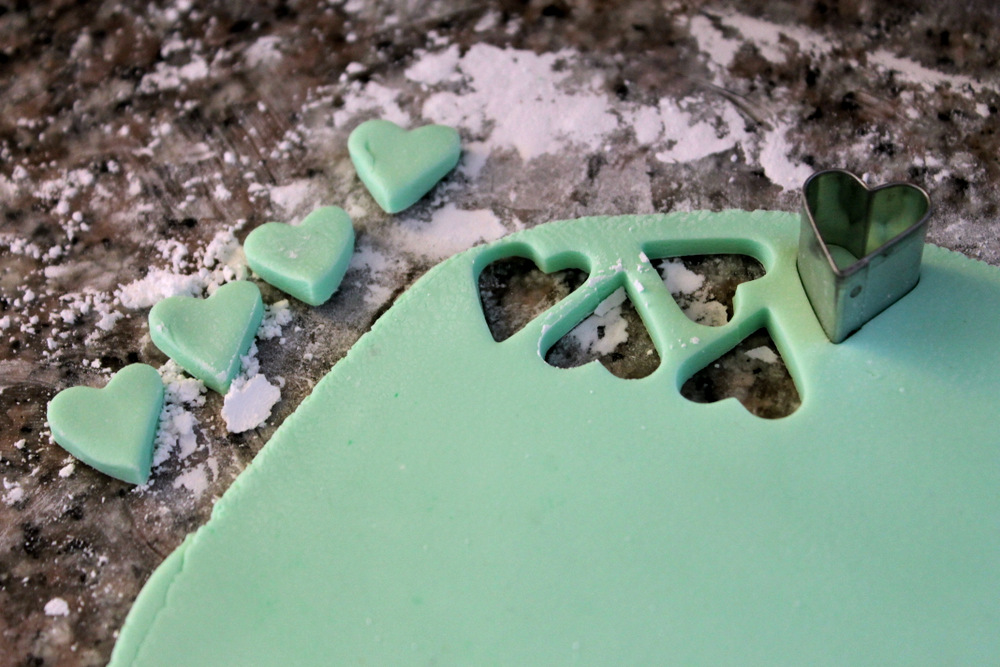
Continue to add the powdered sugar about 1 cup at a time, until the mixture turns into a thick, malleable dough. It shouldn’t be terribly sticky. You’ll probably have a little extra powdered sugar, which you will use for kneading and rolling out the dough. Transfer the dough to a countertop that has been lightly dusted with powdered sugar.

To finish mixing the dough, transfer it to a sugar-dusted counter, and knead it until it is smooth and no longer sticky. Photo: Kate Williams

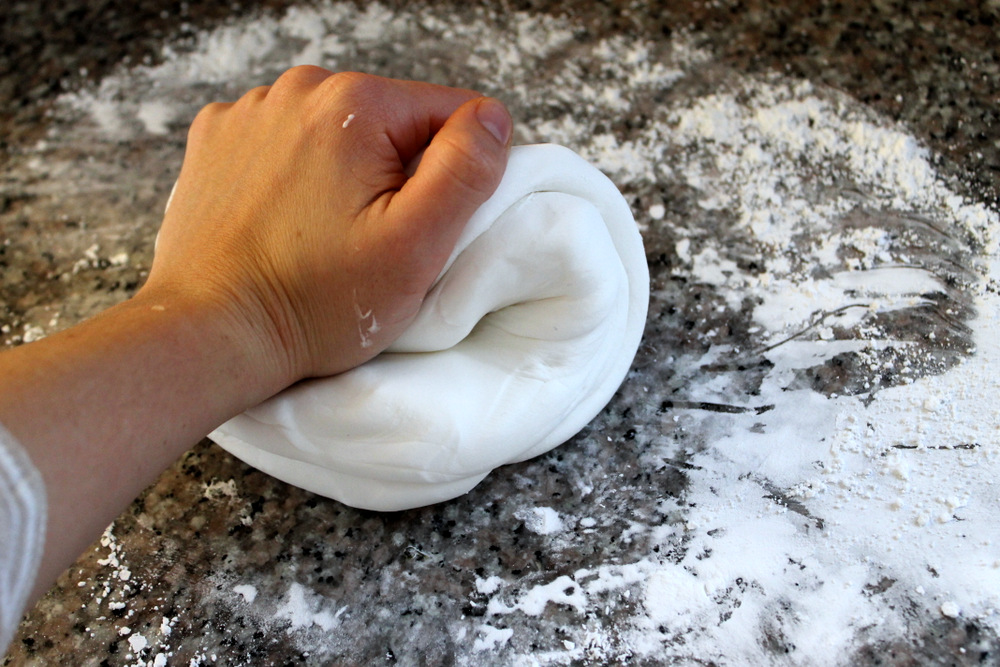
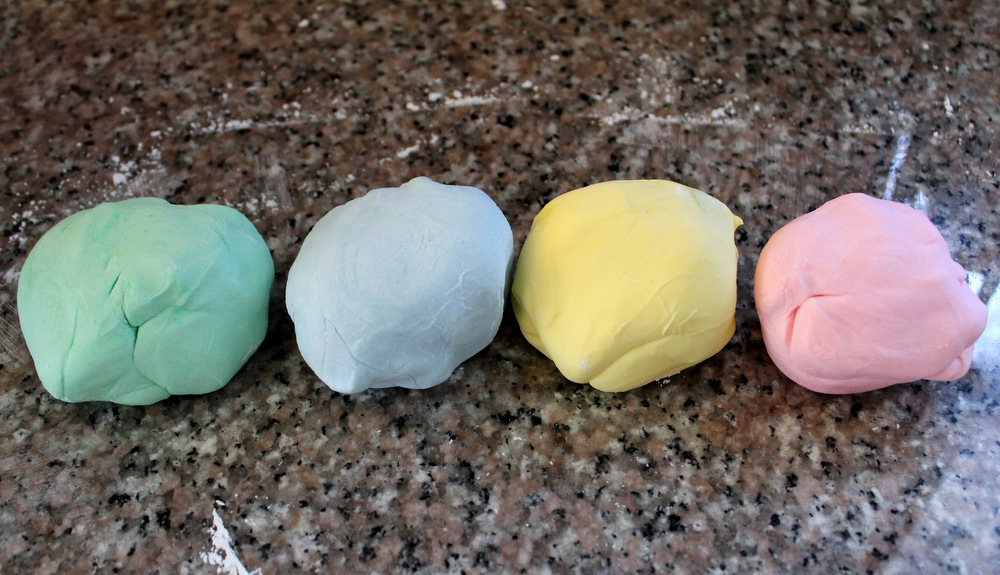
Knead the dough as you would bread until it is smooth and no longer sticky. At this point, it should have the same texture as Play-Doh. Divide the dough into however many portions you’d like. I made four different flavors of conversation hearts, so I divided the dough into four equal portions. Keep the dough portions covered with plastic wrap.

Sponsored

To protect your hands from staining, you will want to use disposable rubber gloves or a few Ziplock bags when coloring the candies. You’ll need one pair of gloves or one bag per color. If you’re using gloves, put them on first. If you’re using bags, you’ll add the coloring to the dough before placing it in a bag.

Use a few drops of food coloring with a coordinated flavor extract for each different color heart you’d like. Photo: Kate Williams
Knead the dough until the color is uniform throughout. Photo: Kate Williams

Using your fingers, make an indentation in the center of one piece of dough. Add a few drops each of food coloring and a flavoring extract. I tried to coordinate coloring with flavoring, but some matches are better than others (green=peppermint, yellow=lemon, blue=almond, pink=vanilla). Knead the dyed portion of dough until the color is uniform. You will likely need to sprinkle a bit more powdered sugar onto the dough to keep it from sticking to the counter. Taste a bit of dough and adjust the flavoring and coloring if necessary. Repeat with the remaining portions of dough.

A miniature heart-shaped cookie cutter will give the most classic results, but any size and shape are possible. Photo: Kate Williams

Next, re-dust the counter with a bit more powdered sugar, and roll out one portion of dough until it is somewhere between 1/8 inch and 1/4 inch thick. To cut out the candy hearts, I use a miniature heart-shaped cookie cutter that I found in a set at a cookware store. If you can’t find mini-hearts, you can use a larger cookie cutter. Transfer the heart cut-outs to a parchment paper-lined baking sheet to dry. Re-roll the dough scraps as many times as you’d like, and then repeat with the remaining portions of dough.

Once you’ve got all the hearts cut out, spread the hearts in a single layer on the baking sheet (use a second one, or a plate, if you need more space). Let the hearts dry completely before decorating—this will take 24 to 48 hours, depending on how thick they are.

Use an edible marker to decorate the hearts with whatever message you’d like. Photo: Kate Williams

Finally, once the hearts are dry, it’s time to decorate. I found a set of edible markers at the same cookware store where I bought the cookie cutters. They are also available in craft stores and online. I found that using markers was much easier than trying to use a stamp to decorate the candies. Plus you get to write whatever you’d like.

Recipe: DIY Conversation Hearts

Makes about 6 cups

Sponsored

Note: If you’d like to make a vegan version of these candies, you should be able substitute powdered agar-agar for the gelatin at a 1:1 ratio. This version was not tested, though, so you may need to fiddle with the recipe to get the sugar mixture to stay malleable. Miniature cookie cutters and edible decorator markers are available at Sur la Table.

    Ingredients:
  • 1 1/2 teaspoons unflavored powdered gelatin
  • 1/4 cup mild-flavored soda (like ginger ale, Sprite, sparkling apple cider, or sparkling lemonade), preferably clear or light-colored
  • 5 cups (20 ounces) confectioner’s sugar, plus additional for rolling
  • 1/4 teaspoon salt
  • Food coloring
  • Assorted flavor extracts
  • Edible decorator markers (optional)
    Equipment:
  • Electric mixer
  • Bench scraper
  • Rubber gloves or large Ziplock bag
  • Rolling pin
  • Miniature heart-shaped cookie cutter
  • Parchment paper
    Instructions:
  1. Combine the gelatin and soda in the bowl of a stand mixer or a metal mixing bowl. Whisk to combine, and then let the gelatin bloom for 5 minutes. Bring a small pot of water to a simmer, place the bowl of gelatin over the simmering water, and stir occasionally until the gelatin has melted (all of the grains will dissolve).
  2. Remove the mixer bowl from the pot of water and wipe the bottom to remove any condensation. Fit the bowl into the stand mixer using a paddle attachment (if using a hand mixer, use the regular beaters). Add about 2 cups of powdered sugar to the gelatin mixture and beat on medium-low speed until the mixture is combined. It will be liquid. Add the salt and continue adding powdered sugar, about one cup at a time, until a thick, malleable dough forms. You may not use all of the powdered sugar.
  3. Turn the dough out onto a powdered-sugar dusted counter and knead, using additional powdered sugar as needed to prevent sticking, until the dough is smooth and no longer sticky. Using a bench scraper or knife, divide the dough into desired number of portions (one for each flavor). Cover the dough portions with plastic wrap.
  4. Put on gloves if you have them. Make an indentation in the center of one portion of dough using your fingers. Place a few drops each of food coloring and coordinated flavored extract in the indentation. If you don’t have rubber gloves, place the dough in a large Ziplock bag and seal. Knead the dough until the color and flavor is uniform. Taste a pinch of the dough and adjust the flavor if necessary. Adjust the color if necessary. Repeat with remaining portions of dough and flavorings.
  5. Line a baking sheet with parchment paper. Set aside. Lightly dust the counter with powdered sugar. Using a rolling pin, roll each portion of dough, one color at a time, into a large rectangle between 1/8 inch and 1/4 inch thick. Use a miniature heart shaped cookie cutter to stamp out the candies and transfer to the parchment-lined baking sheet. Gather and re-roll the scraps as many times as necessary. Repeat with remaining portions of dough.
  6. Let the hearts air dry, uncovered, until crisp and crunchy, 24 to 48 hours. Flip the hearts over about every 12 hours to ensure that both sides dry evenly.
  7. If desired, decorate fully dried hearts using an edible food marker. The conversation hearts will keep for at least 6 months in an airtight container.

lower waypoint
next waypoint
Samosas aren’t from India…Wait, what?Food Labeling: How to Identify Conventional, Organic and GMO ProduceSpringtime Delight: Rhubarb Puff-Tart PocketsCheck, Please: How to Pay without looking like a fool or making everyone uncomfortable.Josey Baker Bread: Baking for Bros, with Gluten-Free Adventure Bread RecipeBored of Apples and Walnuts? Try Adding Date Charoset to Your Passover Table This YearBay Area Bites Guide to 8 Great Places to Buy Fresh FishFromage de Chat (aka Cat Milk Cheese)DIY Bone Broth - You Really Should be Making It at HomeTaste Test: Store-bought Raw Sauerkrauts are Surprisingly Distinctive